crwdns2915892:0crwdne2915892:0
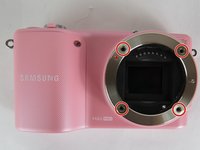
This guide will show you how to replace the lens assembly on the Samsung NX2000. It will show you a step by step replacement guide of how to remove parts of lens successfully. Begin with making sure your camera is turned off and removing the lens.
crwdns2942213:0crwdne2942213:0
-
-
Begin by pressing the lens lock button to the right of the lens.
-
Release the button and turn the lens in a clockwise motion until you have removed the lens.
-
-
-
Make sure your camera is turned off and flip your device upside down.
-
Slide the battery switch to the left and open the battery compartment.
-
Push the blue button up inside the battery compartment and remove the battery.
-
-
-
-
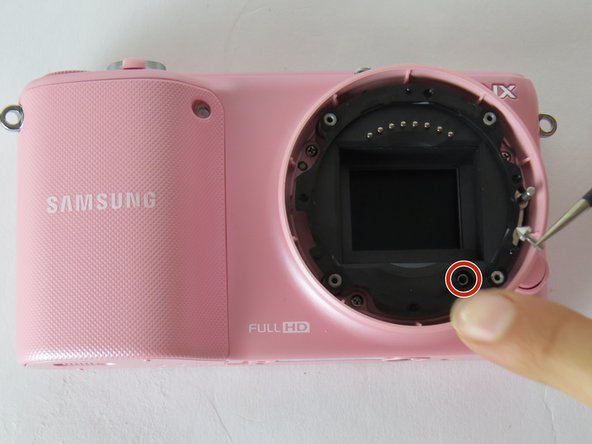
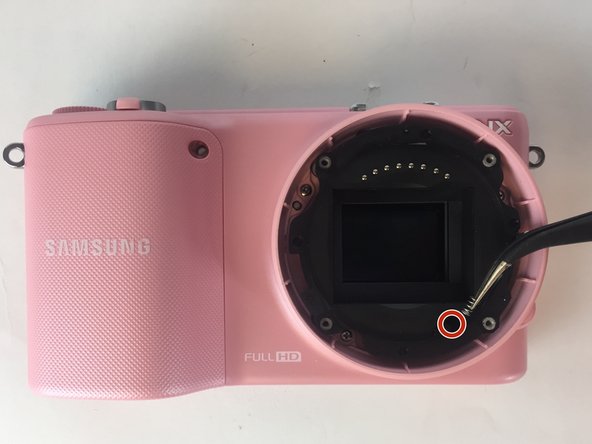
Remove the four 4mm screws highlighted here with the Y0 screwdriver.
-
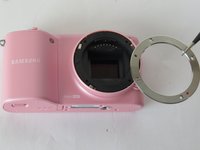
Using a tweezer, gently remove the outer silver lens lining.
-
Underneath will lie a black ring, which needs to removed using the same tweezer.
-
-
-
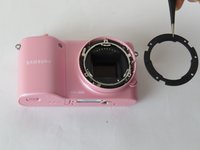
Remove the final silver ring from the lens assembly using a tweezer.
-
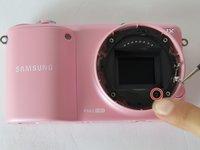
Using a slanted tweezer, remove the highlighted pyramid screw from the compartment shown.
-
Remove the spring from the same compartment using the same tool.
-


To reassemble your device, follow these instructions in reverse order.
To reassemble your device, follow these instructions in reverse order.
crwdns2935221:0crwdne2935221:0
crwdns2935227:0crwdne2935227:0
crwdns2915084:0crwdne2915084:0

USF Tampa, Team 7-4, Cheng Spring 2016 crwdns2935289:0USF Tampa, Team 7-4, Cheng Spring 2016crwdne2935289:0
USFT-CHENG-S16S7G4
crwdns2931471:04crwdne2931471:0
crwdns2935297:010crwdne2935297:0