crwdns2915892:0crwdne2915892:0
This guide will provide detailed steps to replace the hard drive in the Samsung device.
crwdns2942213:0crwdne2942213:0
-
-
Remove the ten 6.6mm Philips#00 screws securing the lower case to the upper case.
-
-
-
Using your fingers, pinch the edge of the SD card and pull to remove it.
-
-
-
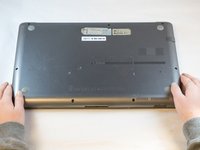
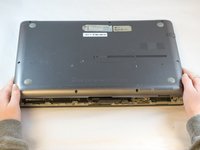
Wedge your fingers in between the upper case and the lower case
-
Gently pull the lower case away from the upper case to remove it
-
-
-
crwdns2935267:0crwdne2935267:0Tweezers$4.99
-
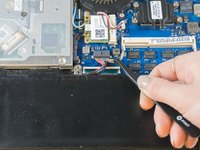
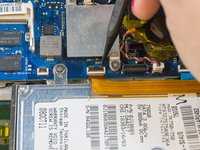
Using tweezers or your fingertips, carefully pull on the battery connector to disconnect it from the motherboard.
I found step 4, 5, 6, and 7 to be unnecessary. In my case removing the battery or the ribbon cable (in step 7) was not required to remove the drive. From here you can just:
* Do steps 8 and 9
* From step 10 only remove the 3.4mm screw
* Finally do step 11
-
-
-
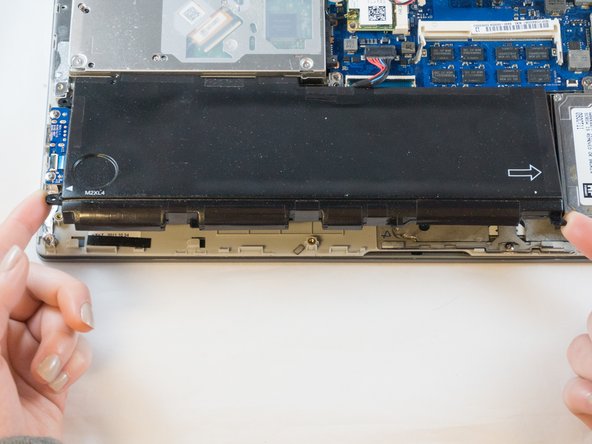
Remove the two 4.4mm Phillips#00 screws from the battery case.
-
-
-
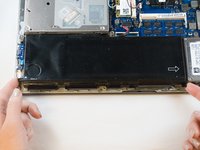
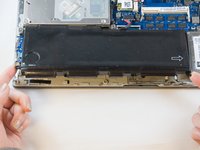
Place your fingers on the corner sections of the battery.
-
Lift to remove the battery.
Because the battery is held down by clips at the front, i found it necessary to remove the four screw holding the hard drive to the right so that i could slide the battery to the right (indicated by the arrow on the battery) and out from under the clips.
Hey there Chip! Thanks for the comment! We were probably able to remove the battery without touching the hard drive because the laptop used to make this guide was damaged inside and out. I hope your new battery is running smoothly. Happy fixing!
-Erik, Hannah and Annissa
Erik -
This is what I was looking for. My battery was partially out of the clips as a result of me tossing it, it came out easy but when I went to put it back in place it wouldn't slide in. I kinda “helped” it with out removing the HD. My optical drive isnt working so I have to take it apart again. It will super easy now with the added instruction. Thanks dude!
Dan -
What is the Replacement battery number! hard to find
-
-
-
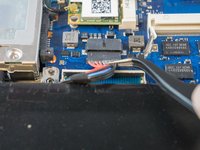
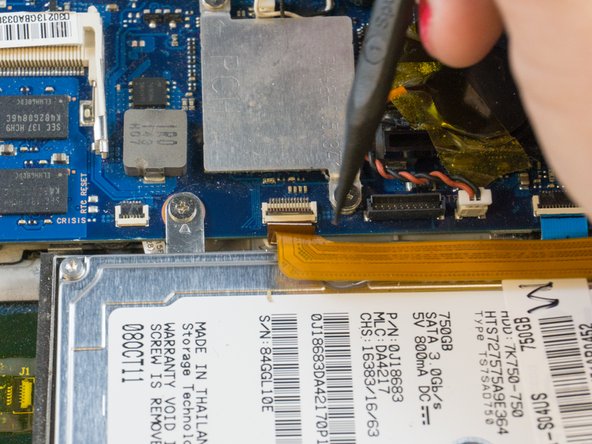
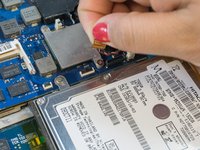
Using the tip of the spudger, flip up the small locking flap on the ZIF connector. Now you can pull the cable.
-
-
-
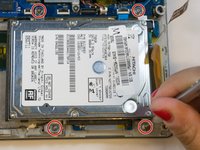
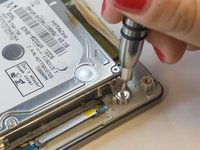
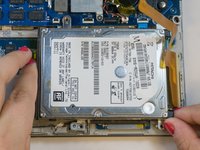
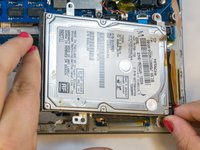
Using the Phillips#00, remove the four 4.5mm screws securing the hard drive.
-
-
-
Using your fingers, grasp the edges of the hard drive and lift to remove it.
-


To reassemble your device, follow these instructions in reverse order.
To reassemble your device, follow these instructions in reverse order.
crwdns2935221:0crwdne2935221:0
crwdns2935229:04crwdne2935229:0
crwdns2915084:0crwdne2915084:0

Eastern Washington University, Team S1-G1, Carnegie Fall 2017 crwdns2935289:0Eastern Washington University, Team S1-G1, Carnegie Fall 2017crwdne2935289:0
EWU-CARNEGIE-F17S1G1
crwdns2931471:03crwdne2931471:0
crwdns2935297:06crwdne2935297:0
crwdns2947412:02crwdne2947412:0
Thanks, Eric. I wished I’d read your ifixit lesson before I broke it!! Next time I’ll know better.
cảm ơn rất chi tiết