crwdns2915892:0crwdne2915892:0
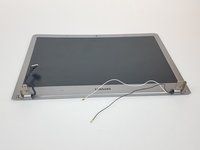
The display for a device gives visual output for the user to interact with. This guide will help you replace it properly.
crwdns2942213:0crwdne2942213:0
-
-
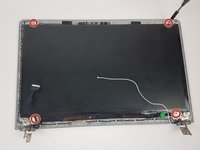
Using the Phillips #0 screwdriver, remove the 6.5mm long screw in the area circled.
-
-
-
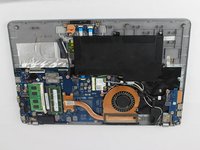
With the cover removed, unscrew all four of the 4.75mm long screws using the Phillips #0 screwdriver.
-
-
-
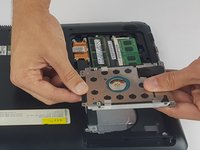
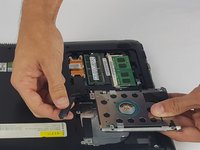
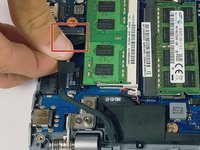
Unplug the connector from the hard drive by pulling straight out.
-
-
-
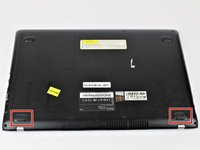
Remove the two rubber feet with arrows by them on the back side to uncover two screws.
-
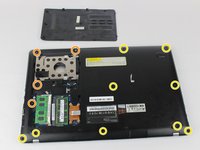
Unscrew the four silver 4.4mm long screws near the hard drive.
-
Unscrew the remaining nine black 6.5mm long screws. Then remove the back casing using a pry tool if needed.
-
-
-
-
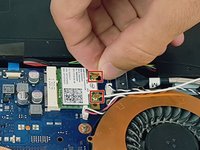
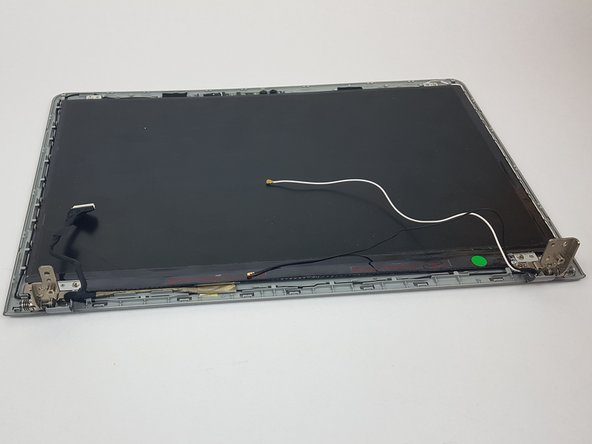
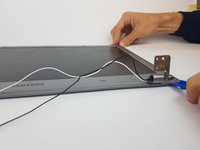
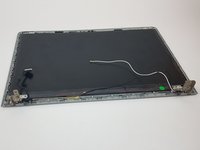
Disconnect the black and white cables by pulling up as pictured.
-
-
-
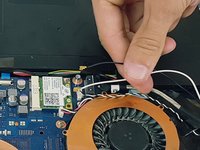
Disconnect the black cable by pulling straight out.
-
-
-
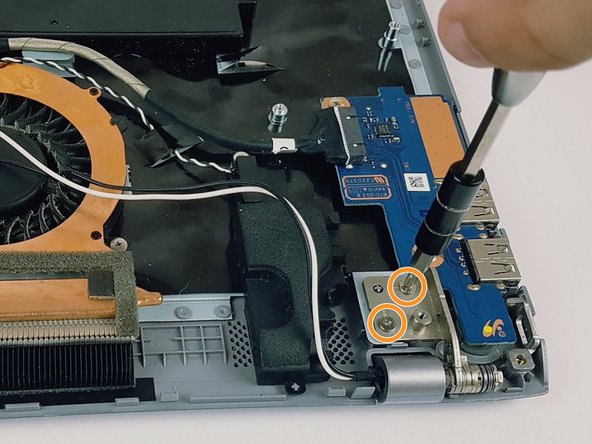
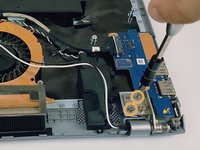
Unscrew the two 4.45mm long screws to disconnect the left hinge.
-
Unscrew the two 4.45mm long screws to disconnect the right hinge.
-
-
-
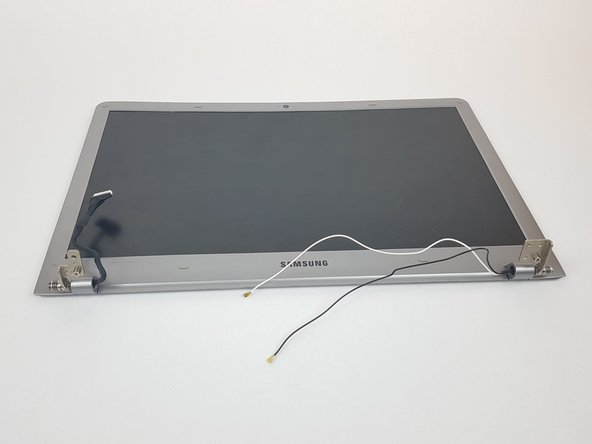
Using the plastic opening tool, pry open the plastic housing that holds the display.
-
-
-
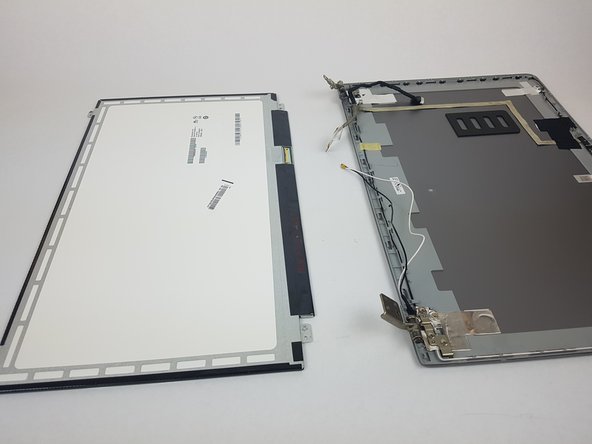
Unscrew the four 3.55mm long screws that hold the display in place.
-
-
-
Disconnect the last cable by pulling straight out.
-


To reassemble your device, follow these instructions in reverse order.
To reassemble your device, follow these instructions in reverse order.
crwdns2915084:0crwdne2915084:0

USF Tampa, Team S6-G5, Eyestone Spring 2018 crwdns2935289:0USF Tampa, Team S6-G5, Eyestone Spring 2018crwdne2935289:0
USFT-EYESTONE-S18S6G5
crwdns2931471:03crwdne2931471:0
crwdns2935297:08crwdne2935297:0