crwdns2915892:0crwdne2915892:0
In this guide, we will demonstrate how to replace the hard drive of your Samsung NP-N102S-B05PH laptop.
Replacing the hard drive is a quick way to solve any issues resulting from common hard drive issues including; a slow startup, random crashes, corrupted files, and problems with opening files and media. A faulty drive can result from many things, including running at total or near-full capacity.
If the hard drive has been tested and is causing issues, it's a good idea to replace it and possibly upgrade storage capacity.
Before beginning this repair, power off your laptop and unplug your device from the power adapter.
crwdns2942213:0crwdne2942213:0
-
-
Power down your laptop, and position the laptop with the bottom cover facing upwards.
-
-
-
Using a Phillips #0 screwdriver, remove the nine 6.5 mm screws.
-
-
-
-
Use an opening to pry off the bottom cover, clips.
-
-
-
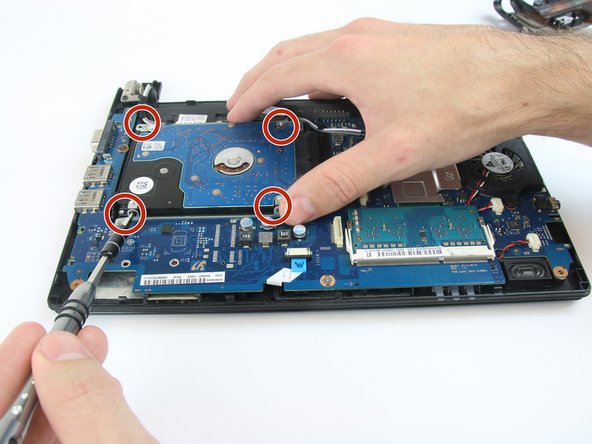
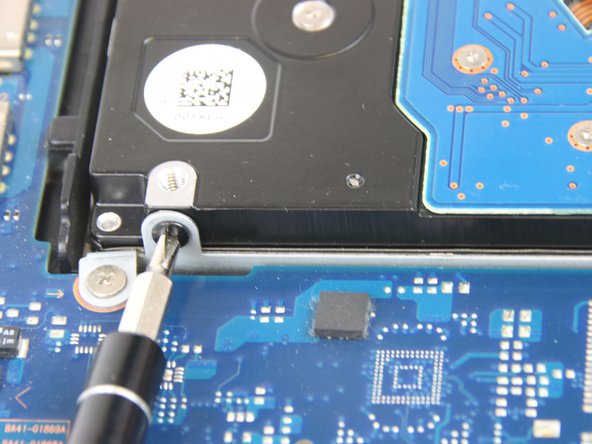
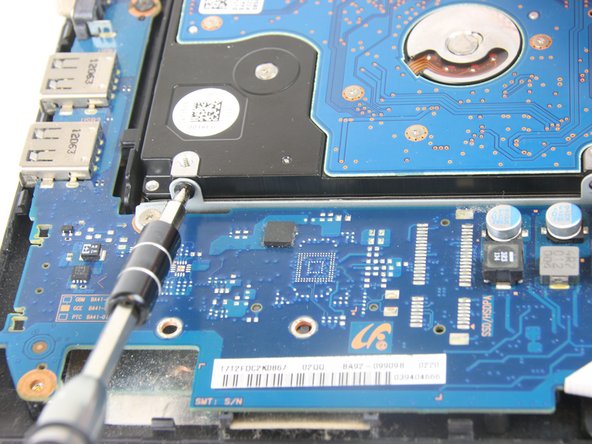
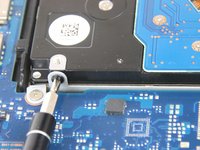
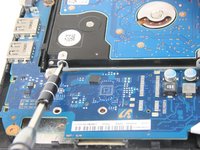
Use a Phillips #0 screwdriver to remove the four 4.5 mm bracket screws holding the hard drive onto the motherboard.
-
-
-
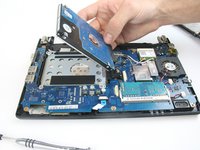
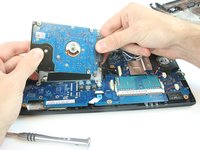
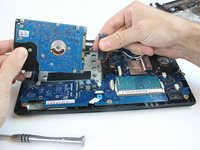
Lift the hard drive up and gently pull off the SATA cable that is currently connected to the board.
-


To reassemble your device, follow these instructions in reverse order.
To reassemble your device, follow these instructions in reverse order.
crwdns2935221:0crwdne2935221:0
crwdns2935227:0crwdne2935227:0
crwdns2915084:0crwdne2915084:0

USF Tampa, Team 2-4, Nance Fall 2016 crwdns2935289:0USF Tampa, Team 2-4, Nance Fall 2016crwdne2935289:0
USFT-NANCE-F16S2G4
crwdns2931471:04crwdne2931471:0
crwdns2935297:05crwdne2935297:0