crwdns2915892:0crwdne2915892:0
This guide shows how to replace the LCD screen on the Samsung L100.
crwdns2942213:0crwdne2942213:0
-
-
Remove the six external screws from the camera using a Phillips #0 screwdriver.
-
After the screws has been removed, the bottom of the back half of the external case should be loosened from the camera.
-
-
-
Open the battery cover that's located on the bottom right side of the camera and carefully remove the battery.
-
-
-
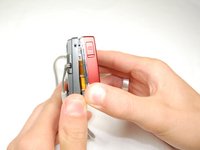
Slide your fingernail or a plastic spudger in the groove from the bottom to the top right side of the camera.
-
-
-
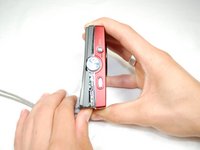
Carefully squeeze the top right corner of the camera and pry off the external cover.
-
Continue to pull the external cover and it will come off cleanly.
-
-
-
-
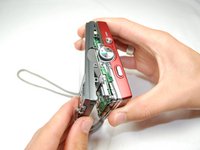
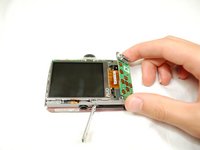
Remove the screws holding the circuit board.
-
Carefully remove the circuit board.
-
-
-
Carefully lift circuit board from camera.
-
-
-
Remove the front cover. It should come off easily.
-
-
-
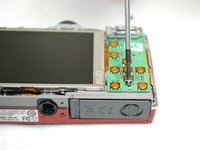
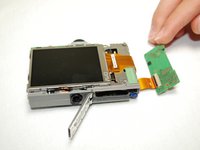
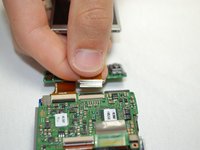
Remove the green tape that holds the LCD screen.
-
Carefully lift the LCD Screen.
-
-
-
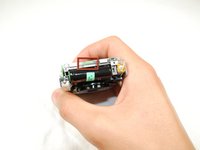
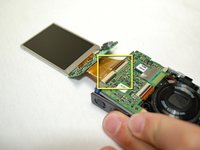
Flip the camera over to the other side.
-
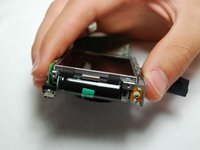
Lift the black strip and the ribbon should easily come out.
-
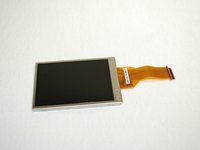
The LCD Screen should be completely separated from the camera now.
-
-
-
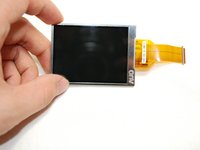
Insert the new LCD Screen by pushing the ribbon into the slot.
-
Flip the black strip back down to lock the ribbon in.
-
Your new LCD Screen should be connected to the camera now.
-


To reassemble your device, follow these instructions in reverse order.
To reassemble your device, follow these instructions in reverse order.
crwdns2935221:0crwdne2935221:0
crwdns2935227:0crwdne2935227:0
crwdns2915084:0crwdne2915084:0

Cal Poly, Team 6-17, Maness Spring 2010 crwdns2935289:0Cal Poly, Team 6-17, Maness Spring 2010crwdne2935289:0
CPSU-MANESS-S10S6G17
crwdns2931471:04crwdne2931471:0
crwdns2935297:010crwdne2935297:0