crwdns2915892:0crwdne2915892:0
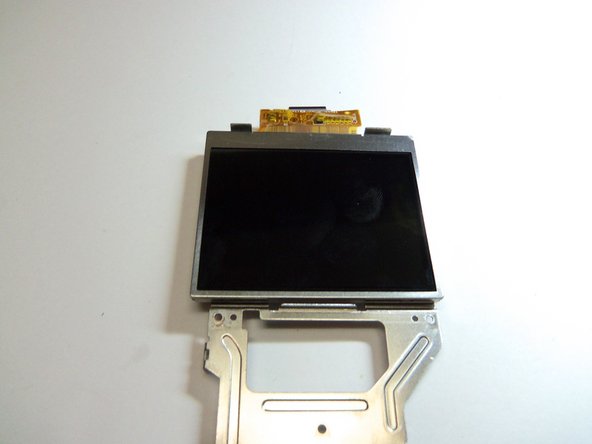
Shows how to place LCD screen of the camera via words and pictures. Replacement of LCD screen requires the removal of motherboard.
crwdns2942213:0crwdne2942213:0
-
-
To remove the wristband of the device, grab the middle loop and pull the band through.
-
-
-
Remove four screws with a Hex 1.5 mm screwdriver.
-
-
-
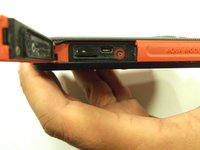
Open the HDMI door on the side of the camera.
-
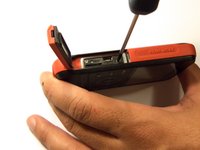
Remove the single screw using a Phillips #00 screwdriver.
-
-
-
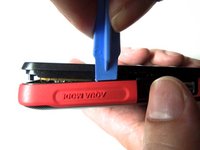
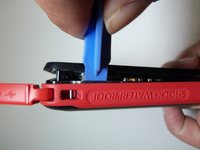
Use the iFixit opening tool on both sides on the device. Pry apart both sections with light force.
-
-
crwdns2935267:0crwdne2935267:0Tweezers$4.99
-
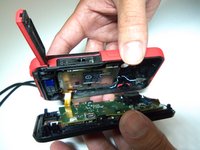
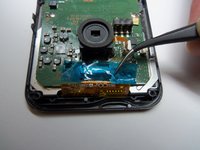
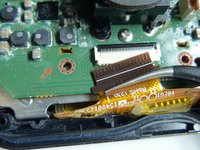
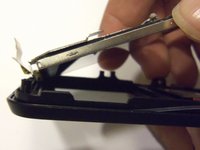
Pull the wire ribbon out with a pair of tweezers.
-
-
-
crwdns2935267:0crwdne2935267:0Tweezers$4.99
-
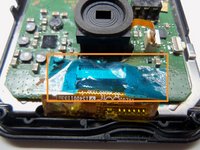
Use tweezers to remove the tape.
-
-
-
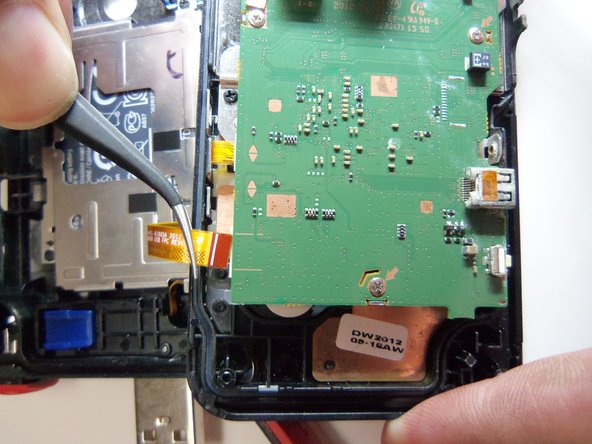
Use tweezers to grab the wire ribbon, then pull the wire out of connection.
-
-
-
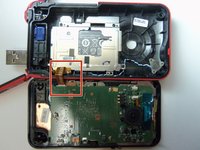
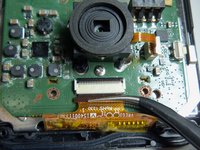
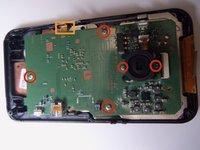
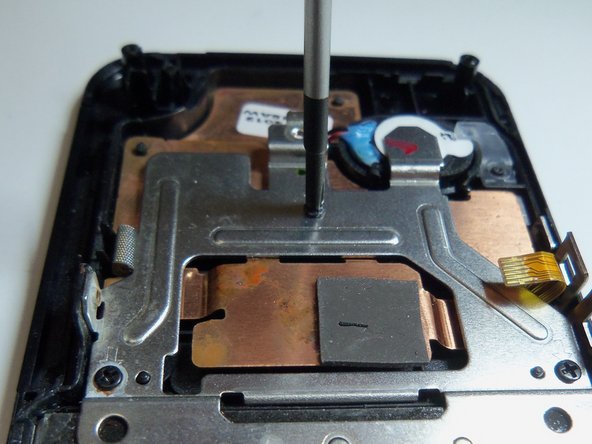
There are 5 Phillips size 00 screws. Remove all 5 screws.
-
Wire ribbon is attached to the motherboard.
-
-
-
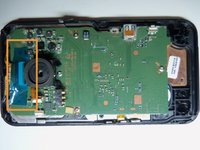
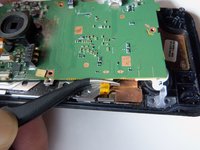
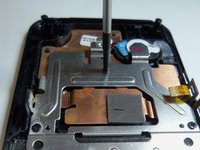
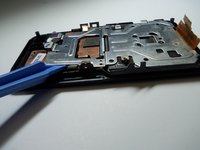
Pry the motherboard up using the plastic opening tool.
-
-
-
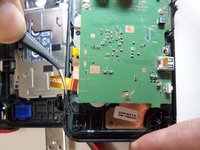
Use tweezers to disconnect the wire as shown. This will loosen the motherboard from the rear case.
-
-
-
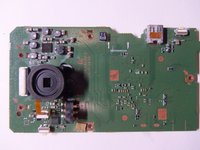
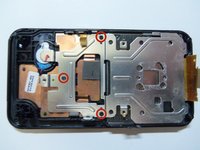
Use Phillips size 00 and remove the 3 screws as shown.
-
-
-
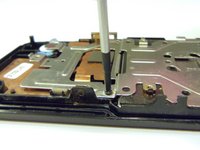
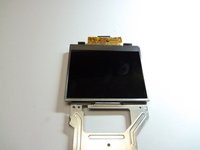
Pry the end of the screen with the plastic opening tool.
-
-
-
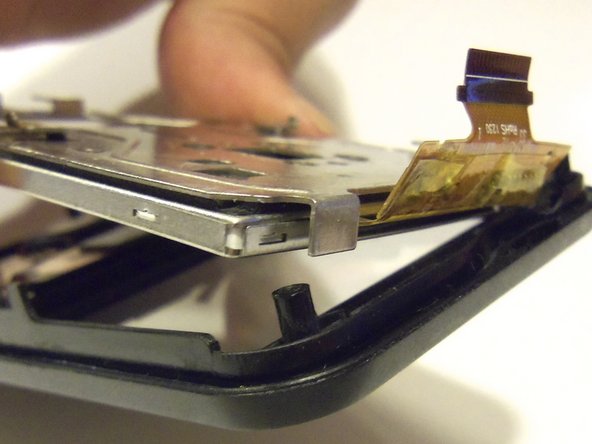
Grab the end of the screen, then pull towards the inside of the case. This is a bit tricky. This will release tabs at the top of the screen to the rear case.
-


To reassemble your device, follow these instructions in reverse order.
crwdns2935221:0crwdne2935221:0
crwdns2935227:0crwdne2935227:0
crwdns2935287:0crwdne2935287:0

USF Tampa, Team 9-2, Blackwell Winter 2015 crwdns2935289:0USF Tampa, Team 9-2, Blackwell Winter 2015crwdne2935289:0
USFT-BLACKWELL-W15S9G2
crwdns2931471:04crwdne2931471:0
crwdns2935297:016crwdne2935297:0