crwdns2915892:0crwdne2915892:0
Use this guide to replace your cracked or otherwise damaged front panel, including the front glass, digitizer, and front panel buttons.
crwdns2942213:0crwdne2942213:0
-
-
Use a plastic opening tool to remove the rear battery cover.
-
-
-
Remove the battery by pulling up from the bottom right corner.
-
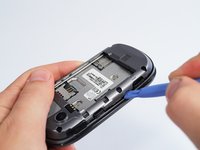
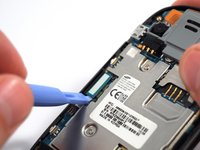
Remove the SIM card and the Micro SD card.
-
SIM card
-
Micro SD card
-
-
-
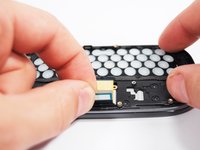
Remove the six 2.8 mm Phillips screws.
-
-
-
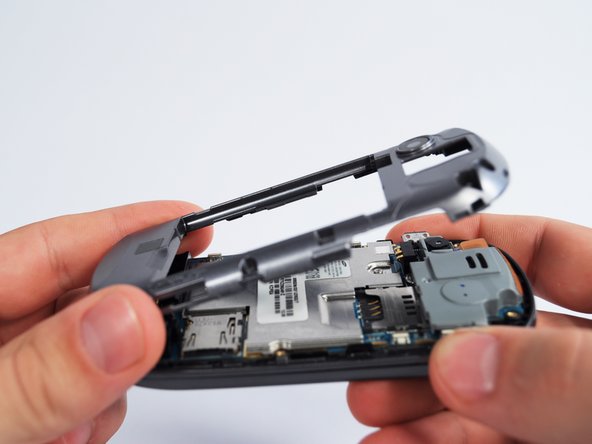
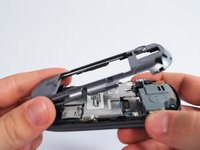
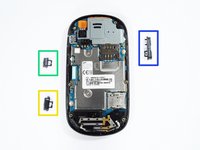
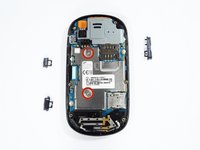
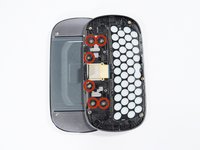
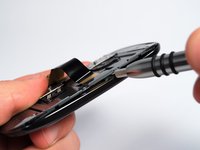
Use a plastic opening tool to pry off the casing.
-
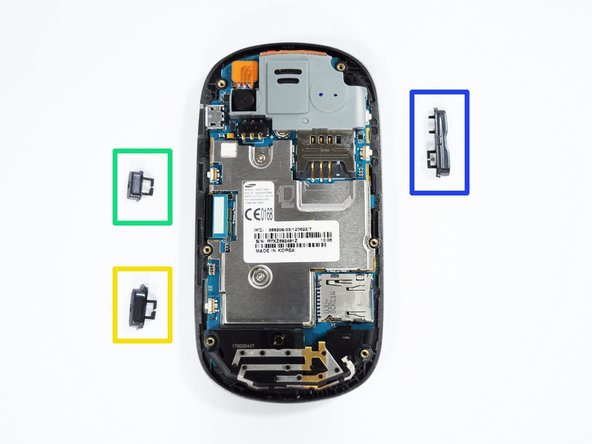
Lock button
-
Camera button
-
Volume button
-
-
-
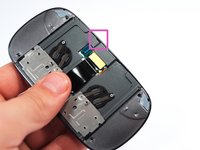
Disconnect the LCD cable with a plastic opening tool.
-
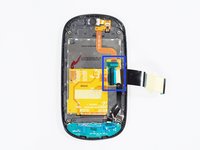
Remove the two 2.8 mm Phillips screws that hold the motherboard in place.
-
-
-
-
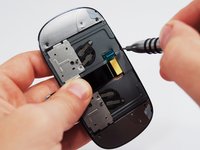
Remove the six 1.5 mm Phillips screws.
-
Very gently peel the LCD cord off the slider assembly.
-
-
-
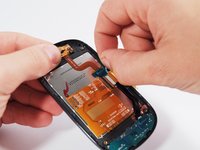
Remove the keyboard housing from the screen housing.
-
-
-
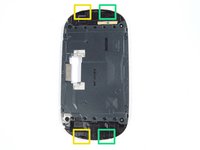
Remove the four 2.5 mm Phillips screws.
-
-
-
I found that my plastic opening tool wasn't strong enough (it broke) to pry open this casing.
-
I used a 1.3 mm Flathead screwdriver as an opening tool.
-
After you have gotten under the edge of the back plate, slide your tool along the length of the plate.
-
-
-
Remove the cover.
-
I found these clips to be the hardest to remove.
-
After removing the yellow clips, these should follow easily.
-
-
-
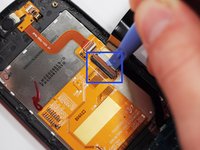
It's time to take the LCD out.
-
Begin by removing the blue piece of tape.
-
-
-
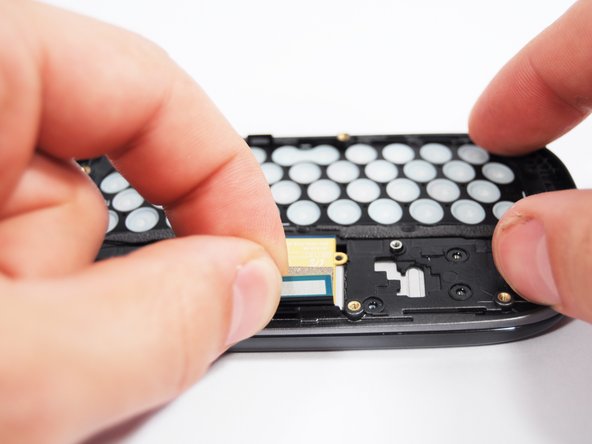
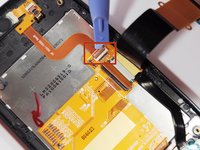
Disconnect the two ZIF connections using a plastic opening tool.
-
ZIF #1
-
ZIF #2
-
-
-
Use a plastic opening tool on the bottom of the LCD to pry it off.
-


To reassemble your device, follow these instructions in reverse order.
To reassemble your device, follow these instructions in reverse order.
crwdns2935221:0crwdne2935221:0
crwdns2935229:02crwdne2935229:0
