crwdns2915892:0crwdne2915892:0
Use this guide to replace the charging daughterboard in your Samsung Galaxy Tab S7+ 5G.
This is a prerequisite-only guide! This guide is part of another procedure and is not meant to be used alone. This guide is kept in place to support the existing in-house guide. The public guide for the same part supports the genuine Samsung part.
For your safety, discharge the battery below 25% before disassembling your tablet. This reduces the risk of fire if the battery is accidentally damaged during the repair. If your battery is swollen, take appropriate precautions.
There is a significant chance that you may break the unreinforced and fragile display panel during this procedure. Be sure to apply plenty of heat and be extremely careful during the prying stage.
You'll need replacement adhesive in order to complete this repair.
Some photos in this guide are from a different model and may contain slight visual discrepancies, but they won't affect the guide procedure.
crwdns2942213:0crwdne2942213:0
-
-
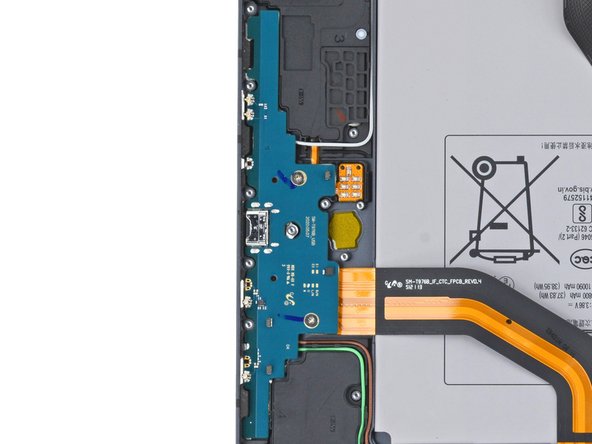
Use a Phillips #00 screwdriver to remove the two 2 mm screws securing the charging daughterboard to the frame.
-
-
-
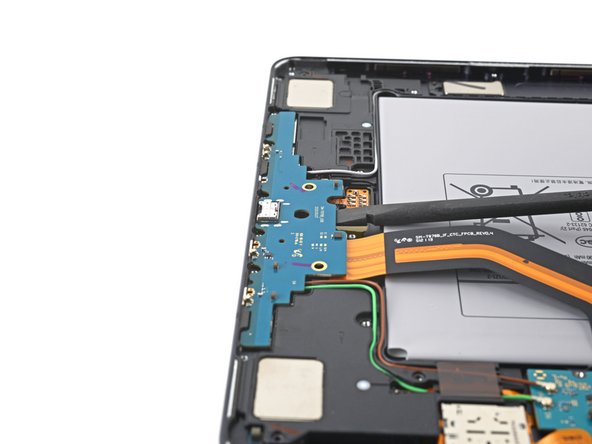
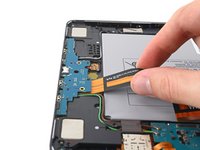
Insert a spudger between the charging daughterboard and the frame.
-
Pry up with the spudger to release the clips securing the charging daughterboard.
-
-
-
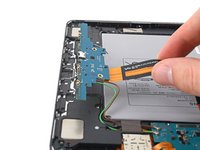
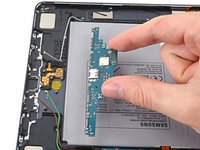
Use your fingers to pull the charging daughterboard from its slot in the frame.
-
Turn the charging board upside down, making sure not to twist the coaxial cables too far.
-
-
-
crwdns2935267:0crwdne2935267:0Tweezers$4.99
-
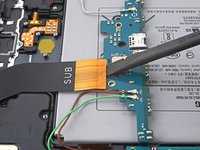
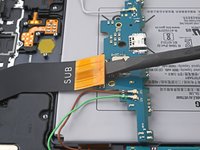
Use the flat end of a spudger to pry up and disconnect the interconnect cable's press connector secured to the charging daughterboard.
-
Use tweezers, or your fingers, to remove the interconnect cable.
-
-
-
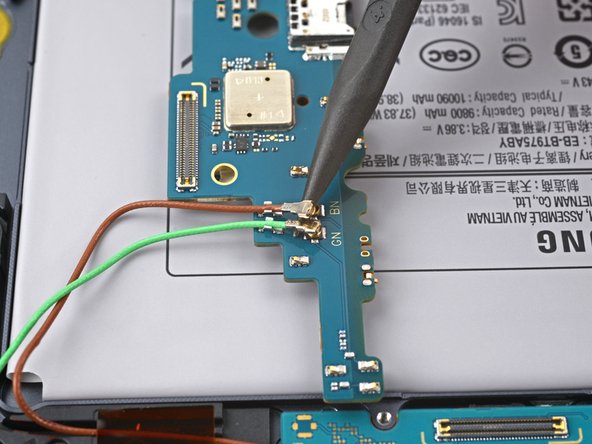
Use the point of a spudger to carefully pry up and disconnect the red and green coaxial cable from the bottom of the daughterboard.
-
-
-
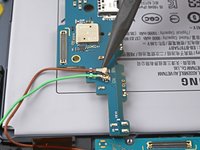
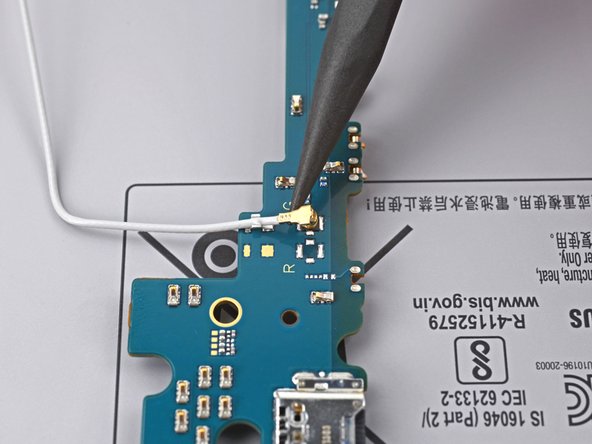
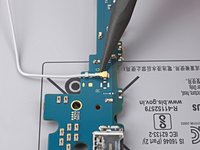
Use the point of a spudger to carefully pry up and disconnect the white coaxial cable from the top of the daughterboard.
-
-
-
Remove the daughterboard from the frame.
-


To reassemble your device, follow these instructions in reverse order.
Compare your new replacement part to the original part—you may need to transfer remaining components or remove adhesive backings from the new part before you install it.
Repair didn’t go as planned? Try some basic troubleshooting, or ask our Samsung Galaxy Tab S7+ Answers community for help.

