crwdns2915892:0crwdne2915892:0
During all steps, handle every component with care as they are very delicate electronic parts.
crwdns2942213:0crwdne2942213:0
-
-
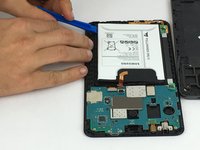
Using the plastic opening tool, starting at any corner on the tablet, insert the tool between the back panel and the front panel.
-
Slide tool around the tablet to unlock the panels from one another.
-
-
-
Carefully remove the back panel from the front panel.
-
The inner components of the tablet will now be exposed.
-
-
-
crwdns2935267:0crwdne2935267:0Tweezers$4.99
-
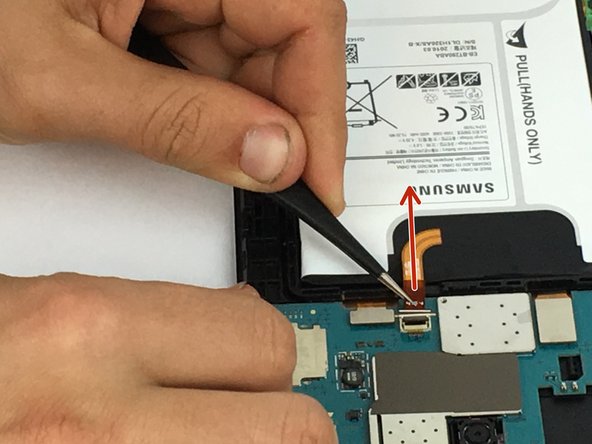
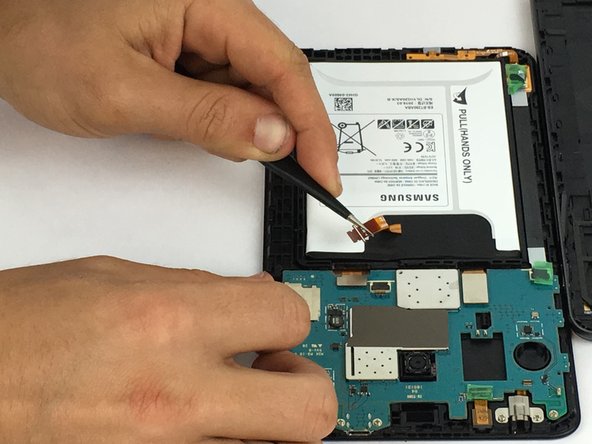
Using tweezers, gently lift the black tab locking the wire connecting the battery to the motherboard.
-
Pull wire from connector.
-


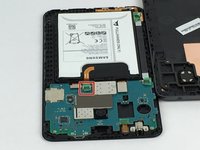


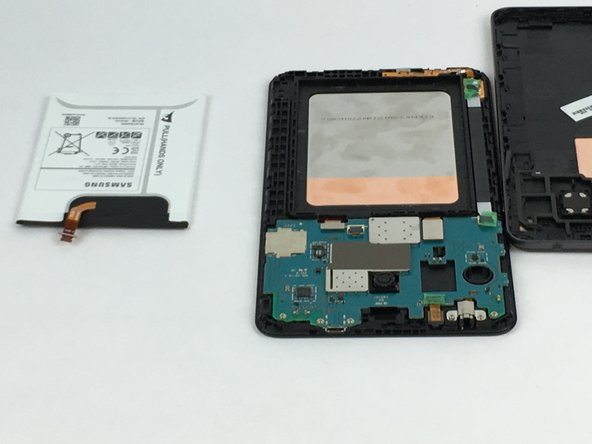

To reassemble your device, follow these instructions in reverse order.
To reassemble your device, follow these instructions in reverse order.
crwdns2935221:0crwdne2935221:0
crwdns2935229:016crwdne2935229:0

crwdns2915084:0crwdne2915084:0

USF Tampa, Team 5-4, Passmore Spring 2017 crwdns2935289:0USF Tampa, Team 5-4, Passmore Spring 2017crwdne2935289:0
USFT-PASSMORE-S17S5G4
crwdns2931471:03crwdne2931471:0
crwdns2935297:010crwdne2935297:0
crwdns2947412:06crwdne2947412:0
I found there was a layer of double-sided tape backing the battery, and I had to use a flathead screwdriver to get enough force to lever it up. This does not significantly change the guide.
It would be nice if you showed which side to remove.
The OEM battery in my device expanded and pushed the screen from the housing. I had to temporarily separate the screen from the housing while leaving the connectors in their sockets while I pried the front housing from the back to reveal the battery. Once the front and back of the chassis were separated, I reattached the screen to the front housing and continued with the procedure. A heat gun made the process much easier by loosening the tape between the screen and housing, but was not necessary to lift the battery or separate the front from the back of the chassis.
Bought a new battery, replaced as said, but seems like new battery is dead. How does one boost it? If I plug into charge, it almost seems like te sceen "flashes" but doesnt come on or show charge bar. Please help.
Should have said to soften the glue before trying to remove the back panel. There are way better YouTube videos that show you what to do.