crwdns2915892:0crwdne2915892:0
This is a step by step guide showing how to replace the screen on a Samsung Galaxy Tab A 10.1 tablet.
crwdns2942213:0crwdne2942213:0
-
-
Remove all external power and turn off the tablet.
-
Insert a plastic opening tool between the screen and rear casing.
-
Pry the screen and rear casing apart.
-
-
-
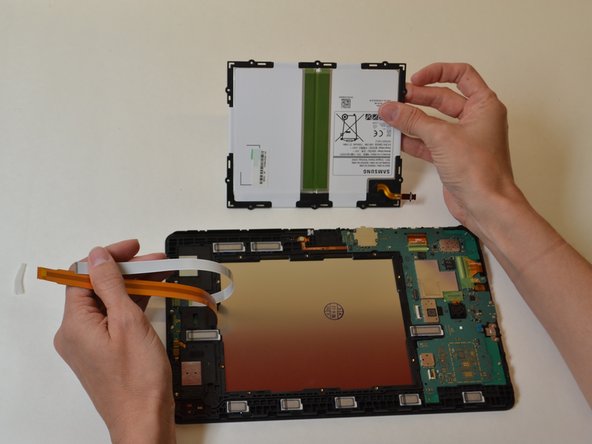
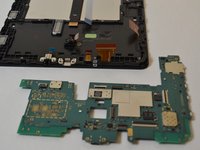
Remove the three green pieces of tape covering the white, black, and gold ribbon cables.
-
Use a spudger to flip up the retaining flap on the three ribbon cable ZIF sockets.
-
Pull the ribbon cables out of the sockets.
-
-
-
-
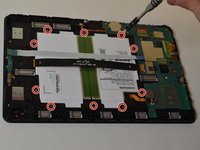
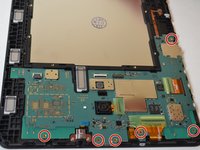
Remove the ten 4mm Phillips #000 screws from the battery.
-
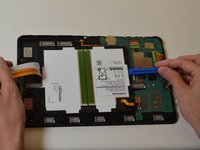
Use a plastic opening tool to pry up the battery.
-
Remove the battery.
-
-
-
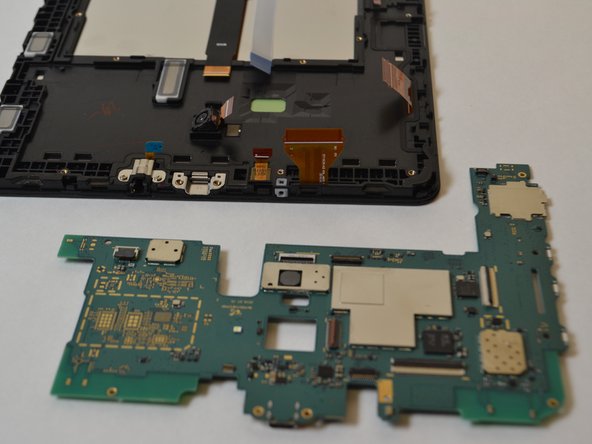
Remove the six 4mm Phillips #000 screws from the motherboard.
-
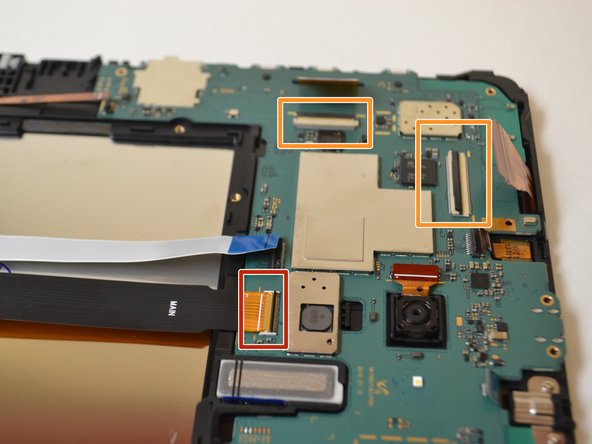
Use a spudger to flip up the retaining flap on the ribbon cable ZIF sockets.
-
Use the plastic opening tool to remove the motherboard from the case.
-
-
-
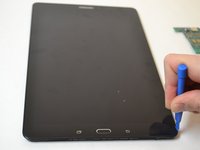
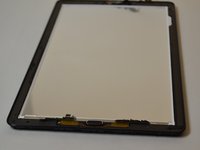
Insert a plastic opening tool between the screen and bezel.
-
Slide the plastic opening tool around the perimeter while prying upwards until the screen separates from the bezel.
-


To reassemble your device, follow these instructions in reverse order.
To reassemble your device, follow these instructions in reverse order.
crwdns2935221:0crwdne2935221:0
crwdns2935229:04crwdne2935229:0
crwdns2915084:0crwdne2915084:0

UW Tacoma, Team S1-G5, Liner Spring 2018 crwdns2935289:0UW Tacoma, Team S1-G5, Liner Spring 2018crwdne2935289:0
UWT-LINER-S18S1G5
crwdns2931471:05crwdne2931471:0
crwdns2935297:08crwdne2935297:0