crwdns2933423:0crwdne2933423:0

Samsung Galaxy Tab 8.9 Rear Facing Camera Replacement

crwdns2942213:0crwdne2942213:0

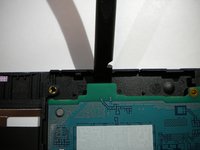
  1. Samsung Galaxy Tab 8.9 Rear Facing Camera Replacement, Insert Opening tool: crwdns2935265:01crwdnd2935265:01crwdnd2935265:01crwdne2935265:0
    • Insert a plastic opening tool between the back cover and screen of the Samsung Galaxy Tab 8.9 (as indicated in the photograph).

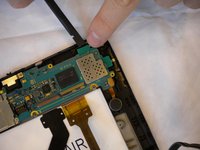
  2. Samsung Galaxy Tab 8.9 Rear Facing Camera Replacement, Insert second tool: crwdns2935265:02crwdnd2935265:01crwdnd2935265:01crwdne2935265:0
    • Insert a second plastic opening tool 6 cm (~2.4 inches) away from the first tool.

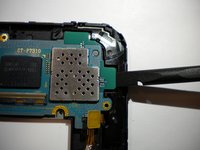
  3. Samsung Galaxy Tab 8.9 Rear Facing Camera Replacement: crwdns2935265:03crwdnd2935265:01crwdnd2935265:01crwdne2935265:0
    • Slide the second plastic opening tool along the edge of the device to separate the back cover.

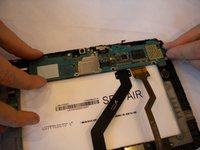
  4. Samsung Galaxy Tab 8.9 Rear Facing Camera Replacement: crwdns2935265:04crwdnd2935265:01crwdnd2935265:01crwdne2935265:0
    • Using your hands, remove the back cover.

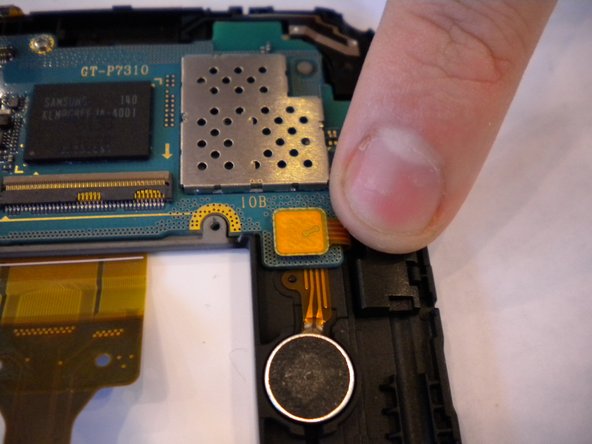
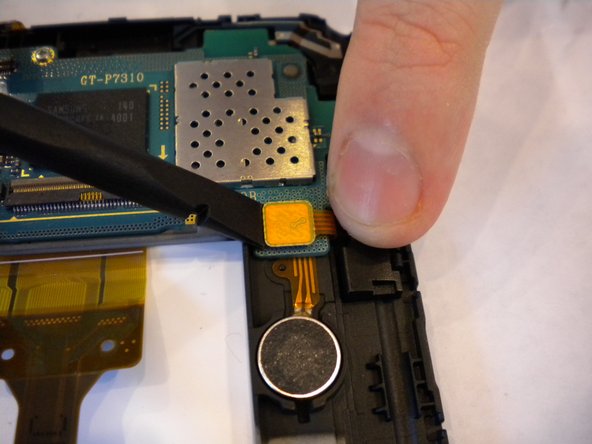
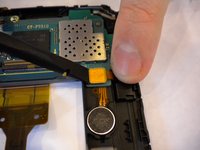
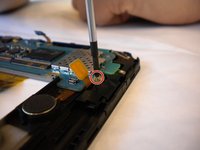
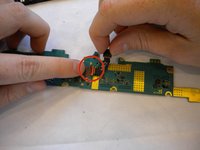
  5. Samsung Galaxy Tab 8.9 Rear Facing Camera Replacement, Motherboard: crwdns2935265:05crwdnd2935265:01crwdnd2935265:03crwdne2935265:0 Samsung Galaxy Tab 8.9 Rear Facing Camera Replacement, Motherboard: crwdns2935265:05crwdnd2935265:02crwdnd2935265:03crwdne2935265:0 Samsung Galaxy Tab 8.9 Rear Facing Camera Replacement, Motherboard: crwdns2935265:05crwdnd2935265:03crwdnd2935265:03crwdne2935265:0
    • Locate the motherboard and 5 connectors on it.

    • Pry up and detach the connector from the motherboard using the flat edge of the spudger.

    • Repeat for the 4 remaining connectors.

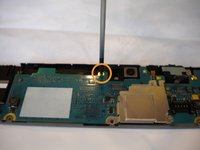
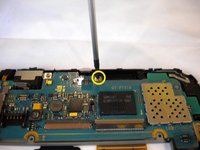
  6. Samsung Galaxy Tab 8.9 Rear Facing Camera Replacement: crwdns2935265:06crwdnd2935265:01crwdnd2935265:03crwdne2935265:0 Samsung Galaxy Tab 8.9 Rear Facing Camera Replacement: crwdns2935265:06crwdnd2935265:02crwdnd2935265:03crwdne2935265:0 Samsung Galaxy Tab 8.9 Rear Facing Camera Replacement: crwdns2935265:06crwdnd2935265:03crwdnd2935265:03crwdne2935265:0
    • Using the Phillips #00 screwdriver, unscrew the 3 screws (1mm) that are located near:

    • Camera

    • Power and volume buttons

    • Tilt sensor

  7. Samsung Galaxy Tab 8.9 Rear Facing Camera Replacement: crwdns2935265:07crwdnd2935265:01crwdnd2935265:03crwdne2935265:0 Samsung Galaxy Tab 8.9 Rear Facing Camera Replacement: crwdns2935265:07crwdnd2935265:02crwdnd2935265:03crwdne2935265:0 Samsung Galaxy Tab 8.9 Rear Facing Camera Replacement: crwdns2935265:07crwdnd2935265:03crwdnd2935265:03crwdne2935265:0
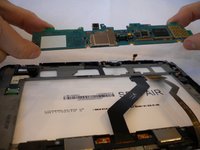
    • Using the flat edge of the spudger, pry and lift up the motherboard.

  8. Samsung Galaxy Tab 8.9 Rear Facing Camera Replacement: crwdns2935265:08crwdnd2935265:01crwdnd2935265:02crwdne2935265:0 Samsung Galaxy Tab 8.9 Rear Facing Camera Replacement: crwdns2935265:08crwdnd2935265:02crwdnd2935265:02crwdne2935265:0
    • Pull away the motherboard from the housing.

  9. Samsung Galaxy Tab 8.9 Rear Facing Camera Replacement, Flip Motherboard: crwdns2935265:09crwdnd2935265:01crwdnd2935265:01crwdne2935265:0
    • After removing motherboard from device, flip motherboard over.

  10. Samsung Galaxy Tab 8.9 Rear Facing Camera Replacement, Locate Camera: crwdns2935265:010crwdnd2935265:01crwdnd2935265:01crwdne2935265:0
    • Camera is located in the center of motherboard.

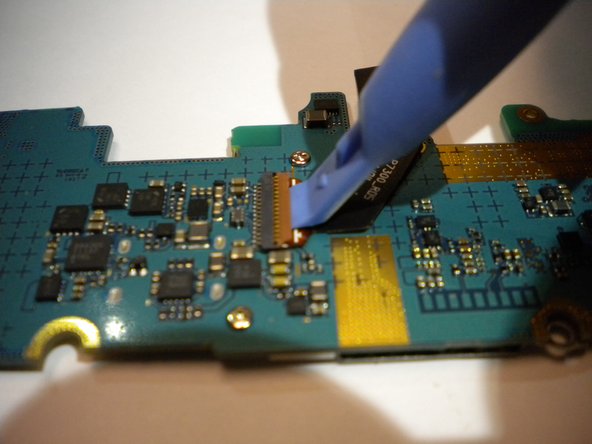
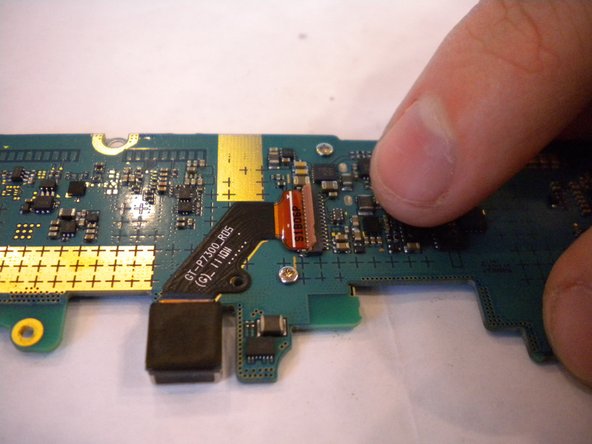
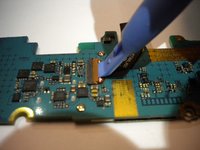
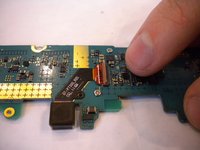
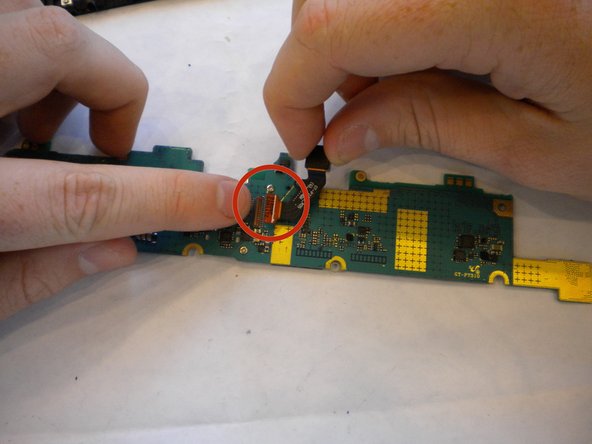
  11. Samsung Galaxy Tab 8.9 Rear Facing Camera Replacement, Disconnect Flex Ribbon: crwdns2935265:011crwdnd2935265:01crwdnd2935265:03crwdne2935265:0 Samsung Galaxy Tab 8.9 Rear Facing Camera Replacement, Disconnect Flex Ribbon: crwdns2935265:011crwdnd2935265:02crwdnd2935265:03crwdne2935265:0 Samsung Galaxy Tab 8.9 Rear Facing Camera Replacement, Disconnect Flex Ribbon: crwdns2935265:011crwdnd2935265:03crwdnd2935265:03crwdne2935265:0
    • Using flat side of Spudger, lift orange tab connecting the flex ribbon of the camera to the motherboard.

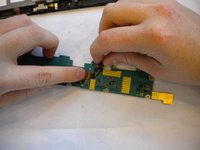
  12. Samsung Galaxy Tab 8.9 Rear Facing Camera Replacement, Remove Camera: crwdns2935265:012crwdnd2935265:01crwdnd2935265:02crwdne2935265:0 Samsung Galaxy Tab 8.9 Rear Facing Camera Replacement, Remove Camera: crwdns2935265:012crwdnd2935265:02crwdnd2935265:02crwdne2935265:0
    • Remove the camera from the motherboard.

crwdns2915888:0crwdne2915888:0

To reassemble your device, follow these instructions in reverse order.

Aleezee True

crwdns2935283:009/30/14crwdne2935283:0

532 crwdns2915208:0crwdne2915208:0

crwdns2935297:03crwdne2935297:0

crwdns2915084:0crwdne2915084:0

USF Tampa, Team 11-4, Blackwell Fall 2014 crwdns2935289:0USF Tampa, Team 11-4, Blackwell Fall 2014crwdne2935289:0

USFT-BLACKWELL-F14S11G4

crwdns2931471:04crwdne2931471:0

crwdns2935297:010crwdne2935297:0

crwdns2944067:00crwdne2944067:0

crwdns2917038:0crwdne2917038:0

crwdns2936625:0crwdne2936625:0:

crwdns2936751:024crwdne2936751:0 0

crwdns2936753:07crwdne2936753:0 0

crwdns2936753:030crwdne2936753:0 1

crwdns2942667:0crwdne2942667:0 301