crwdns2915892:0crwdne2915892:0
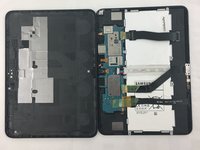
Replacement guide for the micro USB charging port on a Samsung Galaxy Tab 4 10.1 android tablet.
The battery only needs to be disconnected—skip steps 3, 5, and 6.
crwdns2942213:0crwdne2942213:0
-
-
Insert the wedge of the nylon spudger and slide it between the front and back panels until the back comes off.
-
-
-
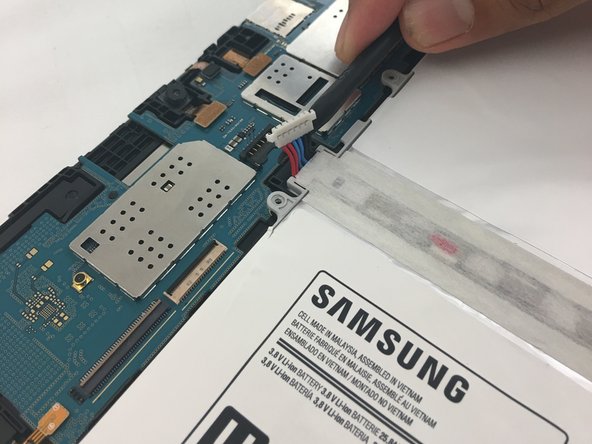
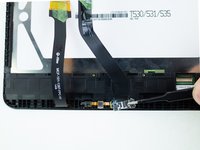
Peel off the green tape that covers the connectors for the three black strips.
-
Use the tip of a spudger or your fingernail to flip up the small retaining flaps.
-
-
-
Use a Phillips #00 screwdriver to remove the four 3.2mm screws.
-
-
-
crwdns2935267:0crwdne2935267:0Tweezers$4.99
-
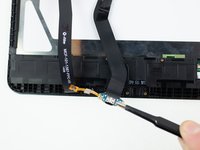
Detach the red, blue, and black cables by prying up on the white connector from the motherboard.
-
If using fingers instead, pull evenly on the full width of the cable so the wires are not overly strained.
-
-
-
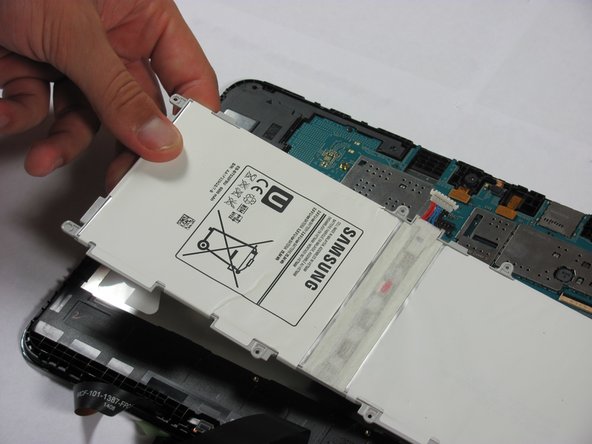
Use the nylon spudger to remove the battery by prying up on the edges.
-
-
-
Once the battery is loose, lift it out of the device.
-
-
-
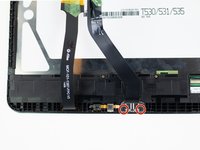
Remove the two 2.7mm Phillips #00 screws from the micro USB port.
-
Remove the micro USB retaining bracket.
-
-
-
Use the flat end of a spudger to disconnect the micro USB port.
-
Remove the micro USB port.
-


To reassemble your device, follow these instructions in reverse order.
crwdns2935221:0crwdne2935221:0
crwdns2935229:012crwdne2935229:0

crwdns2947412:02crwdne2947412:0
Thank you so much for simplifying this guide for us novices. I have tried watching two videos where they assume I already have some Samsung repair knowledge. I feel confident I will be able to get the tablet up and charging in no time.
There is no need to remove the battery, only detach the power connector, cheers!