crwdns2915892:0crwdne2915892:0
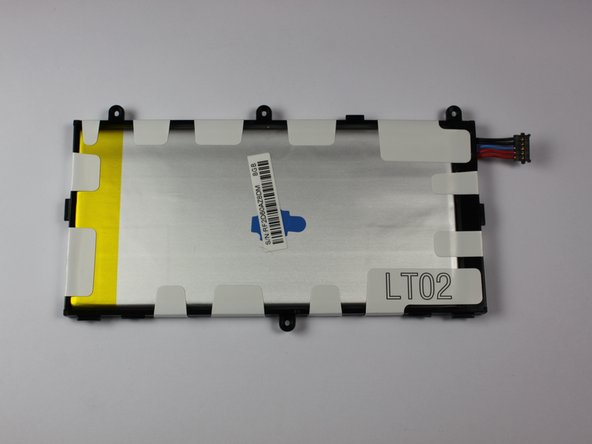
The battery is usually the first part removed, even if it is not the problem, it makes other components in the device more accessible.
crwdns2942213:0crwdne2942213:0
crwdns2936621:0crwdne2936621:0
-
-
With a plastic opening tool, gently insert the prying end in between the glass digitizer and the silver frame from the front of the device.
-
-
-
Working slowly and carefully, move around the entirety of the face of the device. Small plastic clips should release, if not, apply gentle outwards pressure until you hear the clips popping off.
-
-
-
crwdns2935267:0crwdne2935267:0Tweezers$4.99
-
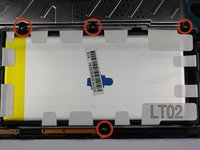
To begin actual removal of the battery itself, remove the four designated screws with your screwdriver.
-
Once the screws are removed, use either the tip of your screwdriver or a pair of tweezers to pull up the battery connector. Pull directly up and the connector should pop out.
-
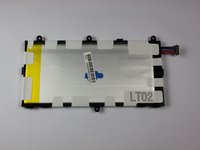
Once the battery is removed, it should look as it does in the third picture.
-
-
-
To finish battery replacement, place your new battery where the old battery was in your device, as shown in the picture.
-


To reassemble your device, follow these instructions in reverse order.
crwdns2935221:0crwdne2935221:0
crwdns2935229:057crwdne2935229:0
crwdns2935287:0crwdne2935287:0

Cal Poly, Team 7-20, Regan Spring 2014 crwdns2935289:0Cal Poly, Team 7-20, Regan Spring 2014crwdne2935289:0
CPSU-REGAN-S14S7G20
crwdns2931471:04crwdne2931471:0
crwdns2935297:010crwdne2935297:0
crwdns2947412:07crwdne2947412:0
Don't forget to reset the time and date when your done.
Some of the apps will not work and the operating system will not tell you that this is the problem.
good job for making this as least complicated as possible i completed the guide
Great guide..... If you don't have the plastic tool, my thumb nail worked just fine
Thanks for this great guide.
When attaching the new battery it helped me to actually attach the wiring connector before final placement of the battery. Also, I found it easier to put the single screw in first before pushing the battery all the way down and starting the three on the other side. The cscrew holes in the replacement battery have to be PERFECT and if they’re just slightly off you can’t get the one lonely screw started if you put the other three in first.
I enjoied the guide it was realy easy the video was varry helpfull. I do have a question is there any way to test the batery to make sure that is realy the problem, before i go replaycing it?