crwdns2915892:0crwdne2915892:0
Follow this guide to replace the loudspeaker assembly in a Samsung Galaxy S7 Edge.
Note: The curved edge and strong adhesive make the initial opening procedure very challenging. Be patient, repeat multiple heat and pull cycles, and the adhesive will eventually loosen.
crwdns2942213:0crwdne2942213:0
-
-
Heat an iOpener and apply it to a long edge of the phone for about two minutes.
-
-
-
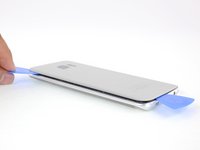
Once the back panel is warm to the touch, apply a suction cup as close to the heated edge of the phone as you can while avoiding the curved edge.
-
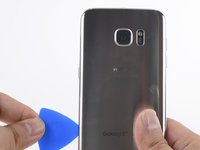
Lift on the suction cup and insert an opening pick under the rear glass.
-
-
-
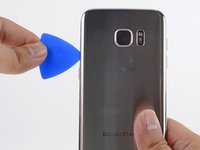
Once you have the pick firmly inserted into the glass, reheat and reapply the iOpener to soften the adhesive.
-
-
-
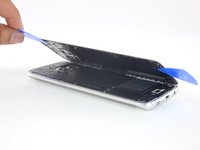
Slide the opening pick up along the side of the phone, separating the adhesive.
-
Leave the pick in place and grab a second pick as you proceed to the next step. Leaving the pick inserted can help prevent the glue you just separated from re-adhering.
-
-
-
-
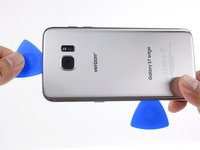
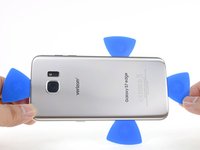
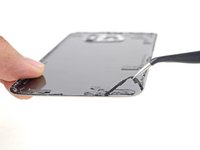
Repeat the previous heating and cutting procedure for the remaining three sides of the phone.
-
Leave an opening pick on each side as you continue to the next to prevent the adhesive from resealing.
-
-
-
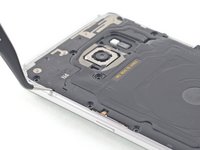
Lift the glass and remove it from the phone.
-
-
crwdns2935267:0crwdne2935267:0Tweezers$4.99
-
Use tweezers to peel away any remaining adhesive from the phone's chassis. Then clean the adhesion areas with high concentration isopropyl alcohol (at least 90%) and a lint-free cloth to prep the surface for the new adhesive.
-
Peel the adhesive backing off of the new rear glass, carefully line up one edge of the glass against the phone chassis, and firmly press the glass onto the phone.
-
-
-
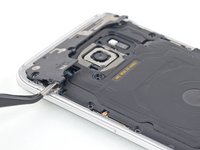
Remove the twelve 3.5 mm Phillips screws.
-
-
-
Use the small notch on the lower left of the upper antenna to pry it out of the phone.
-
Remove the upper antenna.
-
-
-
Lift and remove the wireless charging coil from the phone.
-
-
-
Lift and remove the loudspeaker from the phone.
-


To reassemble your device, follow these instructions in reverse order.
crwdns2935221:0crwdne2935221:0
crwdns2935229:05crwdne2935229:0

