crwdns2915892:0crwdne2915892:0
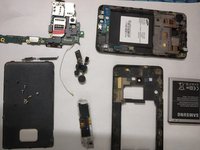
Damaged touch screen of a mobile phone may render the device useless as it disables the touch function in the affected zone or at times the entire screen. Using this guide, damaged touch screen of a Samsung galaxy S2 mobile phone can be easily replaced at home using standard tools. This guide also provides information about the major components used in a mobile phone and the handling precautions to be taken during disassembly. Replacement of screen must be carried out extremely carefully to avoid damage to other delicate components.
crwdns2942213:0crwdne2942213:0
-
-
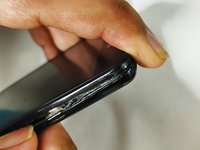
Gently remove the back cover starting from the slot given on the right side.
-
-
-
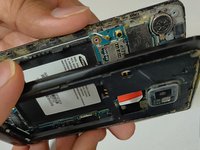
Use a Phillips #00 screwdriver to remove the battery from the slot.
-
-
-
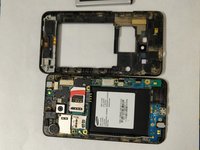
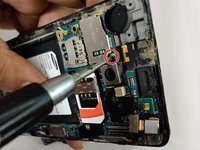
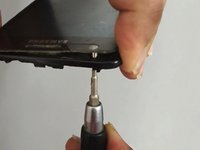
Use a magnetic philips #0 head screw driver to open the 7 x 1/16 in (1.6 mm) philips head screws shown in the image.
-
-
-
Gently unlock the snap locks starting from the top left corner and progressing along the perimeter to remove the back case.
-
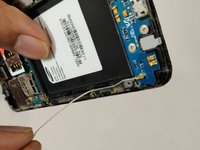
Remove the plastic cover carefully and place on the white paper.
-
-
-
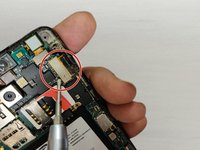
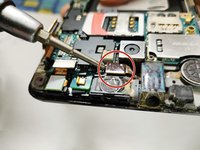
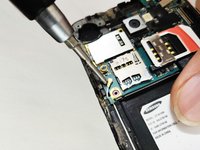
Use a screwdriver or another pointed tool to disconnect the screen connector.
-
Lift the cable out of the slot.
-
-
-
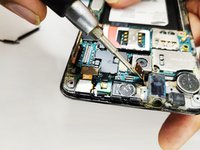
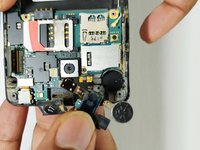
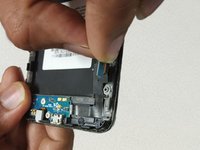
Remove the connector for the speaker and audio jack carefully.
-
-
-
-
Use a screwdriver to gently lift the speaker which is fixed to the base with double side tape.
-
Gently lift the earpiece using a flat screwdriver.
-
-
-
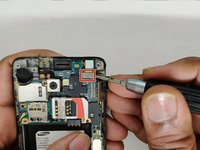
Unplug the secondary camera connector carefully and lift the cable.
-
Then unplug the connector that receives the input from the screen.
-
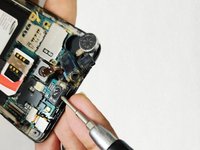
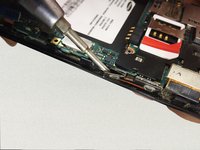
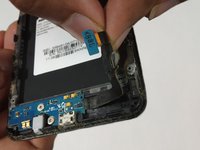
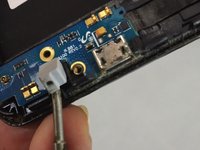
Remove the connection for the charging port using a screw driver.
-
-
-
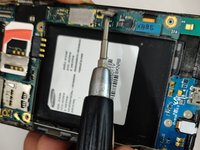
Remove the two 1.6 mm black head screws using the Phillips #00 screwdriver.
-
-
-
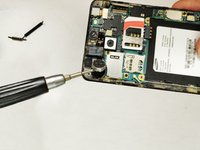
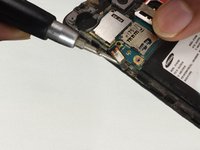
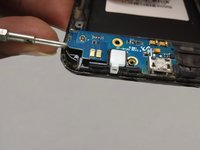
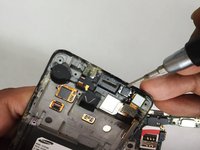
Disconnect the antennae from both the ends by removing the connections using flat screwdriver.
-
Carefully pull out the antennae cable from the slot.
-
-
-
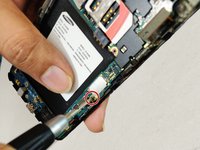
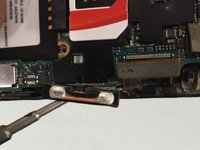
Gently peel off the power button fixed with double adhesive tape.
-
Carefully lift the button out of the slot.
-
-
-
Repeat the same procedure from step 15 to remove the volume up down button.
-
-
-
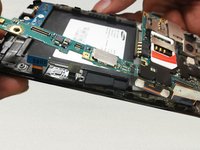
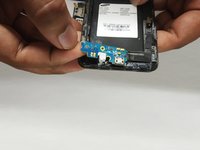
Now the main board is free. Carefully lift it up and place on the workbench gently.
-
-
-
Peel off the ribbon cable connecting the charging port and microphone by hand.
-
-
-
Remove the two 2.0 mm screws using the Phillips #0 screwdriver.
-
-
-
Lift the microphone gently.
-
Lift the board out from the metal casing and place on the workbench.
-
-
-
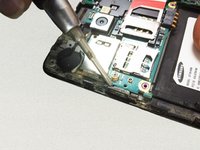
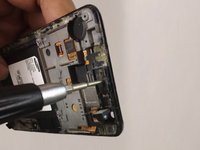
Finally push the screen out applying force through the screwdriver at the highlighted locations.
-
Take out the screen, clean the remaining double side tape and adhesive.
-
Install the new screen and follow the same steps in reverse order to re assemble the phone.
-


To reassemble your device, follow these instructions in reverse order.
crwdns2935221:0crwdne2935221:0
crwdns2935229:03crwdne2935229:0
crwdns2947410:01crwdne2947410:0
My Samsung Galaxy s2 is an AT&T phone