crwdns2933423:0crwdne2933423:0

Samsung Galaxy Pocket Neo S5310 LCD Display, Touch screen Replacement

crwdns2942213:0crwdne2942213:0

crwdns2936621:0crwdne2936621:0

  1. Samsung Galaxy Pocket Neo S5310 LCD Display, Touch screen Replacement, Loudspeaker: crwdns2935265:01crwdnd2935265:01crwdnd2935265:03crwdne2935265:0 Samsung Galaxy Pocket Neo S5310 LCD Display, Touch screen Replacement, Loudspeaker: crwdns2935265:01crwdnd2935265:02crwdnd2935265:03crwdne2935265:0 Samsung Galaxy Pocket Neo S5310 LCD Display, Touch screen Replacement, Loudspeaker: crwdns2935265:01crwdnd2935265:03crwdnd2935265:03crwdne2935265:0
    • Remove any SIM and SD card.

    • Remove 7x Phillips screws.

    • Use a plastic tool to disassemble the rear housing.

  2. Samsung Galaxy Pocket Neo S5310 LCD Display, Touch screen Replacement: crwdns2935265:02crwdnd2935265:01crwdnd2935265:01crwdne2935265:0
    • The Loudspeaker is located on the rear housing..

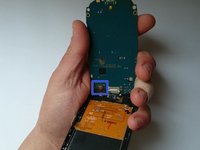
  3. Samsung Galaxy Pocket Neo S5310 LCD Display, Touch screen Replacement, Logic Board: crwdns2935265:03crwdnd2935265:01crwdnd2935265:03crwdne2935265:0 Samsung Galaxy Pocket Neo S5310 LCD Display, Touch screen Replacement, Logic Board: crwdns2935265:03crwdnd2935265:02crwdnd2935265:03crwdne2935265:0 Samsung Galaxy Pocket Neo S5310 LCD Display, Touch screen Replacement, Logic Board: crwdns2935265:03crwdnd2935265:03crwdnd2935265:03crwdne2935265:0
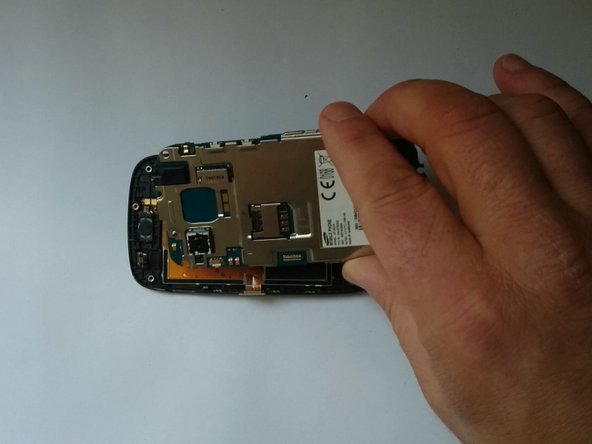
    • Disconnect the LCD Display flex cable.

    • Lift up the board and disconnect the Touchscreen flex cable.

    • Now you can remove the Motherboard.

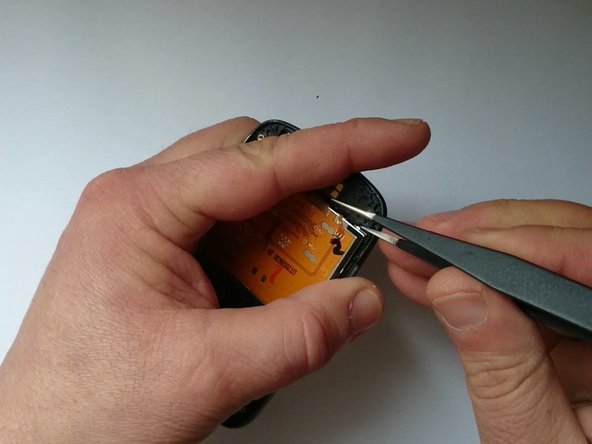
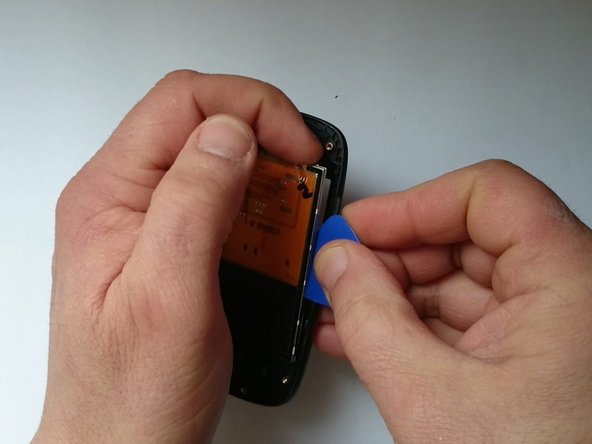
  4. Samsung Galaxy Pocket Neo S5310 LCD Display, Touch screen Replacement, Touchscreen, Digitizer Glass, LCD Display: crwdns2935265:04crwdnd2935265:01crwdnd2935265:03crwdne2935265:0 Samsung Galaxy Pocket Neo S5310 LCD Display, Touch screen Replacement, Touchscreen, Digitizer Glass, LCD Display: crwdns2935265:04crwdnd2935265:02crwdnd2935265:03crwdne2935265:0 Samsung Galaxy Pocket Neo S5310 LCD Display, Touch screen Replacement, Touchscreen, Digitizer Glass, LCD Display: crwdns2935265:04crwdnd2935265:03crwdnd2935265:03crwdne2935265:0
    • Warm the touchscreen to make separating the LCD Display more easy

    • For this manipulation you can use a hair drier.

    • In the four corners of LCD display there are small metal plates. Use one of them to lift a little the LCD and put the plastic tool.

    • Be careful not to break the display.

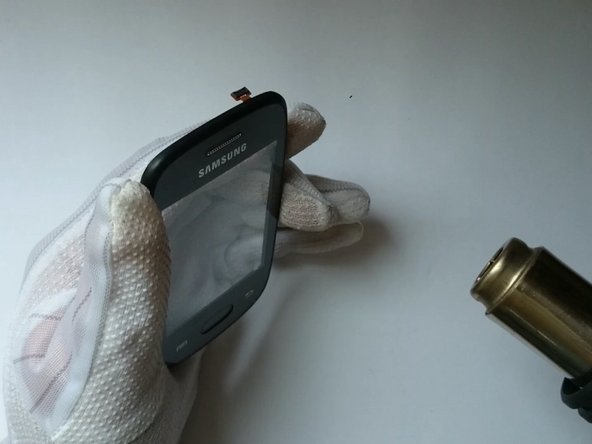
  5. Samsung Galaxy Pocket Neo S5310 LCD Display, Touch screen Replacement: crwdns2935265:05crwdnd2935265:01crwdnd2935265:03crwdne2935265:0 Samsung Galaxy Pocket Neo S5310 LCD Display, Touch screen Replacement: crwdns2935265:05crwdnd2935265:02crwdnd2935265:03crwdne2935265:0 Samsung Galaxy Pocket Neo S5310 LCD Display, Touch screen Replacement: crwdns2935265:05crwdnd2935265:03crwdnd2935265:03crwdne2935265:0
    • After separating the LCD Display, again worm the Touchscreen.

    • If the glass is broken, put a transparent tape to prevent scattering.

  6. Samsung Galaxy Pocket Neo S5310 LCD Display, Touch screen Replacement: crwdns2935265:06crwdnd2935265:01crwdnd2935265:03crwdne2935265:0 Samsung Galaxy Pocket Neo S5310 LCD Display, Touch screen Replacement: crwdns2935265:06crwdnd2935265:02crwdnd2935265:03crwdne2935265:0 Samsung Galaxy Pocket Neo S5310 LCD Display, Touch screen Replacement: crwdns2935265:06crwdnd2935265:03crwdnd2935265:03crwdne2935265:0
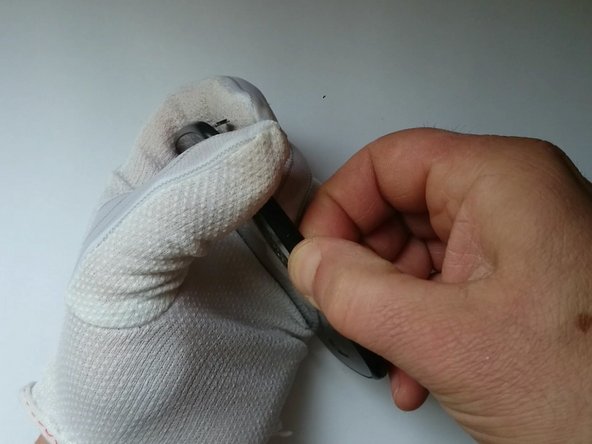
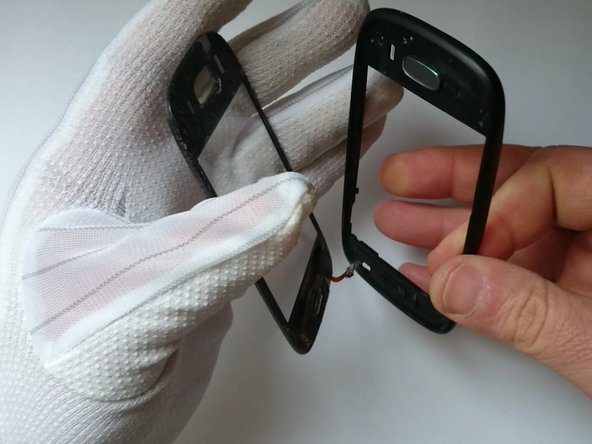
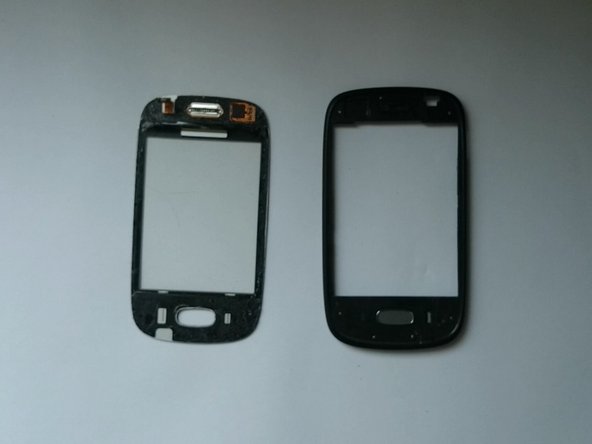
    • Use plastic tools and slowly separate the touch screen from the front bezel.

  7. Samsung Galaxy Pocket Neo S5310 LCD Display, Touch screen Replacement: crwdns2935265:07crwdnd2935265:01crwdnd2935265:03crwdne2935265:0 Samsung Galaxy Pocket Neo S5310 LCD Display, Touch screen Replacement: crwdns2935265:07crwdnd2935265:02crwdnd2935265:03crwdne2935265:0 Samsung Galaxy Pocket Neo S5310 LCD Display, Touch screen Replacement: crwdns2935265:07crwdnd2935265:03crwdnd2935265:03crwdne2935265:0
    • If the new spare part has come without adhesive tape. you must put.

    • Reassemble your device, follow these instructions in reverse order.

  8. Samsung Galaxy Pocket Neo S5310 LCD Display, Touch screen Replacement: crwdns2935265:08crwdnd2935265:01crwdnd2935265:01crwdne2935265:0
    • Did you do it successfully?

crwdns2915888:0crwdne2915888:0

To reassemble your device, follow these instructions in reverse order.

crwdns2935229:03crwdne2935229:0

ZFix

crwdns2935283:012/09/13crwdne2935283:0

191,308 crwdns2915208:0crwdne2915208:0

crwdns2935297:0330crwdne2935297:0

crwdns2915084:0crwdne2915084:0

Master Techs crwdns2935289:0Master Techscrwdne2935289:0

Community

crwdns2931471:0322crwdne2931471:0

crwdns2935297:02,539crwdne2935297:0

crwdns2944067:00crwdne2944067:0

crwdns2917038:0crwdne2917038:0

crwdns2936625:0crwdne2936625:0:

crwdns2936751:024crwdne2936751:0 0

crwdns2936753:07crwdne2936753:0 1

crwdns2936753:030crwdne2936753:0 6

crwdns2942667:0crwdne2942667:0 7,449