crwdns2915892:0crwdne2915892:0
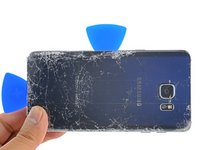
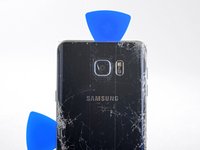
Follow this guide to remove and replace the motherboard in the Samsung Galaxy Note5.
crwdns2942213:0crwdne2942213:0
-
-
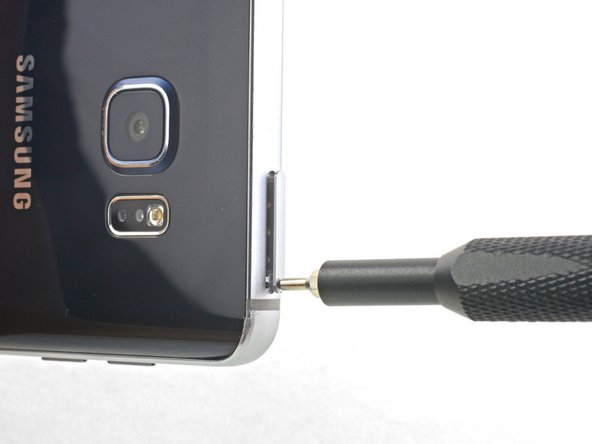
Insert a SIM eject tool, SIM eject bit, or a straightened paperclip into the small hole in the SIM card tray at the top of the phone.
-
Press to eject the tray. This may require some force.
-
Remove the SIM card tray.
-
-
-
Using your fingernail, push the S-Pen button until it clicks and pops out of the phone.
-
Remove the S-Pen.
Hola mi priblema es que meti al reves el spen en el orificio y al sacarlo pues ya no funciona …. Tiene reparacion es un galaxy note 5
-
-
-
Apply a heated iOpener to the bottom of the phone for about two minutes.
-
-
-
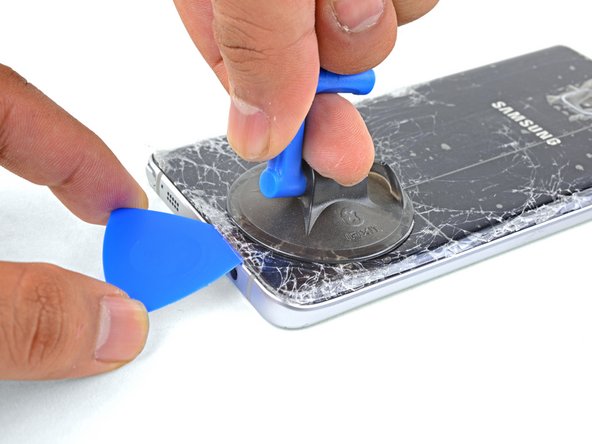
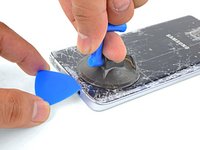
Apply a suction cup as close as possible to the bottom edge of the phone.
-
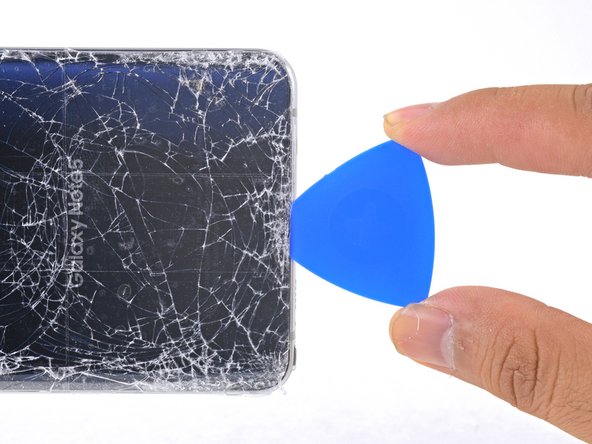
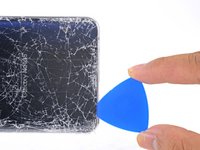
Lift on the suction cup and insert an opening pick under the rear glass.
Yes very fragile, i dont know how to remove without cracking the glass back.
It IS possible, because I just did it. You have to be extremely patient and use firm but gentle pressure. It took me nearly an hour just to get the back off.
One more thing: I discovered that the only way that I could get enough heat into it to soften the adhesive it is to fold the hot iOpener so that you heat from both sides.
-
-
-
Once the pick is in place, reheat the edge with an iOpener for another minute.
-
-
-
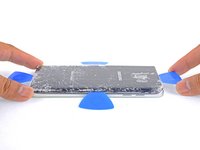
Slide the pick down the bottom edge of the phone.
-
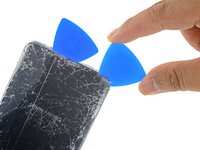
Leave the pick in place to prevent the adhesive from resealing, and grab another pick as you proceed to the next step.
-
-
-
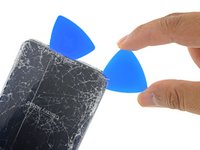
Insert another pick and slowly cut around the corner of the phone.
-
-
-
-
Before cutting further, apply a heated iOpener to the long edge.
-
-
-
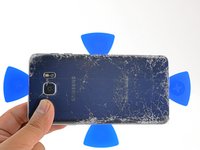
Repeat the previous heating and cutting procedure for the remaining three sides of the phone.
-
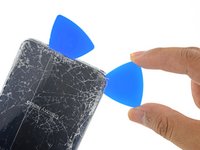
Leave an opening pick in each edge of the phone as you continue to the next to prevent the adhesive from resealing.
-
-
-
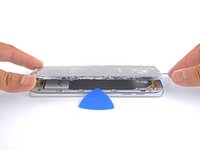
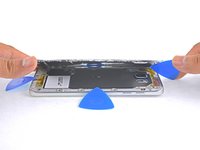
Use an opening pick to cut any remaining adhesive around the edges of the glass.
-
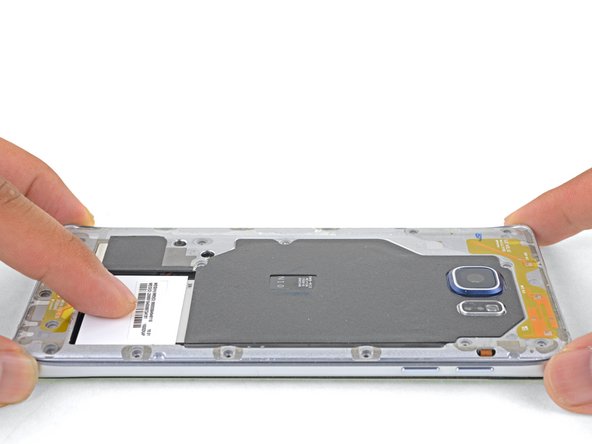
Lift the glass and remove it from the phone.
-
-
crwdns2935267:0crwdne2935267:0Tesa 61395 Tape$5.99
-
Use tweezers to peel away any remaining adhesive from both the back cover and the phone's chassis.
-
Clean the adhesion areas with high concentration isopropyl alcohol (at least 90%) and a lint-free cloth. Swipe in one direction only, not back and forth. This will help prep the surface for the new adhesive.
-
Be sure to turn on your phone and test your repair before installing new adhesive and resealing the phone.
-
After installing the rear cover, apply strong, steady pressure to your phone for several minutes to help the adhesive form a good bond, such as by placing it under a stack of heavy books.
-
-
-
Remove the twenty 3.3 mm Phillips screws.
the phone was gave to me and I bought a replacement battery but two of the screw around the camera won't come out it's like their stripped what do I do
-
-
-
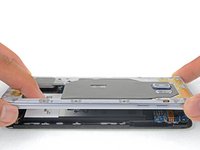
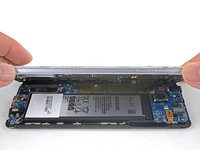
Hold the midframe by the edges and lift it upwards while pushing down against the battery with one finger.
-
Remove the midframe.
During this step, I destroyed my phone. Some of the circuit board at the bottom of the battery is attached to the mid-frame. When I pushed on the battery as instructed, it broke apart. The phone is useless.
Hi Edward,
I’m sorry to hear that! My guess would be that a stray screw held the board to the midframe. If your phone had an extra screw that I missed, please notify me and I’ll correct it!
-
-
-
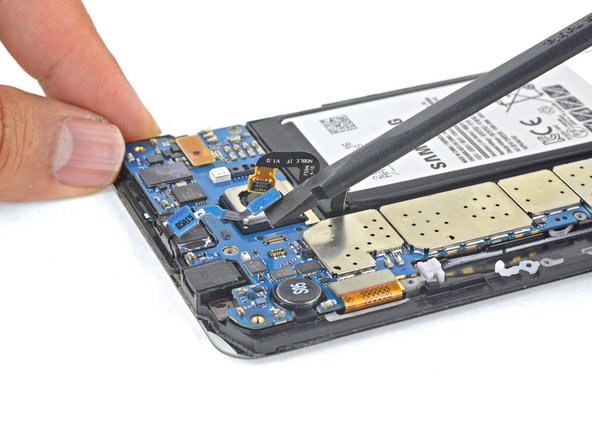
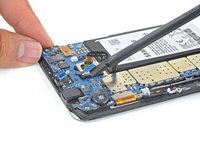
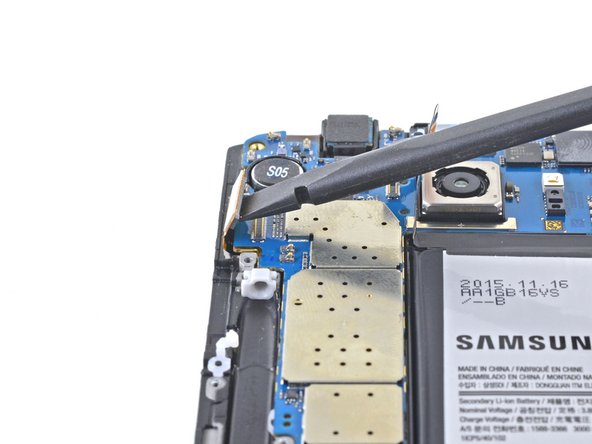
Using the flat end of a spudger, lift the battery connector straight up from its socket on the motherboard.
-
-
-
Using the flat end of a spudger, disconnect the earpiece connector.
-
-
-
Using the flat end of a spudger, disconnect the touchscreen connector.
-
-
-
Using the flat end of a spudger, disconnect the display connector.
-
-
-
Using the flat end of a spudger, disconnect the navigation buttons connector.
-
-
-
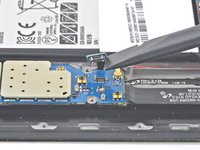
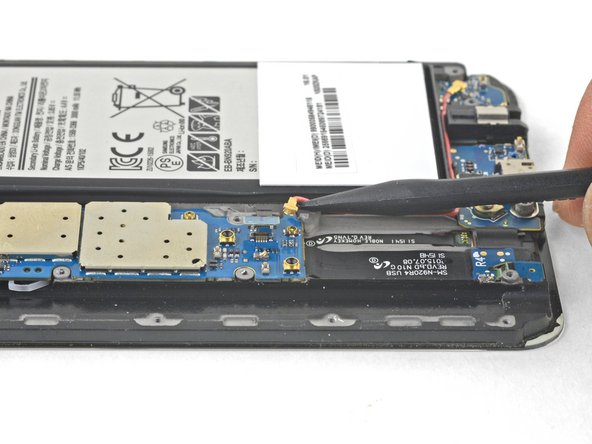
Using the pointed end of a spudger, disconnect the antenna cable.
-
-
-
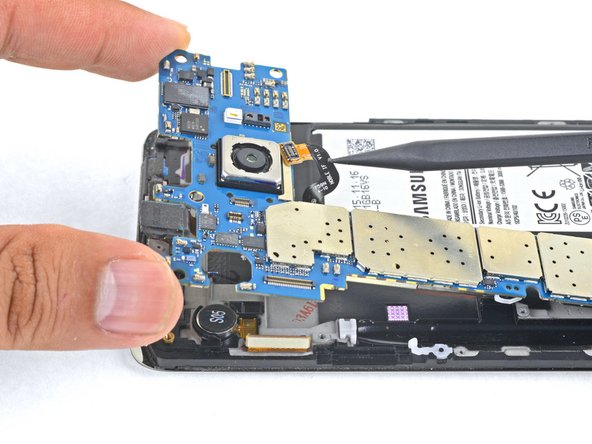
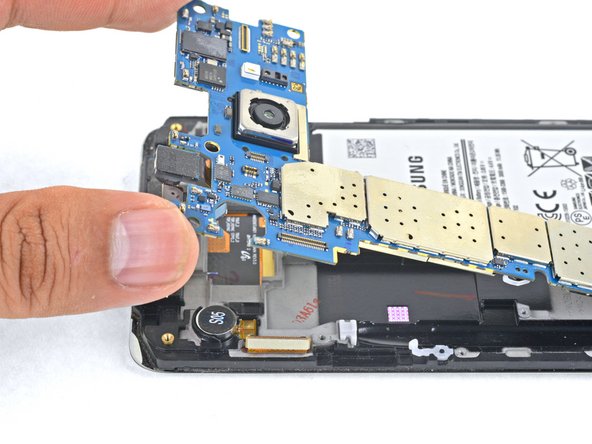
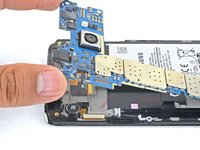
Holding the motherboard by the top corners, hinge it upwards while clearing flex cables out of its path.
-
-
-
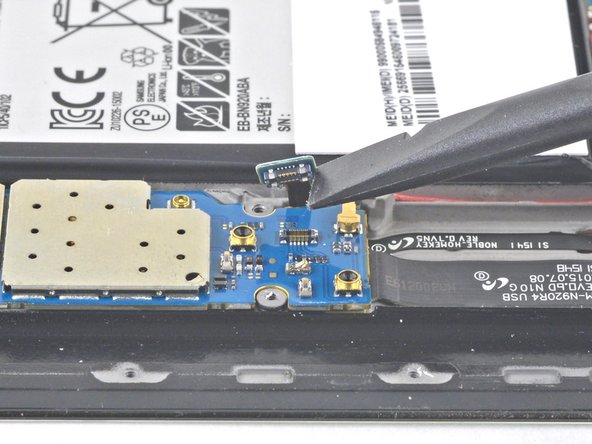
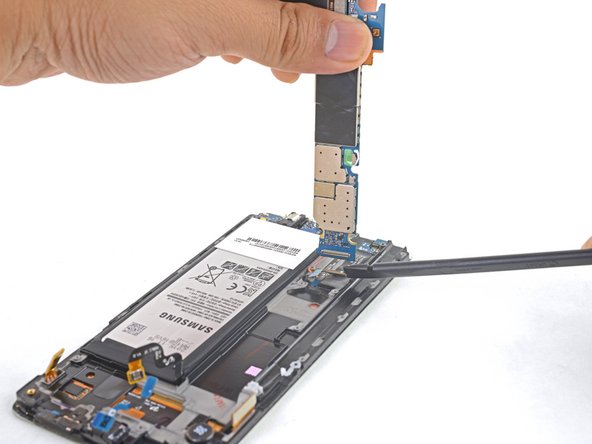
Using the flat end of a spudger, disconnect the daughterboard connector from the motherboard.
-
Remove the motherboard.
-
To reassemble your device, follow these instructions in reverse order.
To reassemble your device, follow these instructions in reverse order.
crwdns2935221:0crwdne2935221:0
crwdns2935229:07crwdne2935229:0

