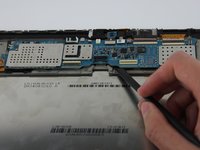
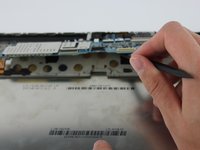
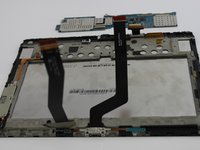
crwdns2933423:0crwdne2933423:0
crwdns2947577:0crwdnd2947577:0crwdne2947577:0

Samsung Galaxy Note 10.1 2014 Screen Replacement

crwdns2942213:0crwdne2942213:0

  1. Samsung Galaxy Note 10.1 2014 Screen Replacement, Case: crwdns2935265:01crwdnd2935265:01crwdnd2935265:02crwdne2935265:0 Samsung Galaxy Note 10.1 2014 Screen Replacement, Case: crwdns2935265:01crwdnd2935265:02crwdnd2935265:02crwdne2935265:0
    crwdns2935267:0crwdne2935267:0
    Spudger
    $2.99
    • Using the nylon spudger or plastic opening tool along the edges of the screen, separate the back case off of the device.

    • If possible, consider using the black nylon spudger for a gentler separation.

    crwdns2952109:0crwdne2952109:0
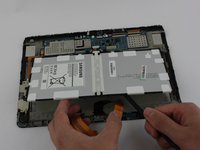
  2. Samsung Galaxy Note 10.1 2014 Screen Replacement, Battery: crwdns2935265:02crwdnd2935265:01crwdnd2935265:01crwdne2935265:0
    • Place your finger on the thin black bar at the end of the ribbon tape and flip each one up.

    • Gently pull the ribbon tape on the battery away from the bar. Repeat this process for the second ribbon tape.

    crwdns2952109:0crwdne2952109:0
  3. Samsung Galaxy Note 10.1 2014 Screen Replacement: crwdns2935265:03crwdnd2935265:01crwdnd2935265:01crwdne2935265:0
    crwdns2935267:0crwdne2935267:0
    Phillips #000 Screwdriver
    $5.49
    crwdns2952109:0crwdne2952109:0
  4. Samsung Galaxy Note 10.1 2014 Screen Replacement: crwdns2935265:04crwdnd2935265:01crwdnd2935265:02crwdne2935265:0 Samsung Galaxy Note 10.1 2014 Screen Replacement: crwdns2935265:04crwdnd2935265:02crwdnd2935265:02crwdne2935265:0
    crwdns2935267:0crwdne2935267:0
    Spudger
    $2.99
    • Lift up the battery from the bottom and situate the black nylon spudger underneath the battery.

    • Use the black nylon spudger to disconnect the multi-colored wires from the rest of the device.

    crwdns2952109:0crwdne2952109:0
  5. Samsung Galaxy Note 10.1 2014 Screen Replacement, Loudspeaker Modules: crwdns2935265:05crwdnd2935265:01crwdnd2935265:02crwdne2935265:0 Samsung Galaxy Note 10.1 2014 Screen Replacement, Loudspeaker Modules: crwdns2935265:05crwdnd2935265:02crwdnd2935265:02crwdne2935265:0
    • Remove the three 3mm screws on the top right side of the device with the Phillips PH000 screw head.

    • Remove the one 3mm screw on the top left side of the device with the same method.

    crwdns2952109:0crwdne2952109:0
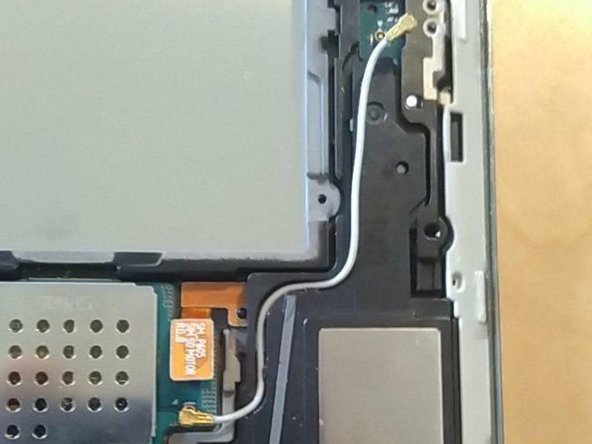
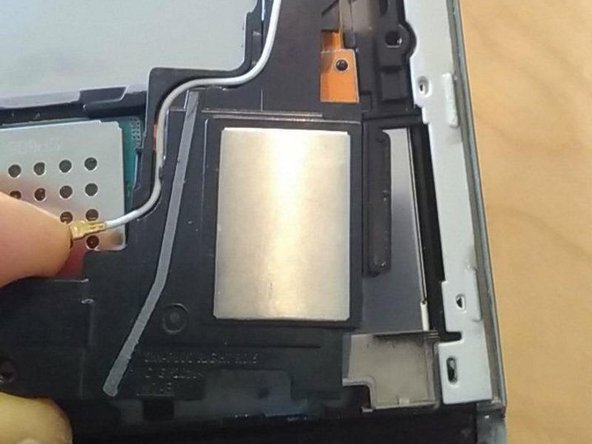
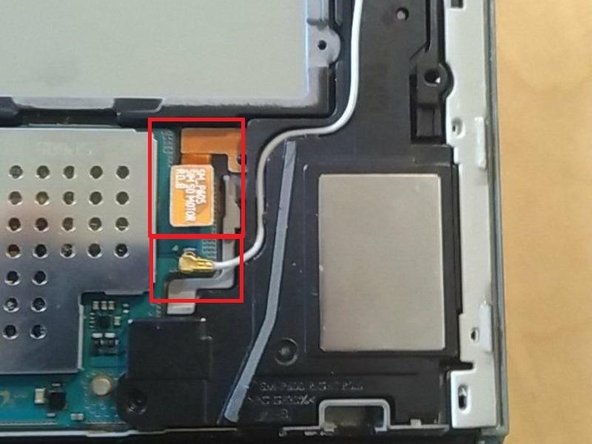
  6. Samsung Galaxy Note 10.1 2014 Screen Replacement, loudspeaker  - remove right speaker: crwdns2935265:06crwdnd2935265:01crwdnd2935265:03crwdne2935265:0 Samsung Galaxy Note 10.1 2014 Screen Replacement, loudspeaker  - remove right speaker: crwdns2935265:06crwdnd2935265:02crwdnd2935265:03crwdne2935265:0 Samsung Galaxy Note 10.1 2014 Screen Replacement, loudspeaker  - remove right speaker: crwdns2935265:06crwdnd2935265:03crwdnd2935265:03crwdne2935265:0
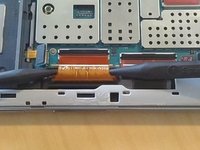
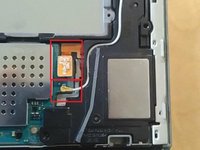
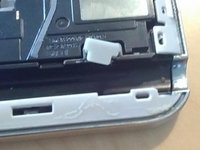
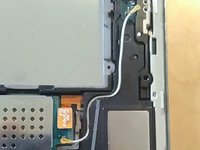
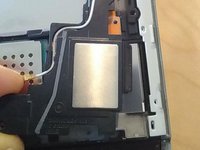
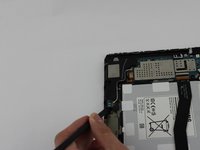
    • Remove the gray rubber piece.

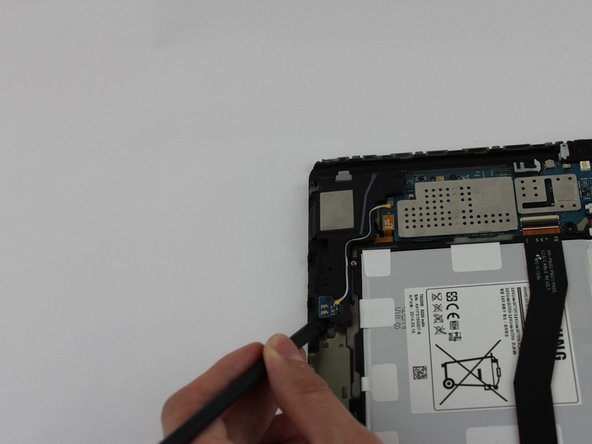
    • Use a spudger or fingernail to disconnect the blue antenna cable from the motherboard.

    • Remove the right speaker unit.

    crwdns2952109:0crwdne2952109:0
  7. Samsung Galaxy Note 10.1 2014 Screen Replacement: crwdns2935265:07crwdnd2935265:01crwdnd2935265:03crwdne2935265:0 Samsung Galaxy Note 10.1 2014 Screen Replacement: crwdns2935265:07crwdnd2935265:02crwdnd2935265:03crwdne2935265:0 Samsung Galaxy Note 10.1 2014 Screen Replacement: crwdns2935265:07crwdnd2935265:03crwdnd2935265:03crwdne2935265:0
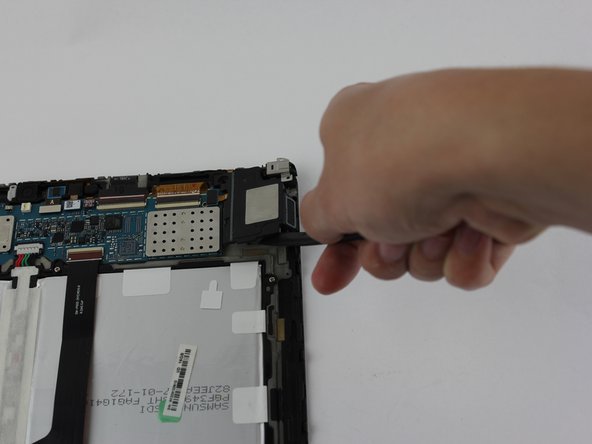
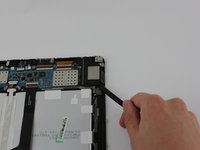
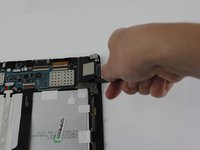
    • Remove the loudspeaker modules located on the parts where the screws were removed by using the black nylon spudger.

    • They are the black pieces at the top left and right corners of the device that have metal squares on them in the middle.

    crwdns2952109:0crwdne2952109:0
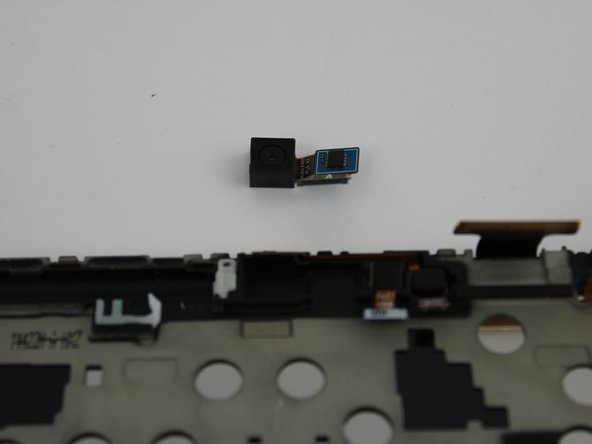
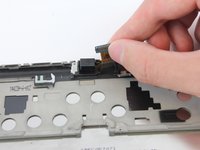
  8. Samsung Galaxy Note 10.1 2014 Screen Replacement, Rear Camera: crwdns2935265:08crwdnd2935265:01crwdnd2935265:02crwdne2935265:0 Samsung Galaxy Note 10.1 2014 Screen Replacement, Rear Camera: crwdns2935265:08crwdnd2935265:02crwdnd2935265:02crwdne2935265:0
    • Disconnect the camera piece from the motherboard.

    • The camera piece is shaped like an "L".

    crwdns2952109:0crwdne2952109:0
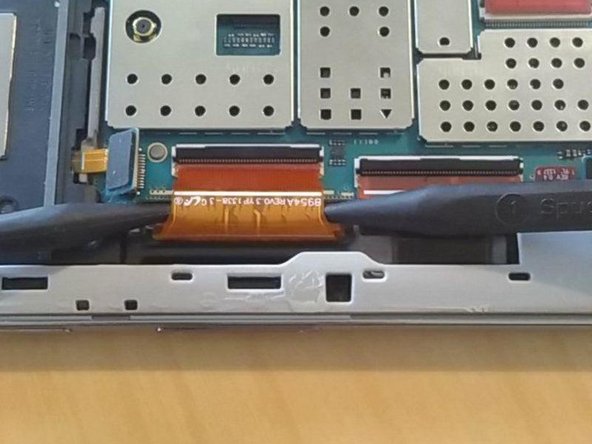
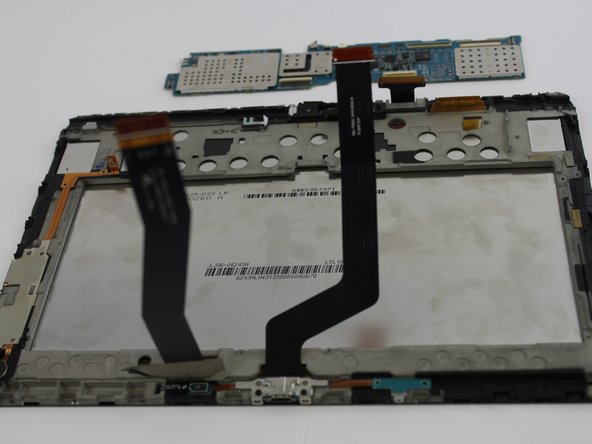
  9. Samsung Galaxy Note 10.1 2014 Screen Replacement, Motherboard: crwdns2935265:09crwdnd2935265:01crwdnd2935265:03crwdne2935265:0 Samsung Galaxy Note 10.1 2014 Screen Replacement, Motherboard: crwdns2935265:09crwdnd2935265:02crwdnd2935265:03crwdne2935265:0 Samsung Galaxy Note 10.1 2014 Screen Replacement, Motherboard: crwdns2935265:09crwdnd2935265:03crwdnd2935265:03crwdne2935265:0
    • Disconnect all cables on the motherboard.

    • See our connector guide for help safely disconnecting various types of connectors.

    crwdns2952109:0crwdne2952109:0
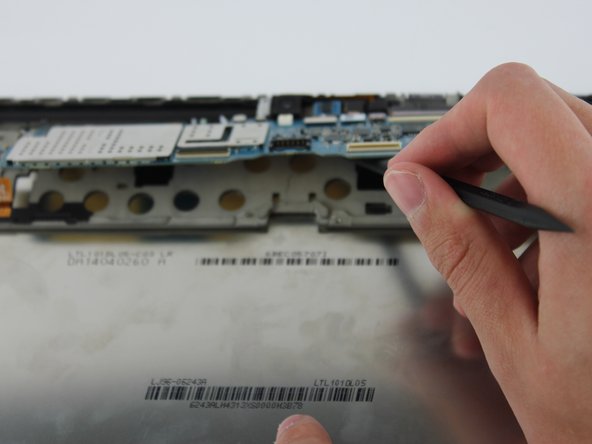
  10. Samsung Galaxy Note 10.1 2014 Screen Replacement: crwdns2935265:010crwdnd2935265:01crwdnd2935265:03crwdne2935265:0 Samsung Galaxy Note 10.1 2014 Screen Replacement: crwdns2935265:010crwdnd2935265:02crwdnd2935265:03crwdne2935265:0 Samsung Galaxy Note 10.1 2014 Screen Replacement: crwdns2935265:010crwdnd2935265:03crwdnd2935265:03crwdne2935265:0
    • Use the black nylon spudger to gently lift the motherboard away from the frame.

    • Remove the motherboard.

    crwdns2952109:0crwdne2952109:0
  11. Samsung Galaxy Note 10.1 2014 Screen Replacement, sreen - remove middle frame: crwdns2935265:011crwdnd2935265:01crwdnd2935265:01crwdne2935265:0
    • remove middle frame by pulling it off

    crwdns2952109:0crwdne2952109:0
    • follow as shown on TechGuru.gr

    • Screen burst, be aware of glass splinters. May you cover the screen with tissue

    crwdns2952109:0crwdne2952109:0
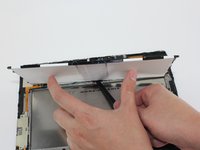
  12. Samsung Galaxy Note 10.1 2014 Screen Replacement, screen - seperate buttons from screen: crwdns2935265:013crwdnd2935265:01crwdnd2935265:01crwdne2935265:0
    • buttons are glued to frame, gently lift up screen

    • pull of cable, connecting the buttons, gently

    crwdns2952109:0crwdne2952109:0
  13. Samsung Galaxy Note 10.1 2014 Screen Replacement, screen - clean: crwdns2935265:014crwdnd2935265:01crwdnd2935265:01crwdne2935265:0
    • rub of the glue with the fingers

    • remove residues with makeup remover or similar

    crwdns2952109:0crwdne2952109:0
crwdns2915888:0crwdne2915888:0

To reassemble your device, follow these instructions in reverse order.

crwdns2935229:09crwdne2935229:0

Stefn Mueller

crwdns2935283:012/23/15crwdne2935283:0

403 crwdns2915208:0crwdne2915208:0

crwdns2935295:0crwdne2935295:0

crwdns2947412:04crwdne2947412:0

is the digitizer glued to the lcd screen?

Amiel D Hechanova - crwdns2934203:0crwdne2934203:0 crwdns2950251:0crwdne2950251:0

The e battery and screen cable clasps that hold tge cables in….. Where do i get them repaired

Paul Brook - crwdns2934203:0crwdne2934203:0 crwdns2950251:0crwdne2950251:0

crwdns2917038:0crwdne2917038:0

crwdns2936625:0crwdne2936625:0:

crwdns2936751:024crwdne2936751:0 3

crwdns2936753:07crwdne2936753:0 13

crwdns2936753:030crwdne2936753:0 129

crwdns2942667:0crwdne2942667:0 11,747