crwdns2915892:0crwdne2915892:0
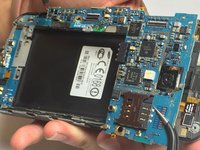
Use this guide to replace the display on a Samsung Galaxy Nexus. Note that there may be slight differences between the phone depicted and your model of the Galaxy Nexus.
crwdns2942213:0crwdne2942213:0
-
-
Open the back cover of the phone with your fingers or use the plastic opening tools to pry the back cover off of the phone.
-
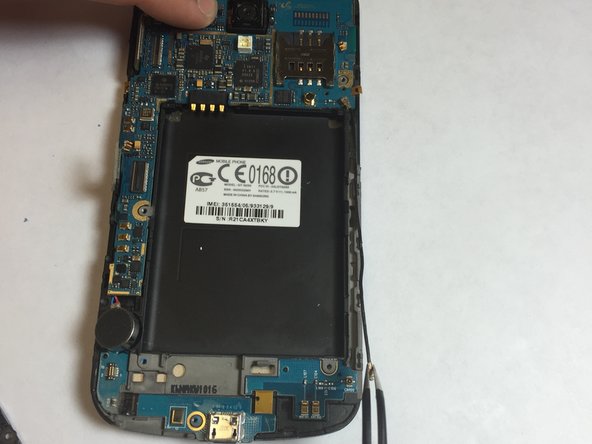
Remove the battery by prying it free from the divot at the bottom.
-
Store the back cover and the battery in a safe place, such as a bowl, until you are ready to re-install them.
-
-
-
Remove the four 4.5 mm Phillips screws from the rear of the phone.
-
-
-
Flip the phone over so that the screen faces upward.
-
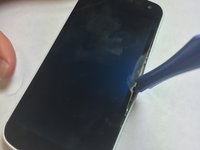
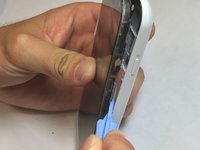
Insert a plastic opening tool into the seam between the screen and the outer case. Work the plastic opening tool around the phone without removing it from the seam.
-
Slowly pry the outer case from the screen.
-
-
-
-
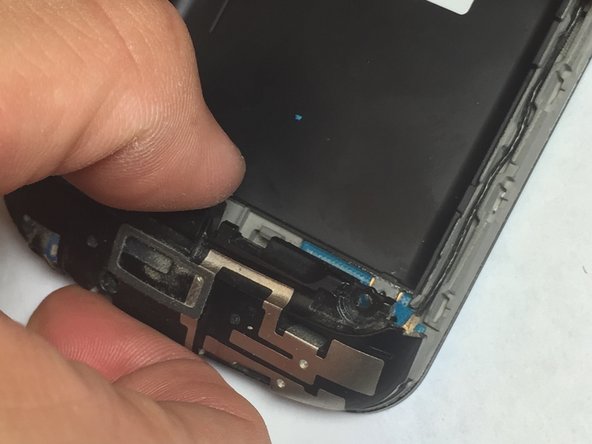
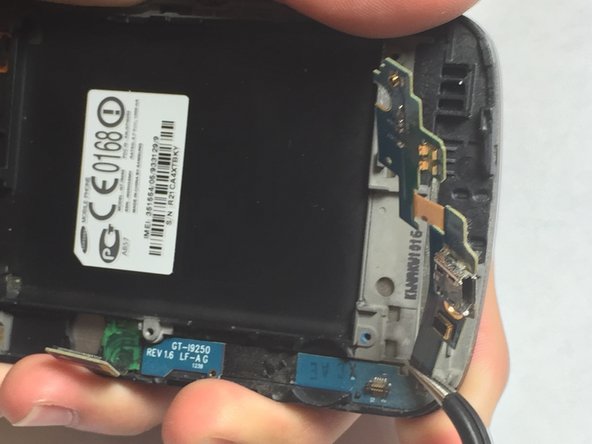
Remove a single 4 mm Phillips #00 screw from the bottom of the phone.
-
Lift up the flat connector from its socket on the motherboard.
-
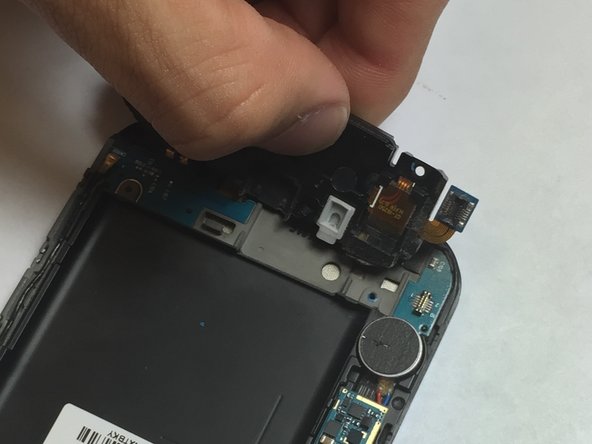
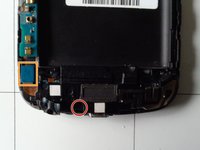
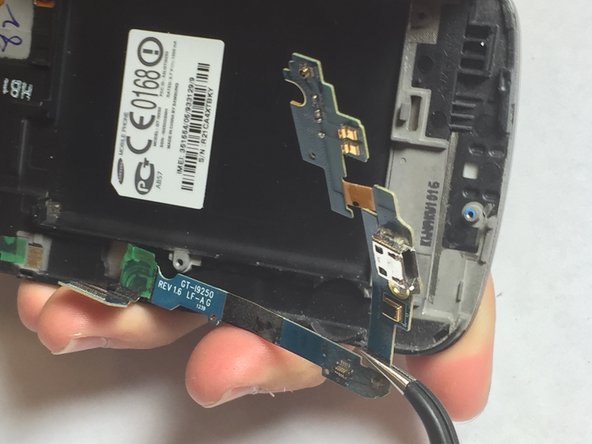
Lift the entire headphone jack assembly from the phone.
-
-
-
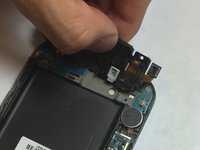
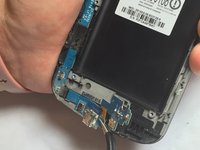
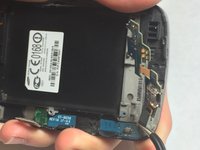
Disconnect the two ribbon cables from the motherboard.
-
-
crwdns2935267:0crwdne2935267:0Tweezers$4.99
-
Using tweezers or a spudger, lift the vibrator motor from its recess in the midframe.
-
-
-
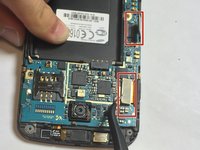
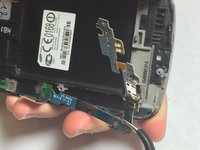
Using tweezers, gently disconnect the antenna cable from its socket on the motherboard.
-
-
-
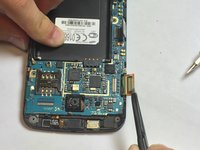
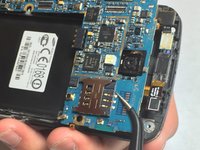
Use tweezers to pull the motherboard out of the phone.
-
-
-
Starting near the USB port, use your tweezers to pull the small daughterboard from the phone.
-


To reassemble your device, follow these instructions in reverse order.
crwdns2935221:0crwdne2935221:0
crwdns2935229:013crwdne2935229:0
crwdns2935287:0crwdne2935287:0

Oakland University, Team 1-17, Ruszkiewicz Fall 2013 crwdns2935289:0Oakland University, Team 1-17, Ruszkiewicz Fall 2013crwdne2935289:0
OAK-RUSZKIEWICZ-F13S1G17
crwdns2934841:01crwdne2934841:0
crwdns2935303:01crwdne2935303:0
crwdns2947412:02crwdne2947412:0
with this guide , I found this repair easy to do. Thank you Tom G.
Deberían d3 poner los diagramas eléctricos para reparar gracias