crwdns2915892:0crwdne2915892:0
This guide is a step by step instruction on how to replace the rear camera in your Samsung Galaxy J7 V smartphone. Before you begin make sure you have all the tools necessary and set aside the recommended amount of time to complete the repair.
crwdns2942213:0crwdne2942213:0
-
-
Insert a Jimmy tool under one of the corners of the display and gently raise the display.
-
-
-
Gently slide the Jimmy tool around the entire perimeter of the phone.
-
-
-
Carefully lift the display to remove it.
-
-
-
Locate the socket of the home button.
-
Fit the metal spudger in between the socket and the home button.
-
-
-
-
Take the metal spudger and slide it underneath the home button.
-
Lift up until the home button is removed from its socket.
-
-
-
Use the indent on the right side of the phone to lift up the backing
-
With the phone faced downwards, remove the backing of the case, lifting up from the right side
-
-
-
Carefully remove the battery by lifting the bottom side, and then fully remove the battery
-
-
-
Remove fourteen screws from the midframe using a Phillips #00 screwdriver.
-
-
-
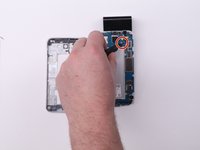
Flip the phone to the back side where the battery was removed.
-
Apply pressure with your hands to pop the midframe off.
-
-
-
Flip the phone back over.
-
Remove the single black screw from the motherboard using a Phillips #00 screwdriver.
-
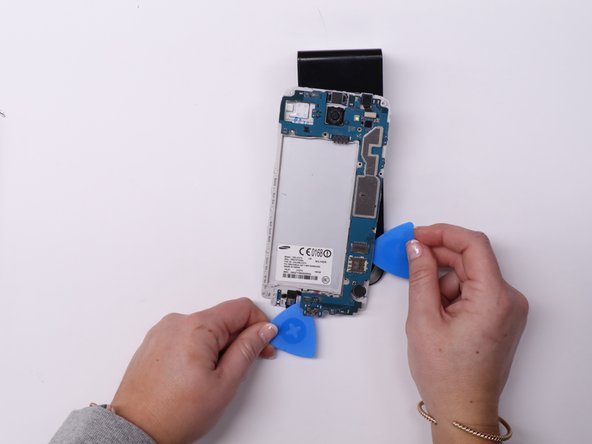
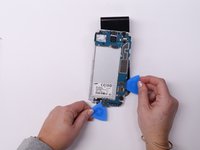
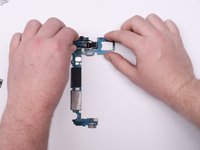
Place a few iFixit opening picks beneath the motherboard.
-
Lift the motherboard using the iFixit opening picks.
-
-
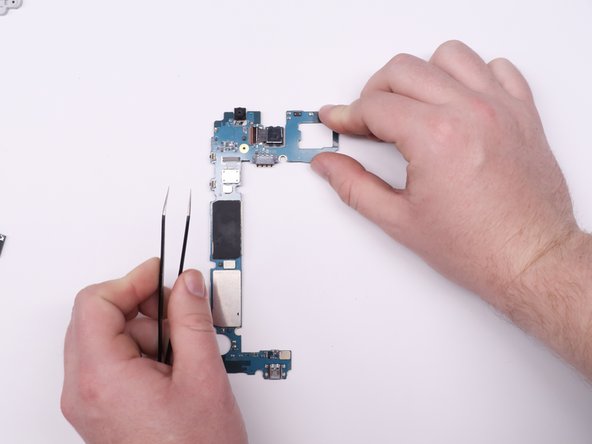
crwdns2935267:0crwdne2935267:0Tweezers$4.99
-
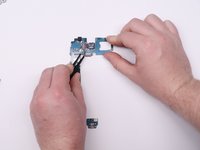
Use the tweezers to detach the tab securing the rear camera.
-
Use your fingers to pull the camera away from the motherboard.
-


To reassemble your device, follow these instructions in reverse order.
crwdns2935221:0crwdne2935221:0
crwdns2935229:02crwdne2935229:0

crwdns2935287:0crwdne2935287:0

University of Kentucky, Team 1-5, Kaufmann Spring 2022 crwdns2935289:0University of Kentucky, Team 1-5, Kaufmann Spring 2022crwdne2935289:0
UKY-KAUFMANN-S22S1G5
crwdns2931471:03crwdne2931471:0
crwdns2935297:03crwdne2935297:0
crwdns2947410:01crwdne2947410:0
goood
شكرا كتير لقد استفت من الموقع جدا واتمنى ان اواصل معرفه واطلاع على كل جديد