crwdns2915892:0crwdne2915892:0
This guide will walk you through the process of replacing a not working back camera in a Samsung Galaxy J3V.
crwdns2942213:0crwdne2942213:0
-
-
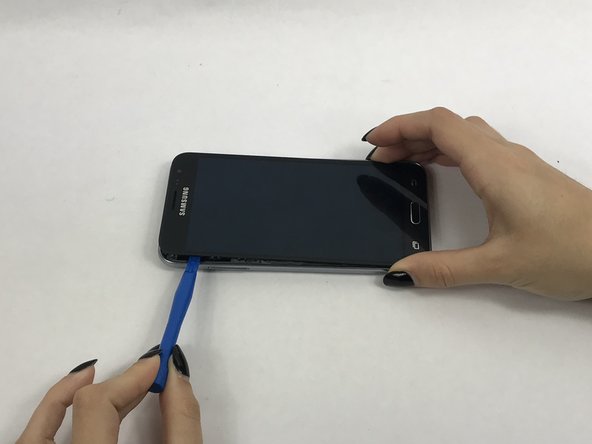
Place your thumb on the top left corner and pry the tab open and lift off the back cover.
 crwdns2952109:0crwdne2952109:0
-
-
-
Remove the ten 2.0 mm screws with the Phillips #J000 screwdriver.
-
-
-
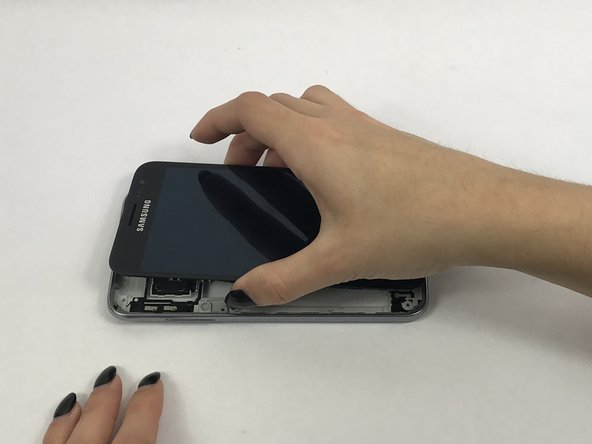
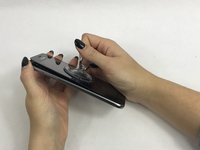
Use a small suction cup to pull the screen up. Then slip a small plastic opening tool under the screen to pry it upwards.
-
-
-
crwdns2935267:0crwdne2935267:0Tweezers$4.99
-
Use tweezers to flip tab of the front camera to remove it.
-
-
crwdns2935267:0crwdne2935267:0Tweezers$4.99
-
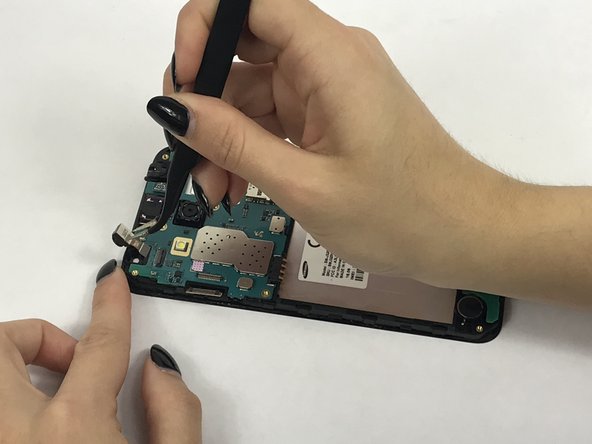
Remove connector tab with spudger then carefully remove headphone jack with tweezers.
-
-
-
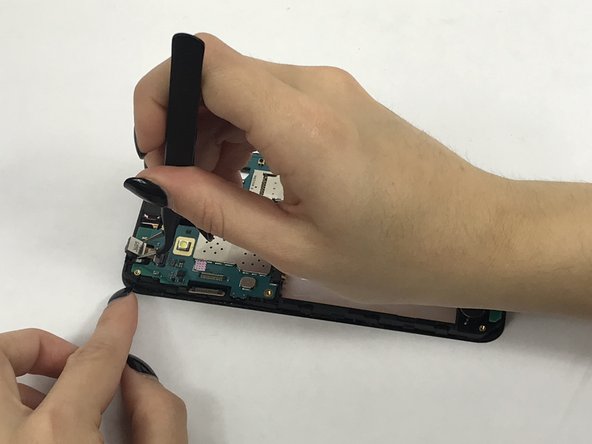
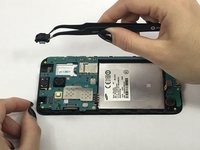
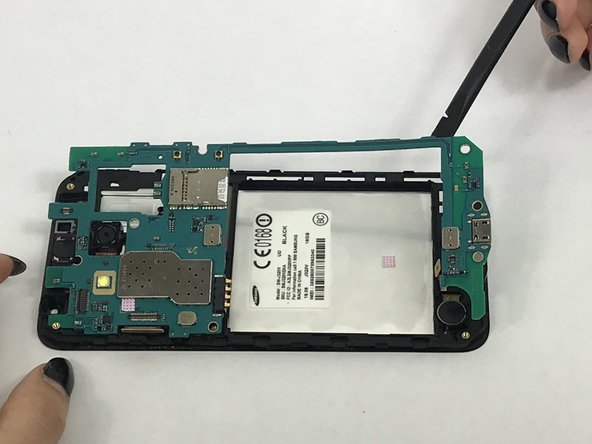
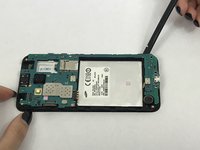
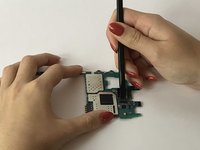
Remove these connectors from the motherboard with spudger.
-
-
-
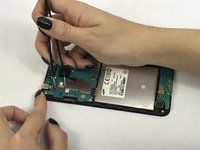
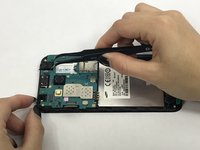
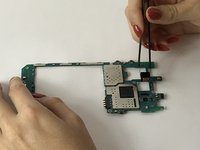
Carefully use the spudger to pry the motherboard out of the plastic tabs.
-
-
-
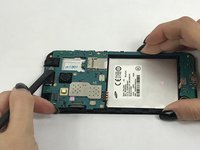
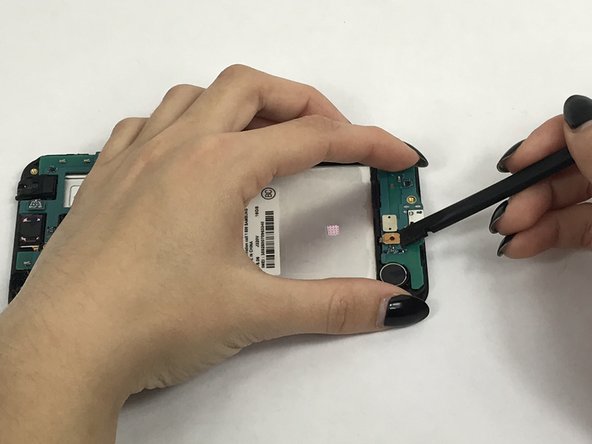
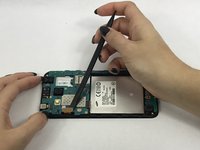
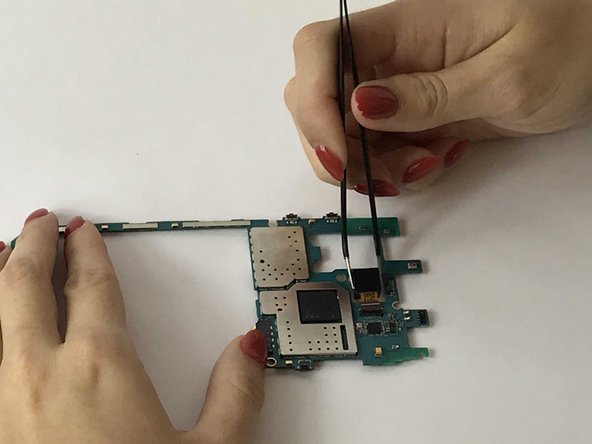
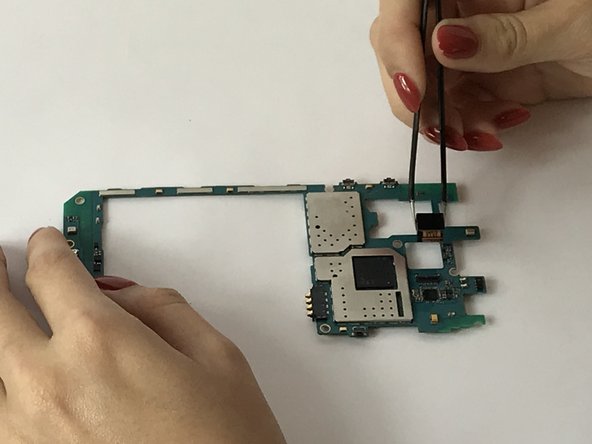
After removing the motherboard, locate and flip tab holding the rear camera's connector.
-
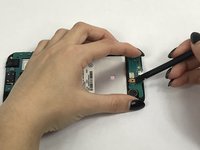
Carefully use the tweezer to remove the connector and the camera.
-


To reassemble your device, follow these instructions in reverse order.
crwdns2935221:0crwdne2935221:0
crwdns2935227:0crwdne2935227:0
crwdns2935287:0crwdne2935287:0

USF Tampa, Team S3-G3, Nance Fall 2017 crwdns2935289:0USF Tampa, Team S3-G3, Nance Fall 2017crwdne2935289:0
USFT-NANCE-F17S3G3
crwdns2931471:04crwdne2931471:0
crwdns2935297:05crwdne2935297:0
crwdns2947410:01crwdne2947410:0
Your &&^&^$^ trash and did not help me at all.
Harrington Kenneth - crwdns2934203:0crwdne2934203:0 crwdns2950251:0crwdne2950251:0