crwdns2933423:0crwdne2933423:0
crwdns2947577:0crwdnd2947577:0crwdne2947577:0

Samsung Galaxy Gear Display Assembly Replacement

crwdns2942213:0crwdne2942213:0

  1. Samsung Galaxy Gear Display Assembly Replacement, Display Housing: crwdns2935265:01crwdnd2935265:01crwdnd2935265:01crwdne2935265:0
    • Use a T5 Torx screwdriver to remove the four 4.0 mm screws on the back of the device.

    • Be sure your device is turned off.

    crwdns2952109:0crwdne2952109:0
  2. Samsung Galaxy Gear Display Assembly Replacement: crwdns2935265:02crwdnd2935265:01crwdnd2935265:01crwdne2935265:0
    • Use a plastic opening tool to separate the display housing from from the device.

    • To ensure you don't damage your device, insert the opening tool and slide it the entire length of the gap on both sides of the device.

    crwdns2952109:0crwdne2952109:0
  3. Samsung Galaxy Gear Display Assembly Replacement: crwdns2935265:03crwdnd2935265:01crwdnd2935265:02crwdne2935265:0 Samsung Galaxy Gear Display Assembly Replacement: crwdns2935265:03crwdnd2935265:02crwdnd2935265:02crwdne2935265:0
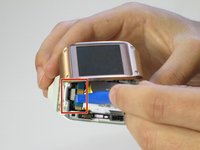
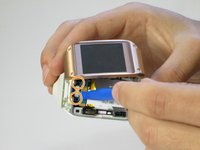
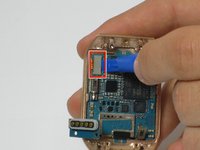
    • Gently pry back the metal flap on top of the connector.

    • Locate the two 2.0 mm black screws and unscrew using a Phillips PH00 bit. The connector will detach from the device.

    crwdns2952109:0crwdne2952109:0
  4. Samsung Galaxy Gear Display Assembly Replacement, Motherboard: crwdns2935265:04crwdnd2935265:01crwdnd2935265:02crwdne2935265:0 Samsung Galaxy Gear Display Assembly Replacement, Motherboard: crwdns2935265:04crwdnd2935265:02crwdnd2935265:02crwdne2935265:0
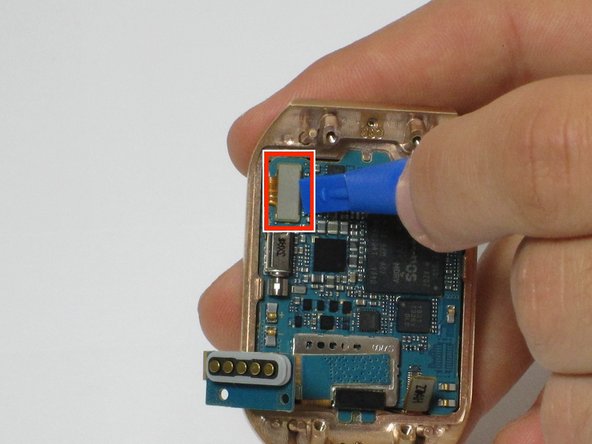
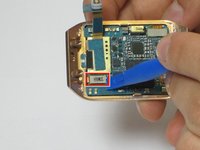
    • On the display, use a plastic opening tool to lift up the two ribbon cables the motherboard.

    crwdns2952109:0crwdne2952109:0
  5. Samsung Galaxy Gear Display Assembly Replacement: crwdns2935265:05crwdnd2935265:01crwdnd2935265:01crwdne2935265:0
    • The motherboard is attached to the display using an adhesive

    • Using a heat gun, heat up the display for 4 to 5 minutes, making sure the move the heat gun around to distribute the heat around the display. This heats up the adhesive making the motherboard easier to remove

    crwdns2952109:0crwdne2952109:0
  6. Samsung Galaxy Gear Display Assembly Replacement: crwdns2935265:06crwdnd2935265:01crwdnd2935265:02crwdne2935265:0 Samsung Galaxy Gear Display Assembly Replacement: crwdns2935265:06crwdnd2935265:02crwdnd2935265:02crwdne2935265:0
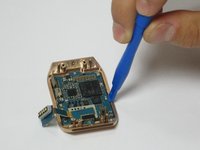
    • Using a plastic opening tool, carefully insert the opening tool in between the bezel and the motherboard and slide it the entire length of the logic board.

    • Slowly pry up the motherboard from the display.

    crwdns2952109:0crwdne2952109:0
  7. Samsung Galaxy Gear Display Assembly Replacement, Display Assembly: crwdns2935265:07crwdnd2935265:01crwdnd2935265:01crwdne2935265:0
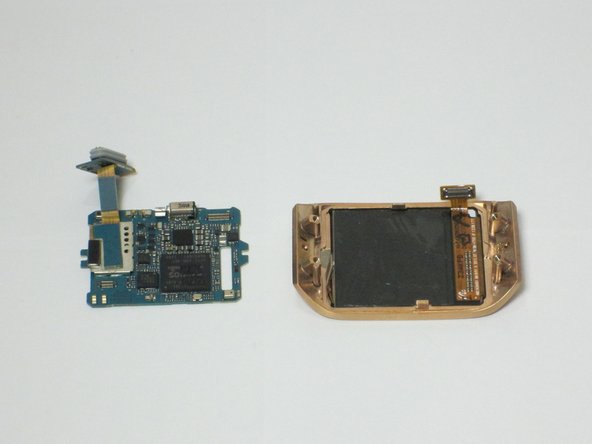
    • The display assembly is now separated and can be replaced

    crwdns2952109:0crwdne2952109:0
crwdns2915888:0crwdne2915888:0

To reassemble your device, follow these instructions in reverse order.

crwdns2935229:02crwdne2935229:0

Joe

crwdns2935283:004/11/16crwdne2935283:0

279 crwdns2915208:0crwdne2915208:0

crwdns2935297:02crwdne2935297:0

crwdns2935287:0crwdne2935287:0

Cal Poly, Team 1-9, Maness Spring 2016 crwdns2935289:0Cal Poly, Team 1-9, Maness Spring 2016crwdne2935289:0

CPSU-MANESS-S16S1G9

crwdns2931471:04crwdne2931471:0

crwdns2935297:07crwdne2935297:0

crwdns2947412:00crwdne2947412:0

crwdns2917038:0crwdne2917038:0

crwdns2936625:0crwdne2936625:0:

crwdns2936751:024crwdne2936751:0 3

crwdns2936753:07crwdne2936753:0 6

crwdns2936753:030crwdne2936753:0 45

crwdns2942667:0crwdne2942667:0 1,909