crwdns2933423:0crwdne2933423:0

Samsung Galaxy Fame S6812i Camera Replacement

crwdns2942213:0crwdne2942213:0

  1. Samsung Galaxy Fame S6812i Camera Replacement, Remove the battery cover: crwdns2935265:01crwdnd2935265:01crwdnd2935265:01crwdne2935265:0
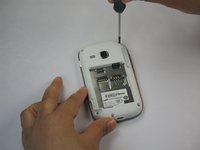
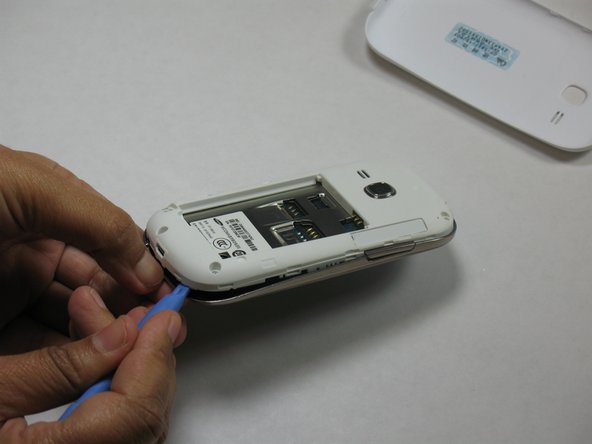
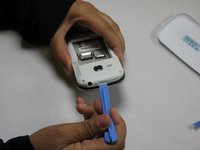
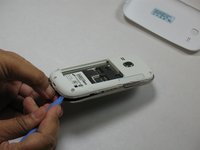
    • Turn the phone off and make sure your hands are clean. Use your thumb nail or a plastic spudger to pry open the back cover,

  2. Samsung Galaxy Fame S6812i Camera Replacement, Remove the battery: crwdns2935265:02crwdnd2935265:01crwdnd2935265:01crwdne2935265:0
    • Use the plastic opening tool or your thumb nail to lift the battery out of the receptacle.

  3. Samsung Galaxy Fame S6812i Camera Replacement, Removing screws and stickers: crwdns2935265:03crwdnd2935265:01crwdnd2935265:03crwdne2935265:0 Samsung Galaxy Fame S6812i Camera Replacement, Removing screws and stickers: crwdns2935265:03crwdnd2935265:02crwdnd2935265:03crwdne2935265:0 Samsung Galaxy Fame S6812i Camera Replacement, Removing screws and stickers: crwdns2935265:03crwdnd2935265:03crwdnd2935265:03crwdne2935265:0
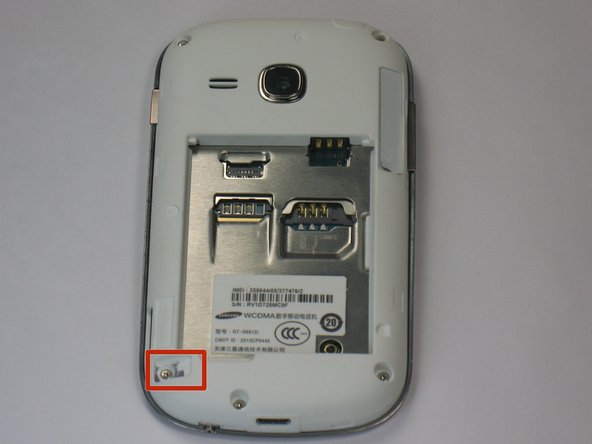
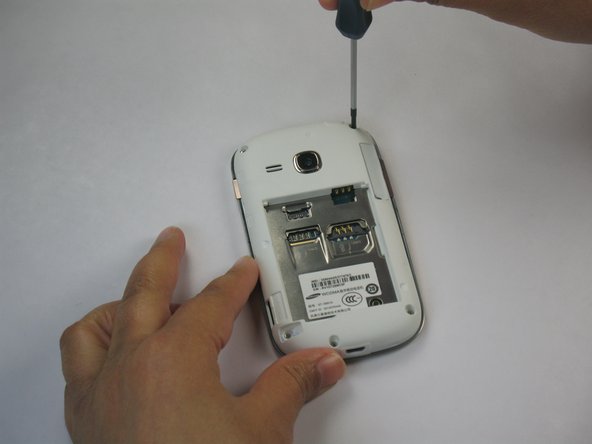
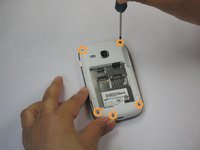
    • Remove the five 4 mm screws with a Phillips#00 screwdriver.

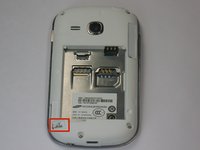
    • Make sure you remove the sticker hiding the screw on the left bottom corner.

  4. Samsung Galaxy Fame S6812i Camera Replacement, Removing the mid-frame.: crwdns2935265:04crwdnd2935265:01crwdnd2935265:02crwdne2935265:0 Samsung Galaxy Fame S6812i Camera Replacement, Removing the mid-frame.: crwdns2935265:04crwdnd2935265:02crwdnd2935265:02crwdne2935265:0
    • Using the plastic opening tool pry into the bezel to remove the mid-frame

    • Continue moving the plastic opening tool around the mid-frame to separate it from the display assembly.

    • Be gentle the plastic mounting clips are very fragile. Pay extra attention when working around the volume button.

  5. Samsung Galaxy Fame S6812i Camera Replacement: crwdns2935265:05crwdnd2935265:01crwdnd2935265:01crwdne2935265:0
    • After separating the two frames, you will have access to the camera

  6. Samsung Galaxy Fame S6812i Camera Replacement: crwdns2935265:06crwdnd2935265:01crwdnd2935265:01crwdne2935265:0
    • Pull the camera off the system by using the tweezers. Perform this step with caution.

crwdns2915888:0crwdne2915888:0

To reassemble your device, follow these instructions in reverse order.

crwdns2935229:06crwdne2935229:0

Charles

crwdns2935283:010/07/14crwdne2935283:0

133 crwdns2915208:0crwdne2915208:0

crwdns2935297:02crwdne2935297:0

crwdns2915084:0crwdne2915084:0

USF Tampa, Team 8-2, Leahy Fall 2014 crwdns2935289:0USF Tampa, Team 8-2, Leahy Fall 2014crwdne2935289:0

USFT-LEAHY-F14S8G2

crwdns2931471:04crwdne2931471:0

crwdns2935297:05crwdne2935297:0

crwdns2944067:00crwdne2944067:0

crwdns2917038:0crwdne2917038:0

crwdns2936625:0crwdne2936625:0:

crwdns2936751:024crwdne2936751:0 0

crwdns2936753:07crwdne2936753:0 1

crwdns2936753:030crwdne2936753:0 1

crwdns2942667:0crwdne2942667:0 993