crwdns2942213:0crwdne2942213:0
-
crwdns2935201:0crwdne2935201:0 crwdns2935203:0crwdne2935203:0
-
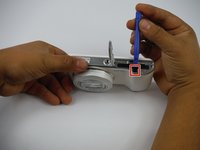
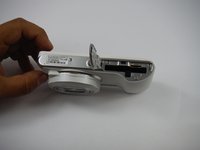
Face the camera towards you, then rotate it such that the battery door is facing up and to the right.
-
-
crwdns2935201:0crwdne2935201:0 crwdns2935203:0crwdne2935203:0
-
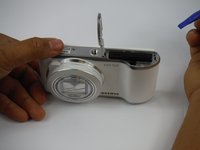
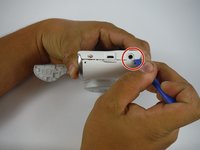
Locate the small latch on the right side of the camera.
-
Slide the latch to the left to open the battery compartment door.
-
-
crwdns2935201:0crwdne2935201:0 crwdns2935203:0crwdne2935203:0
-
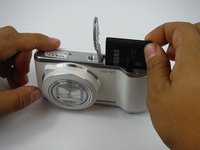
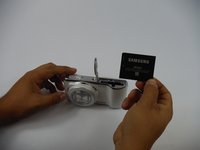
Locate the battery, a black cell held in by a small clip (indicated by an outfacing arrow).
-
Pull the clip toward you to release the battery.
-
-
-
crwdns2935201:0crwdne2935201:0 crwdns2935203:0crwdne2935203:0
-
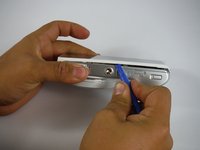
While holding the camera, take note of each screw holding the screen to the main chassis of the camera.
-
Hold the camera upright and lens facing towards you. There area total of six 4mm PH00 screws to undo - two on the left, one screw on the right, and three along the bottom. Two of them are hidden behind the battery compartment door.
-
-
crwdns2935201:0crwdne2935201:0 crwdns2935203:0crwdne2935203:0
-
Use the screwdriver to remove screws listed in step 2. There are a total of six 4mm screws.
-
-
crwdns2935201:0crwdne2935201:0 crwdns2935203:0crwdne2935203:0
-
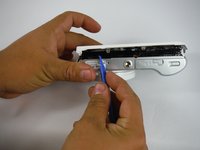
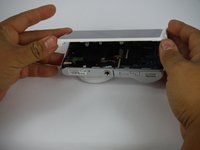
With the screws removed, use the plastic opening tool to gently pry the screen away from the main camera chassis. The ideal spot to start is at the corner with the headphone jack, as indicated in the picture.
-
Once this side is free, gently work your way along the edge, all the way around the camera body.
-
-
crwdns2935201:0crwdne2935201:0 crwdns2935203:0crwdne2935203:0
-
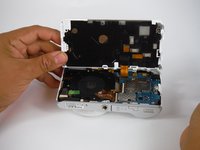
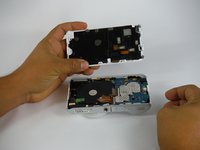
With the screen freed, gently lay the camera on its face, so that the battery compartment faces up. Use both hands to lift the screen up and away.
-
-
crwdns2935201:0crwdne2935201:0 crwdns2935203:0crwdne2935203:0
-
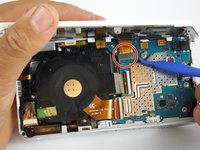
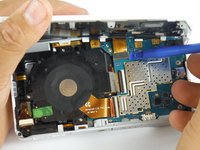
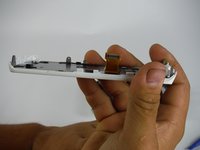
With the screen separated from the main chassis, use the plastic opening tool to gently pry the edge of the ribbon cable connector from the motherboard.
-


crwdns2935221:0crwdne2935221:0
crwdns2935229:08crwdne2935229:0
crwdns2915084:0crwdne2915084:0

USF Tampa, Team 14-5, Lacy Spring 2016 crwdns2935289:0USF Tampa, Team 14-5, Lacy Spring 2016crwdne2935289:0
USFT-LACY-S16S14G5
crwdns2931471:03crwdne2931471:0
crwdns2935297:013crwdne2935297:0
crwdns2947412:07crwdne2947412:0
I need to replace the screen and keep the. White around it. How do I do that
You have to use a hair dryer on high on the screen until you can get it loose from the white frame. Carefully pry under the screen with a small screwdriver or a plastic tool to get it loose and then run the plastic tool around the edges until it is loose. It is held in by some type of double sided tape.
clhowey -
after part sales comes only with lcd screen, my question is how do you remove the broken lcd from the housing?
So what do i use to keep the new one attached?
This is a incomplete guide.