crwdns2933423:0crwdne2933423:0
crwdns2947577:0crwdnd2947577:0crwdne2947577:0

Samsung Galaxy A11 Display Assembly Replacement

crwdns2942213:0crwdne2942213:0

    1. Samsung Galaxy A11 Display Assembly Replacement, Back Cover: crwdns2935265:01crwdnd2935265:01crwdnd2935265:03crwdne2935265:0 Samsung Galaxy A11 Display Assembly Replacement, Back Cover: crwdns2935265:01crwdnd2935265:02crwdnd2935265:03crwdne2935265:0 Samsung Galaxy A11 Display Assembly Replacement, Back Cover: crwdns2935265:01crwdnd2935265:03crwdnd2935265:03crwdne2935265:0
      • Place the SIM eject tool in the hole of the sim tray.

      • Push until part of the SIM tray is pushed out.

      • Pull out the rest of the SIM tray.

      crwdns2952109:0crwdne2952109:0

      crwdns2917038:0crwdne2917038:0

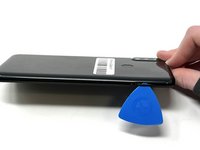
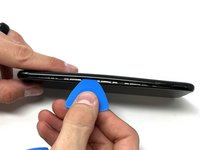
    2. Samsung Galaxy A11 Display Assembly Replacement: crwdns2935265:02crwdnd2935265:01crwdnd2935265:03crwdne2935265:0 Samsung Galaxy A11 Display Assembly Replacement: crwdns2935265:02crwdnd2935265:02crwdnd2935265:03crwdne2935265:0 Samsung Galaxy A11 Display Assembly Replacement: crwdns2935265:02crwdnd2935265:03crwdnd2935265:03crwdne2935265:0
      • Gently pry open the area of the back cover near the SIM tray using an iFixit opening pick.

      • Gently move the pick along the gap and pry open the clips holding it together.

      • If possible, use multiple picks to prevent the back cover from closing.

      crwdns2952109:0crwdne2952109:0

      crwdns2917038:0crwdne2917038:0

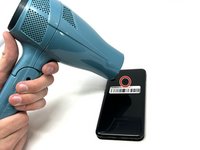
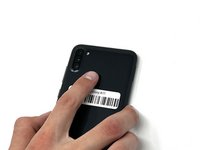
    3. Samsung Galaxy A11 Display Assembly Replacement: crwdns2935265:03crwdnd2935265:01crwdnd2935265:03crwdne2935265:0 Samsung Galaxy A11 Display Assembly Replacement: crwdns2935265:03crwdnd2935265:02crwdnd2935265:03crwdne2935265:0 Samsung Galaxy A11 Display Assembly Replacement: crwdns2935265:03crwdnd2935265:03crwdnd2935265:03crwdne2935265:0
      • Using a hair dryer on low heat, heat the fingerprint sensor in increments of 30 seconds to loosen the surrounding adhesive.

      • Gently push the fingerprint sensor until it detaches from the back cover.

      • If needed, remove the button by prying it from the bottom of the device.

      crwdns2952109:0crwdne2952109:0

      crwdns2917038:0crwdne2917038:0

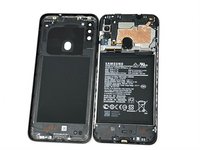
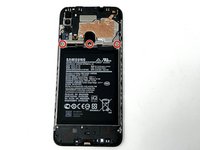
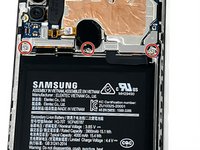
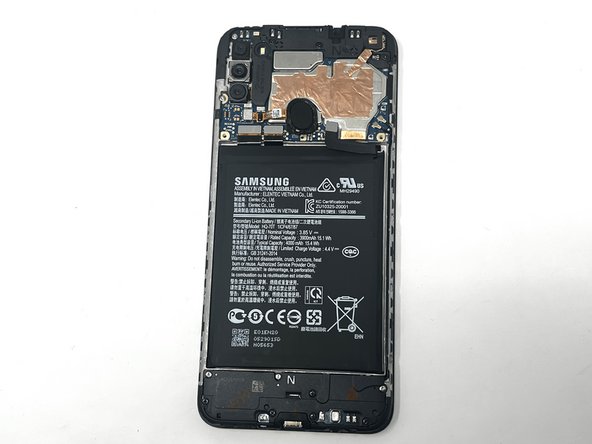
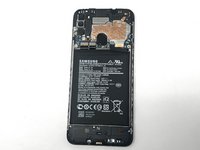
    1. Samsung Galaxy A11 Display Assembly Replacement, Battery: crwdns2935265:04crwdnd2935265:01crwdnd2935265:03crwdne2935265:0 Samsung Galaxy A11 Display Assembly Replacement, Battery: crwdns2935265:04crwdnd2935265:02crwdnd2935265:03crwdne2935265:0 Samsung Galaxy A11 Display Assembly Replacement, Battery: crwdns2935265:04crwdnd2935265:03crwdnd2935265:03crwdne2935265:0
      • Remove the three 3 mm screws from the shield using a Phillips #000 screwdriver.

      • Remove the shield from the phone.

      crwdns2952109:0crwdne2952109:0

      crwdns2917038:0crwdne2917038:0

    2. Samsung Galaxy A11 Display Assembly Replacement: crwdns2935265:05crwdnd2935265:01crwdnd2935265:03crwdne2935265:0 Samsung Galaxy A11 Display Assembly Replacement: crwdns2935265:05crwdnd2935265:02crwdnd2935265:03crwdne2935265:0 Samsung Galaxy A11 Display Assembly Replacement: crwdns2935265:05crwdnd2935265:03crwdnd2935265:03crwdne2935265:0
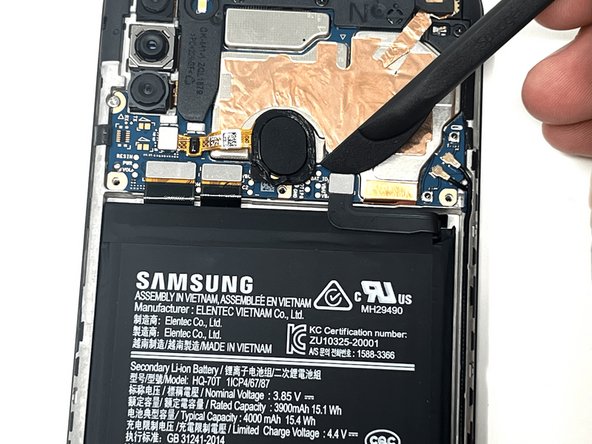
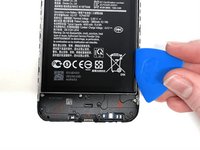
      • Using tweezers, a spudger, or your fingers, disconnect the battery press connector from the phone.

      crwdns2952109:0crwdne2952109:0

      crwdns2917038:0crwdne2917038:0

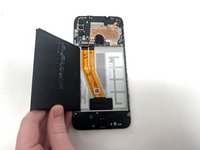
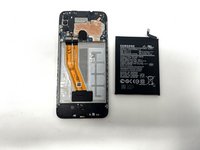
    3. Samsung Galaxy A11 Display Assembly Replacement: crwdns2935265:06crwdnd2935265:01crwdnd2935265:03crwdne2935265:0 Samsung Galaxy A11 Display Assembly Replacement: crwdns2935265:06crwdnd2935265:02crwdnd2935265:03crwdne2935265:0 Samsung Galaxy A11 Display Assembly Replacement: crwdns2935265:06crwdnd2935265:03crwdnd2935265:03crwdne2935265:0
      • If needed, use a hairdryer on low heat to soften the adhesive under the battery. If The Battery Is Expanded, DO NOT USE A HAIRDRYER or heat; be very careful when removing to not puncture the battery.

      • Use an iFixit pry tool to dig under the battery edge.

      • If needed, use multiple pry tools to hold the battery in place.

      • Continue to cut the adhesive under the battery until you are able to pry the battery away from the phone.

      • Remove the battery from the phone.

      crwdns2952109:0crwdne2952109:0

      crwdns2917038:0crwdne2917038:0

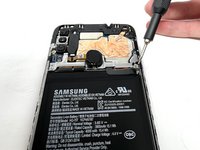
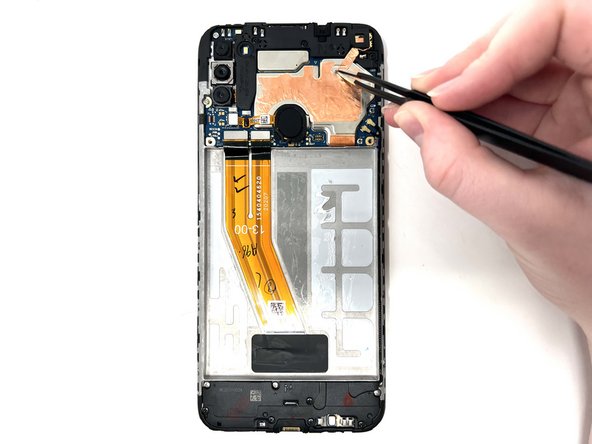
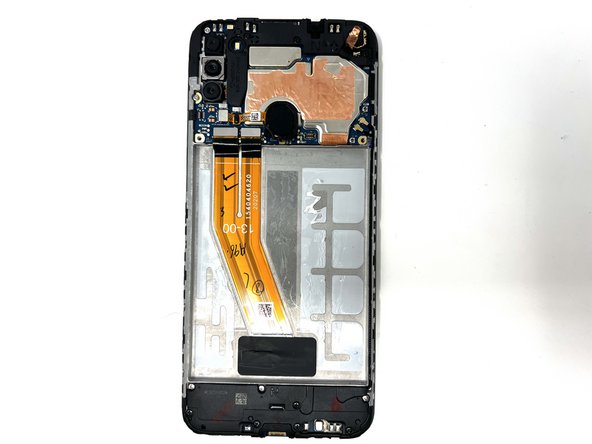
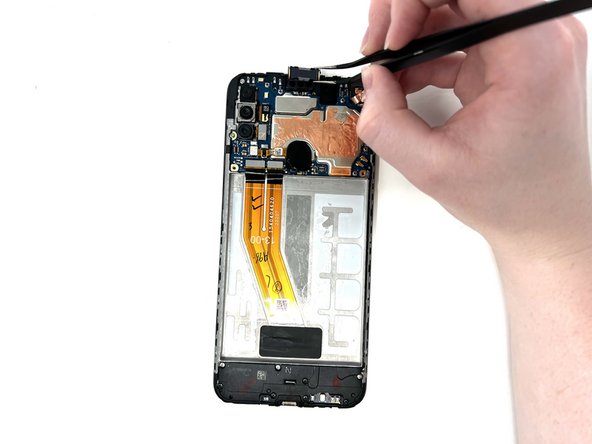
    1. Samsung Galaxy A11 Display Assembly Replacement, Earpiece Speaker: crwdns2935265:07crwdnd2935265:01crwdnd2935265:03crwdne2935265:0 Samsung Galaxy A11 Display Assembly Replacement, Earpiece Speaker: crwdns2935265:07crwdnd2935265:02crwdnd2935265:03crwdne2935265:0 Samsung Galaxy A11 Display Assembly Replacement, Earpiece Speaker: crwdns2935265:07crwdnd2935265:03crwdnd2935265:03crwdne2935265:0
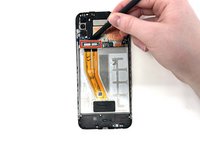
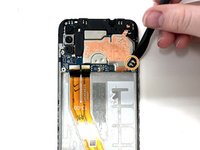
      • Gently use tweezers to peel up the copper strip on the top right of the phone.

      crwdns2952109:0crwdne2952109:0

      crwdns2917038:0crwdne2917038:0

    2. Samsung Galaxy A11 Display Assembly Replacement: crwdns2935265:08crwdnd2935265:01crwdnd2935265:02crwdne2935265:0 Samsung Galaxy A11 Display Assembly Replacement: crwdns2935265:08crwdnd2935265:02crwdnd2935265:02crwdne2935265:0
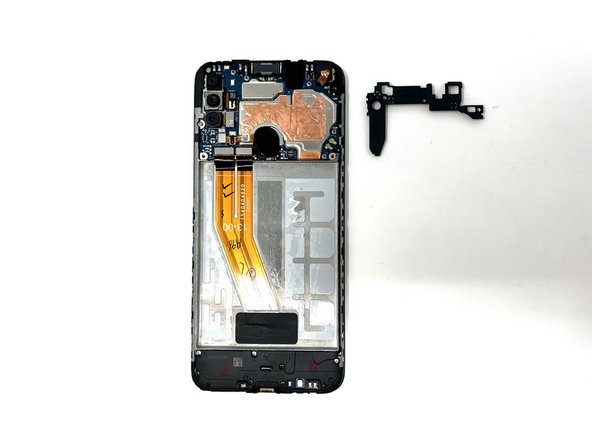
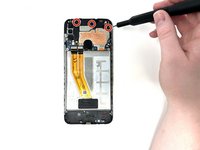
      • Remove the three black 3 mm screws from the speaker cover using a Phillips #000 screwdriver.

      • Remove the cover from the phone.

      crwdns2952109:0crwdne2952109:0

      crwdns2917038:0crwdne2917038:0

    3. Samsung Galaxy A11 Display Assembly Replacement: crwdns2935265:09crwdnd2935265:01crwdnd2935265:03crwdne2935265:0 Samsung Galaxy A11 Display Assembly Replacement: crwdns2935265:09crwdnd2935265:02crwdnd2935265:03crwdne2935265:0 Samsung Galaxy A11 Display Assembly Replacement: crwdns2935265:09crwdnd2935265:03crwdnd2935265:03crwdne2935265:0
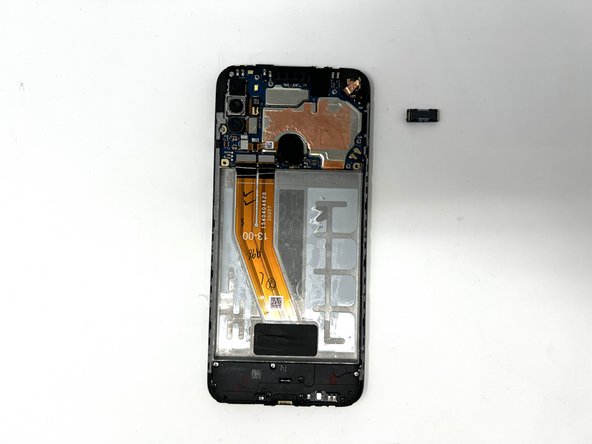
      • Using tweezers, carefully remove the earpiece speaker at the top of the phone.

      • When using metal tools, it is important to be gentle in order to not damage the device.

      • If needed, you can use a hair dryer to apply heat to the speaker and loosen the adhesive.

      • If needed, you may orient the tweezers to your liking, gripping the earpiece horizontally or vertically, while removing it.

      crwdns2952109:0crwdne2952109:0

      crwdns2917038:0crwdne2917038:0

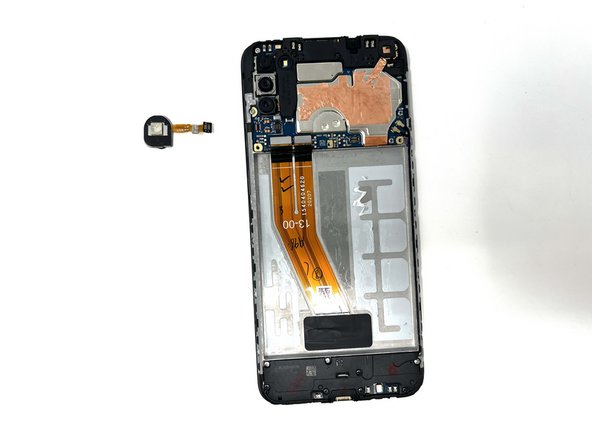
    1. Samsung Galaxy A11 Display Assembly Replacement, Fingerprint Sensor: crwdns2935265:010crwdnd2935265:01crwdnd2935265:03crwdne2935265:0 Samsung Galaxy A11 Display Assembly Replacement, Fingerprint Sensor: crwdns2935265:010crwdnd2935265:02crwdnd2935265:03crwdne2935265:0 Samsung Galaxy A11 Display Assembly Replacement, Fingerprint Sensor: crwdns2935265:010crwdnd2935265:03crwdnd2935265:03crwdne2935265:0
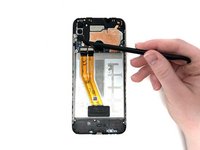
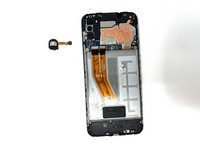
      • Using a spudger, detach the ribbon cable connected to the fingerprint sensor.

      • Remove the fingerprint sensor from the device.

      crwdns2952109:0crwdne2952109:0

      crwdns2917038:0crwdne2917038:0

    1. Samsung Galaxy A11 Display Assembly Replacement, Motherboard: crwdns2935265:011crwdnd2935265:01crwdnd2935265:01crwdne2935265:0
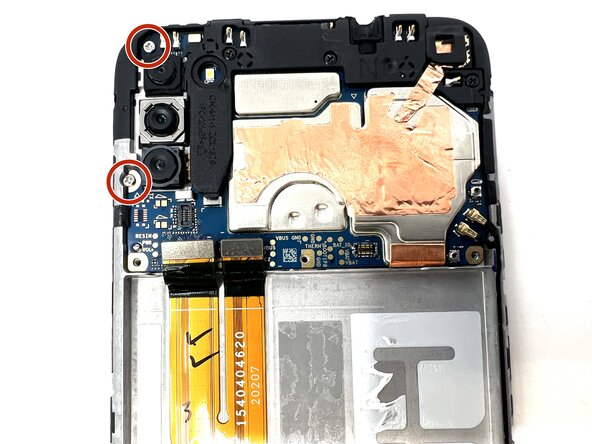
      • Remove the two 3 mm silver screws from the top left of the device using a Phillips #000 screwdriver.

      crwdns2952109:0crwdne2952109:0

      crwdns2917038:0crwdne2917038:0

    2. Samsung Galaxy A11 Display Assembly Replacement: crwdns2935265:012crwdnd2935265:01crwdnd2935265:03crwdne2935265:0 Samsung Galaxy A11 Display Assembly Replacement: crwdns2935265:012crwdnd2935265:02crwdnd2935265:03crwdne2935265:0 Samsung Galaxy A11 Display Assembly Replacement: crwdns2935265:012crwdnd2935265:03crwdnd2935265:03crwdne2935265:0
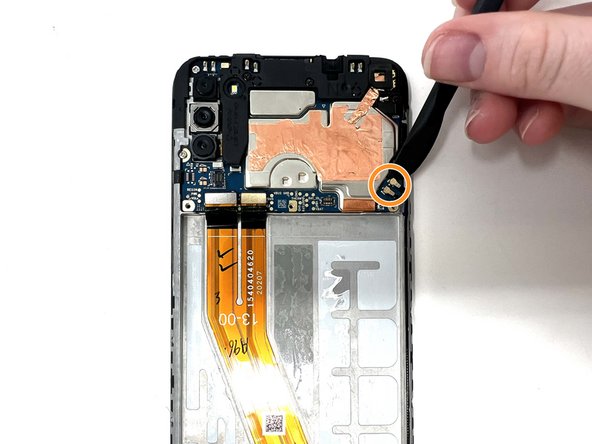
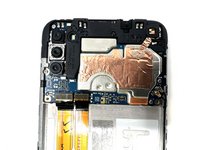
      • Using a spudger, disconnect the two ribbon cables attached to the battery slot from the motherboard.

      • Disconnect the two longer ribbon cables near the bottom right corner of the motherboard.

      • Lift these cables up slightly to reveal a gap.

      crwdns2952109:0crwdne2952109:0

      crwdns2917038:0crwdne2917038:0

    3. Samsung Galaxy A11 Display Assembly Replacement: crwdns2935265:013crwdnd2935265:01crwdnd2935265:03crwdne2935265:0 Samsung Galaxy A11 Display Assembly Replacement: crwdns2935265:013crwdnd2935265:02crwdnd2935265:03crwdne2935265:0 Samsung Galaxy A11 Display Assembly Replacement: crwdns2935265:013crwdnd2935265:03crwdnd2935265:03crwdne2935265:0
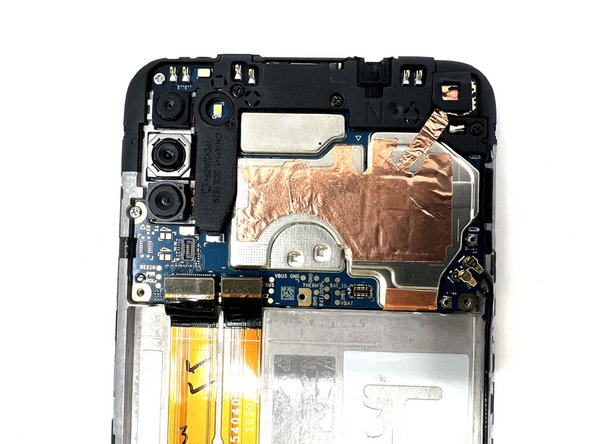
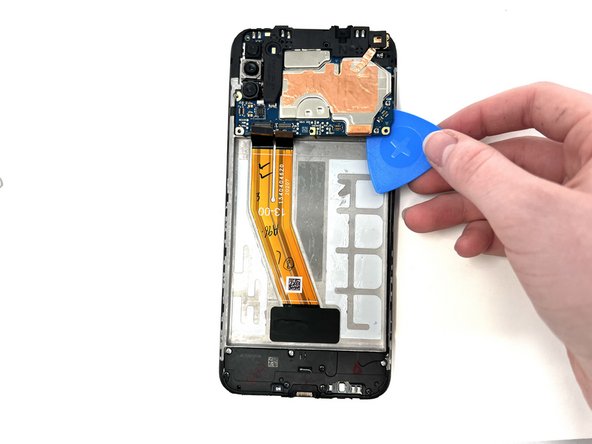
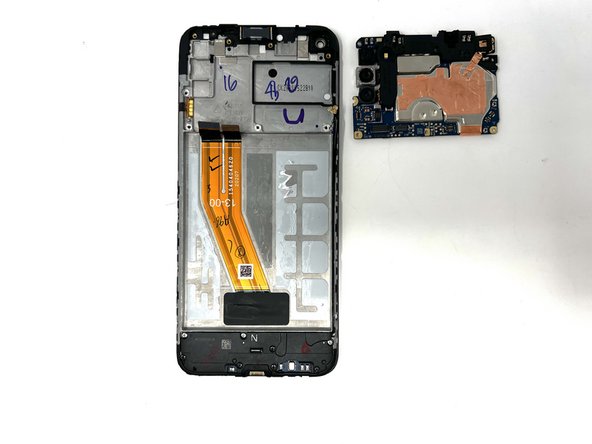
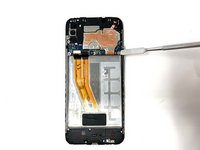
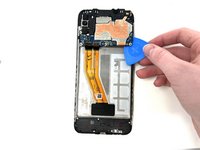
      • Using a spudger, gently pry the motherboard up using the corner revealed in the previous step.

      • If needed, use a metal spudger as a sturdier alternative.

      • If using a metal spudger, it is important to be gentle in order to not damage any components of the device.

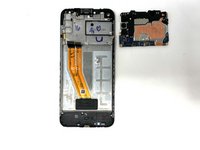
      • Remove the motherboard from the device.

      crwdns2952109:0crwdne2952109:0

      crwdns2917038:0crwdne2917038:0

    1. Samsung Galaxy A11 Display Assembly Replacement, Daughterboard: crwdns2935265:014crwdnd2935265:01crwdnd2935265:03crwdne2935265:0 Samsung Galaxy A11 Display Assembly Replacement, Daughterboard: crwdns2935265:014crwdnd2935265:02crwdnd2935265:03crwdne2935265:0 Samsung Galaxy A11 Display Assembly Replacement, Daughterboard: crwdns2935265:014crwdnd2935265:03crwdnd2935265:03crwdne2935265:0
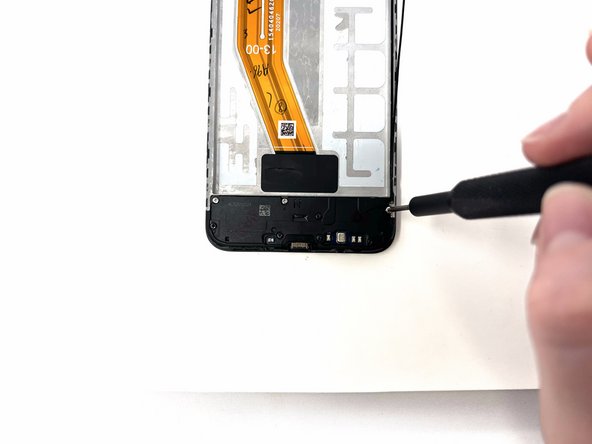
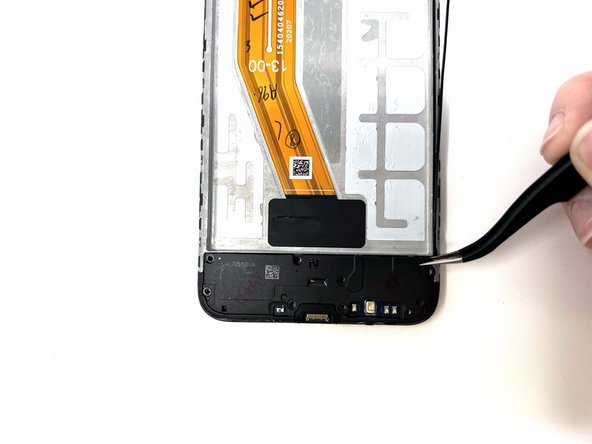
      • Remove the eight silver and black 3 mm screws from the speaker cover using a Phillips #000 screwdriver.

      • Remove the speaker cover from the device.

      crwdns2952109:0crwdne2952109:0

      crwdns2917038:0crwdne2917038:0

    2. Samsung Galaxy A11 Display Assembly Replacement: crwdns2935265:015crwdnd2935265:01crwdnd2935265:03crwdne2935265:0 Samsung Galaxy A11 Display Assembly Replacement: crwdns2935265:015crwdnd2935265:02crwdnd2935265:03crwdne2935265:0 Samsung Galaxy A11 Display Assembly Replacement: crwdns2935265:015crwdnd2935265:03crwdnd2935265:03crwdne2935265:0
      • Using a spudger, disconnect the antenna heads from the daughterboard.

      • Disconnect the ribbon cable from the daughterboard.

      crwdns2952109:0crwdne2952109:0

      crwdns2917038:0crwdne2917038:0

    3. Samsung Galaxy A11 Display Assembly Replacement: crwdns2935265:016crwdnd2935265:01crwdnd2935265:03crwdne2935265:0 Samsung Galaxy A11 Display Assembly Replacement: crwdns2935265:016crwdnd2935265:02crwdnd2935265:03crwdne2935265:0 Samsung Galaxy A11 Display Assembly Replacement: crwdns2935265:016crwdnd2935265:03crwdnd2935265:03crwdne2935265:0
      • Using tweezers, gently pry the daughterboard from the device.

      • When using metal tools, it is important to be gentle in order to not damage the device.

      crwdns2952109:0crwdne2952109:0

      crwdns2917038:0crwdne2917038:0

    1. Samsung Galaxy A11 Display Assembly Replacement, Vibration Motor: crwdns2935265:017crwdnd2935265:01crwdnd2935265:02crwdne2935265:0 Samsung Galaxy A11 Display Assembly Replacement, Vibration Motor: crwdns2935265:017crwdnd2935265:02crwdnd2935265:02crwdne2935265:0
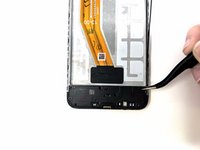
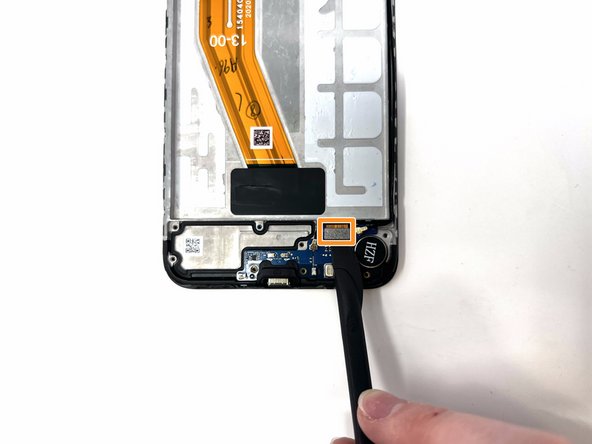
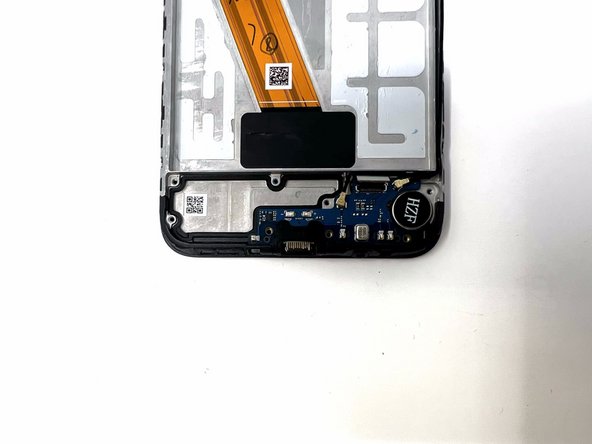
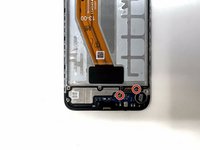
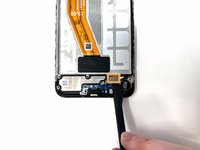
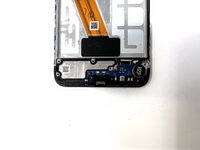
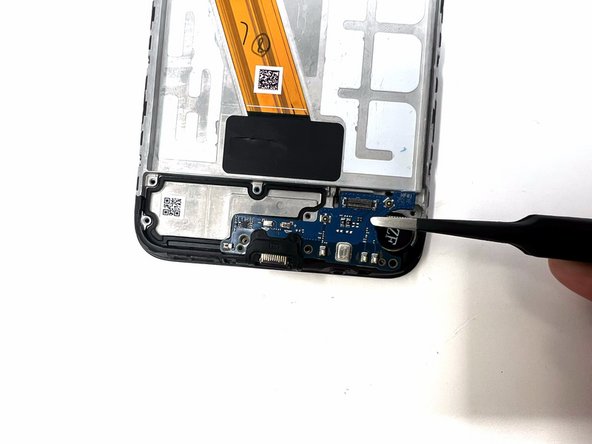
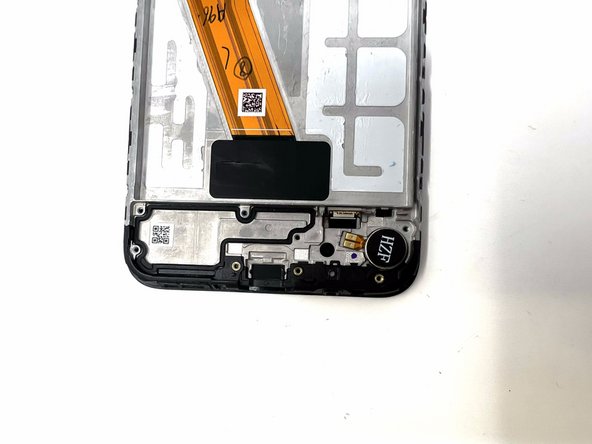
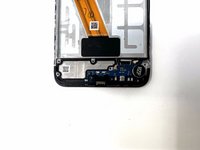
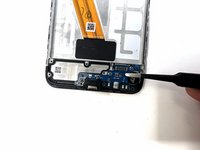
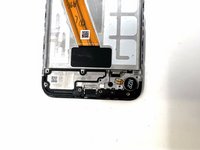
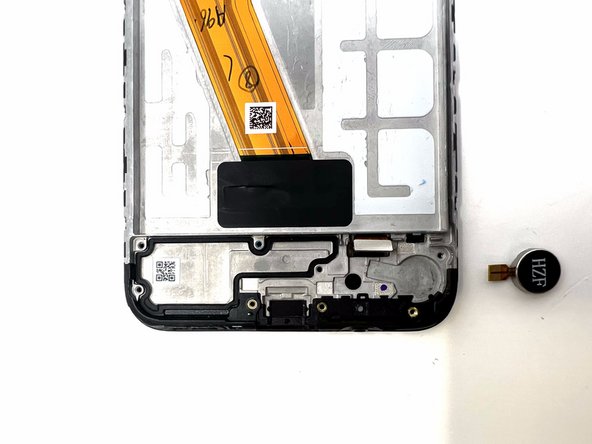
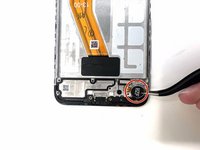
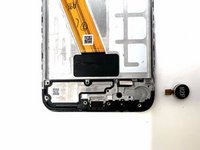
      • Using tweezers, remove the vibrator motor from the device.

      • If needed, you can apply heat to loosen the adhesive from the motor.

      crwdns2952109:0crwdne2952109:0

      crwdns2917038:0crwdne2917038:0

    1. Samsung Galaxy A11 Display Assembly Replacement, Display Assembly: crwdns2935265:018crwdnd2935265:01crwdnd2935265:01crwdne2935265:0
      • The display assembly is separated from all other components and can be replaced.

      crwdns2952109:0crwdne2952109:0

      crwdns2917038:0crwdne2917038:0

crwdns2915888:0crwdne2915888:0

To reassemble your device, follow these instructions in reverse order.

crwdns2935221:0crwdne2935221:0

crwdns2935229:04crwdne2935229:0

Chloe Bulloch

crwdns2935283:009/04/24crwdne2935283:0

837 crwdns2915208:0crwdne2915208:0

crwdns2935297:03crwdne2935297:0

crwdns2935287:0crwdne2935287:0

Utah Tech University, Team 1-6, Crenshaw Fall 2024 crwdns2935289:0Utah Tech University, Team 1-6, Crenshaw Fall 2024crwdne2935289:0

UTAHTECH-CRENSHAW-F24S1G6

crwdns2931471:02crwdne2931471:0

crwdns2935297:060crwdne2935297:0

crwdns2947412:00crwdne2947412:0

crwdns2917038:0crwdne2917038:0

crwdns2936625:0crwdne2936625:0:

crwdns2936751:024crwdne2936751:0 9

crwdns2936753:07crwdne2936753:0 44

crwdns2936753:030crwdne2936753:0 190

crwdns2942667:0crwdne2942667:0 3,344