crwdns2915892:0crwdne2915892:0
Issues with a broken or cracked screen can be resolved by following this guide. The only tools required will be a plastic prying device, and a standard Phillips #0 Screwdriver
crwdns2942213:0crwdne2942213:0
-
-
Flip device over so that the underside is facing up.
-
Remove nine, 7mm PH#0 screws from the bottom.
-
-
-
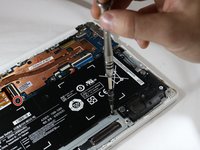
Using the plastic opening tool, pry open the bottom of the Chromebook case, working all around the computer.
-
Lift the panel out of the way to reveal the battery.
-
-
-
Remove four, 5mm Phillips #0 screws connecting the battery to the laptop
-
-
-
Lift the battery, and pull it up and towards you, away from the connector.
-
-
-
-
Using a plastic opening tool, pry the connector up from the contact.
-
Remove the battery from the device.
-
-
-
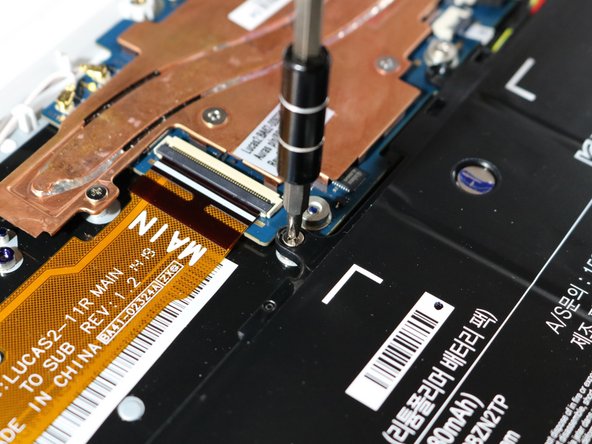
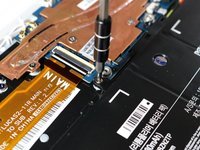
Remove the four 5mm Phillips #0 screws on the hinges.
-
-
-
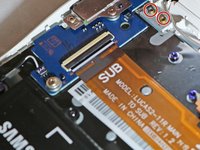
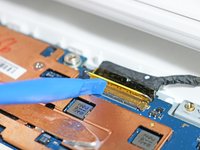
Unplug two auxiliary wires leading to the top lid.
-
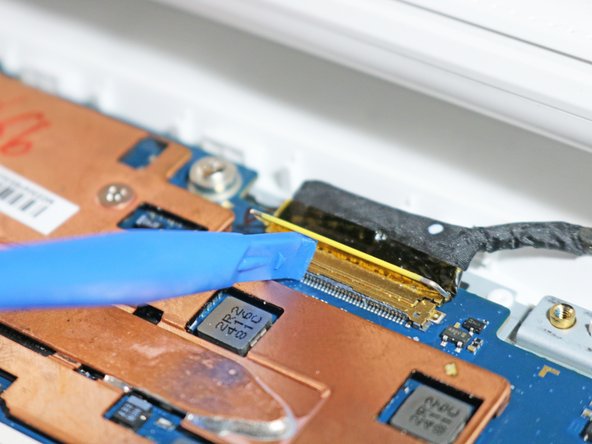
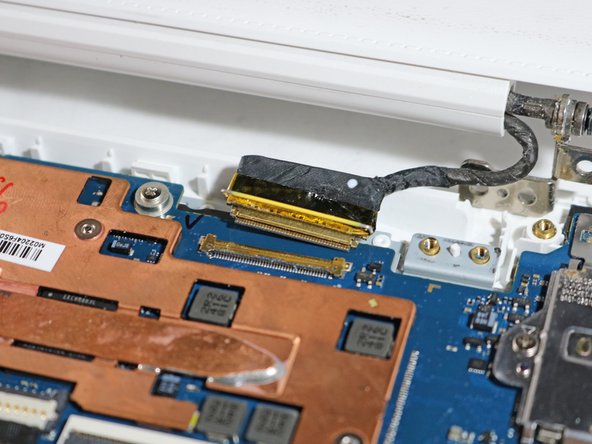
Using the plastic prying tool, lift the hinge on the connector up and pull the connector away.
-
-
-
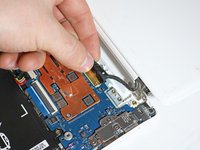
Lift the hinges up and separate the top lid from the bottom casing.
-
-
-
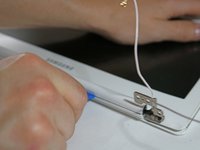
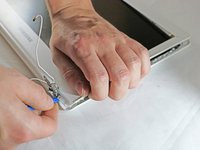
Using the plastic prying tool, carefully pry the casing apart from the screen.
-
-
-
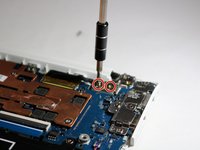
Remove the four 5mm Phillips #0 screws holding the screen in place.
-
-
-
Lift and remove the screen from the device.
-


To reassemble your device, follow these instructions in reverse order.
crwdns2935221:0crwdne2935221:0
crwdns2935227:0crwdne2935227:0
crwdns2935287:0crwdne2935287:0

Eastern Washington University, Team S1-G3, Carnegie Fall 2018 crwdns2935289:0Eastern Washington University, Team S1-G3, Carnegie Fall 2018crwdne2935289:0
EWU-CARNEGIE-F18S1G3
crwdns2931471:04crwdne2931471:0
crwdns2935297:08crwdne2935297:0