crwdns2915892:0crwdne2915892:0
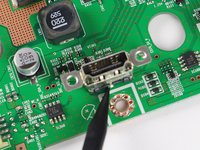
The HDMI Port allows for an external source to display an image onto the monitor by using an HDMI cable. If the HDMI Port is damaged, an image might not display onto the monitor.
crwdns2942213:0crwdne2942213:0
-
-
Use the #1 Phillips head screw driver to remove each 13.75mm length screw from the rear panel.
-
-
crwdns2935267:0crwdne2935267:0Heavy-Duty Spudger$4.99
-
Insert the heavy duty spudger in between the monitors back panel and its frame.
-
Use the heavy duty spudger to pry open the back panel.
-
-
-
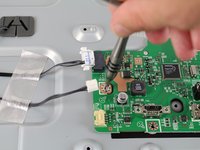
Remove the navigation button connector by pulling while holding down its thumb tab.
-
-
-
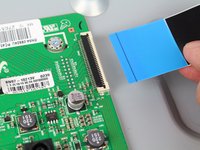
Remove the screen connector by gripping its sides and gently pulling while wiggling back and forth.
-
-
-
-
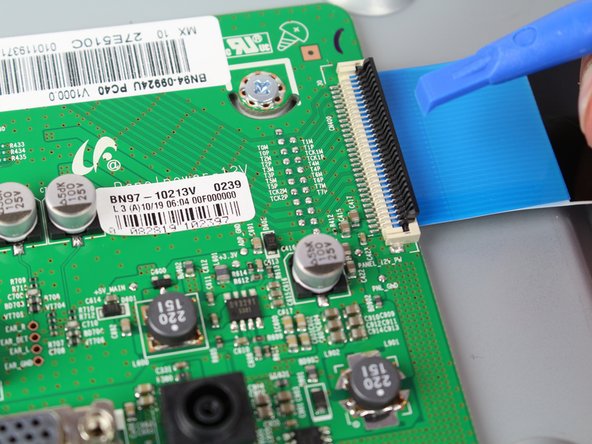
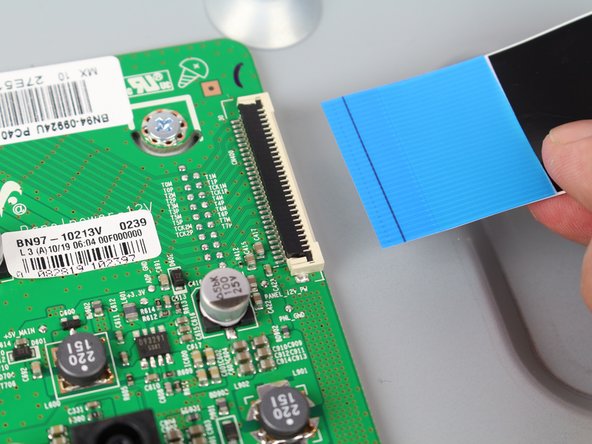
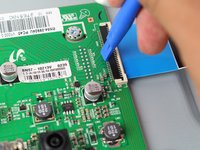
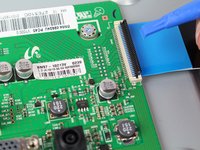
For the ribbon cable, Lift the tab from the side facing the inside of the mother board with your fingernail or a spudger.
-
Remove the cable by pulling while lifting slightly.
-
-
-
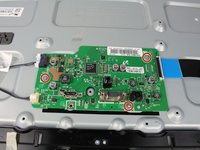
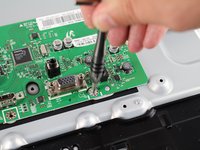
Remove each of the 5mm length screws attaching the motherboard to the body of the monitor using a #1 Phillips head screwdriver.
-
-
-
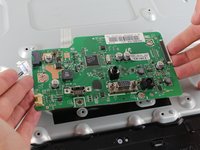
Using both hands, lift the board off of the monitor body by the motherboards base.
-
-
-
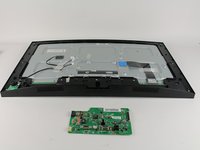
Gently place the motherboard on a static free surface.
-
-
-
Desolder each of the indicated leads located on the back of the motherboard.
-
-
-
If the HDMI Port does not fall off the motherboard, try tugging it with your hand.
-


To reassemble your device, follow these instructions in reverse order. The process of soldering the components back onto the board is similar to desoldering, the difference is that instead of using the Solder Wick, to suck up the solder, you're using Solder Wire to add solder.
crwdns2935221:0crwdne2935221:0
crwdns2935227:0crwdne2935227:0
crwdns2935287:0crwdne2935287:0

Cal Poly, Team S9-G1, Banghart Fall 2017 crwdns2935289:0Cal Poly, Team S9-G1, Banghart Fall 2017crwdne2935289:0
CPSU-BANGHART-F17S9G1
crwdns2931471:06crwdne2931471:0
crwdns2935297:014crwdne2935297:0