crwdns2915892:0crwdne2915892:0
Subwoofers are notorious for blowing out. Consistent use at low frequencies result in a short life span for these parts.
This guide will show you how to replace the subwoofer instead of having to throw out you entire device. A replacement subwoofer can be found online or salvaged from another device.
crwdns2942213:0crwdne2942213:0
-
-
Lift up the handle to reveal the screws.
-
Use your Phillips #2 screwdriver to remove the eight 1/2 inch screws.
-
-
-
Flip your device over.
-
Use your Phillips #2 screwdriver to remove the six 3/4inch screws.
-
-
-
Flip your device back over to access the top of the device.
-
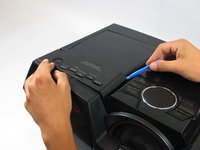
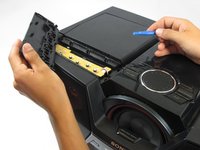
Use your plastic opening tool to pry up and remove the panel on the top, left hand side of the device.
-
-
-
Use your Phillips #2 screwdriver to remove the two 1/2 inch screws underneath the now-removed panels.
-
-
-
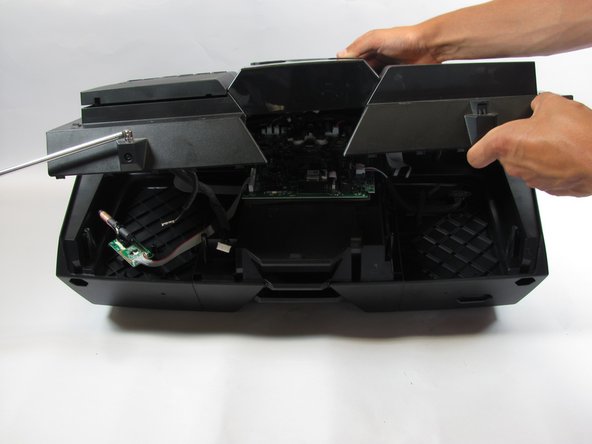
Lift off the top, beginning from the back of the device.
-
-
-
-
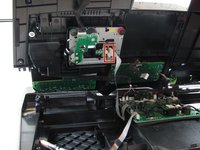
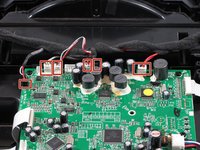
Disconnect the CD drive ribbon cable from the top of the device.
-
-
-
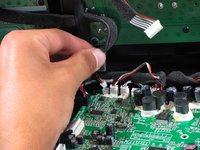
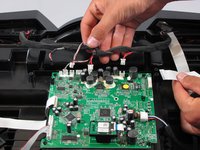
Disconnect the remaining cables from the motherboard.
-
-
-
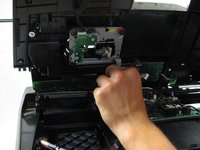
Once you have removed the top, we will begin removing the front of the device.
-
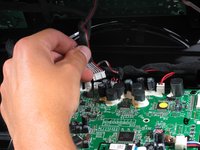
Begin by disconnecting the 6 cables that lead from the front of the device to the motherboard.
-
-
-
Use your Philips #2 screwdriver to remove the two 1 inch screws on the outermost part of the device.
-
Use your Philips #2 screwdriver to remove the two 3/4 inch screws on the outermost part of the device.
-
Use your Philips #2 screwdriver to remove the one 5/6 inch screw on the middle part of the device.
-
-
-
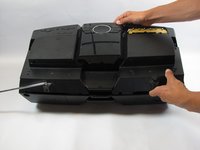
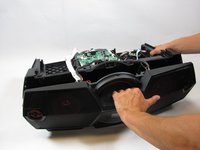
Firmly pull off the front of device.
-
-
-
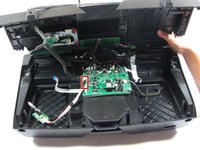
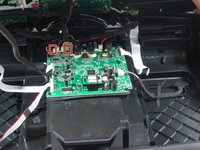
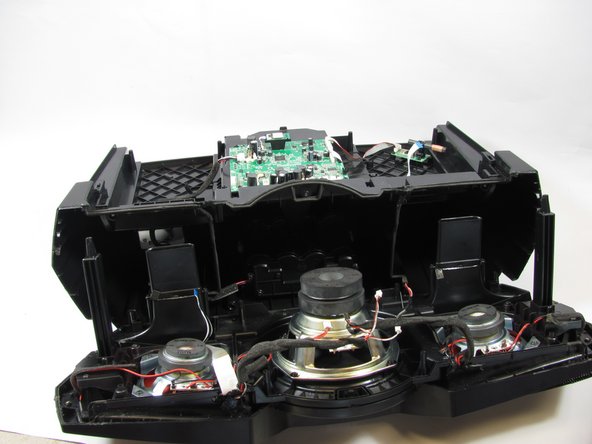
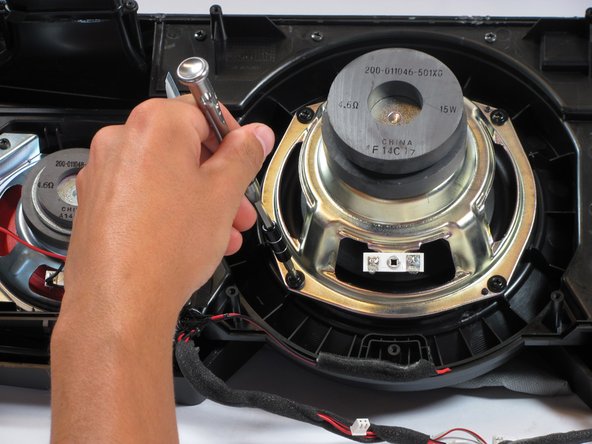
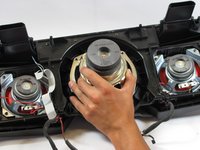
Begin with the front component after the disassembly prerequisite.
-
This guide is for the subwoofer seen in the middle of this image.
-
-
-
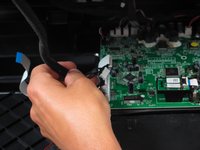
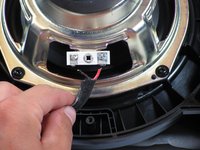
Desolder the two connector wires off the bottom plate on the speaker.
-
Note where each cable connects.
-
-
-
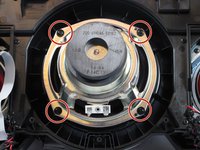
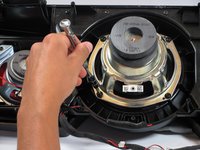
Remove the four 1/2 inch screws using a #2 Phillips screwdriver.
-
-
-
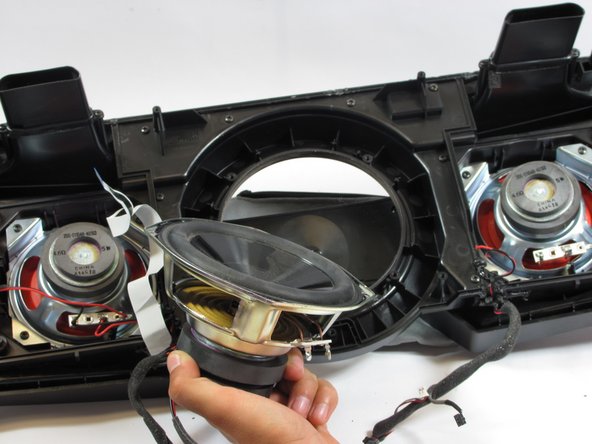
Firmly grab the end of the subwoofer.
-
Pull up and out to remove it.
-


To reassemble your device, follow these instructions in reverse order.
crwdns2935221:0crwdne2935221:0
crwdns2935227:0crwdne2935227:0

crwdns2947410:01crwdne2947410:0
You completely forgot about the screws in the CD Drive. Nearly broke the top plastic prying on it.