crwdns2942213:0crwdne2942213:0
-
-
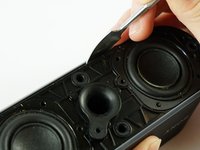
Use the metal spudger to pry the face screen open. Pull away from the device to remove.
-
-
-
Remove seven, 27 mm long Phillips #1 screws.
-
Remove three, 11mm long Phillips #1 screws.
-
Remove four, 10 mm long Phillips#1 screws.
-
-
-
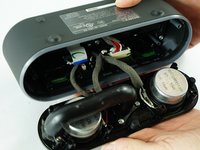
Use the spudger to remove the speaker host plate. Insert the metal tip in the seam between the host plate and the shell.
-
Center the spudger on the top of the device, this is furthest from the wiring, in wiggling the spudger under the plate, the plate should move up and out of the shell, you can finish lifting the plate away with your fingers.
-
-
-
-
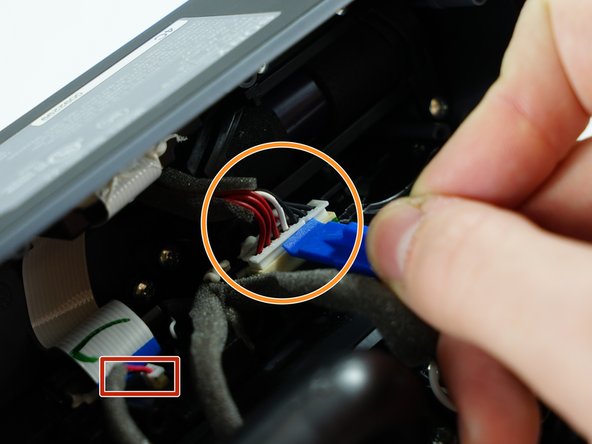
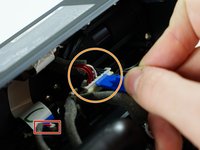
Unplug the power cable connector shown using the plastic opening tool. Wiggle the tool under the lip of the plug, the smaller area and odd angle means lifting up with the plastic tool in the setup shown.
-
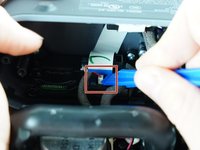
Unplug the power connector shown in the second image. Using the plastic opening tool lift from the front of the plug and move the opening tool to either side to get it all the way out of the socket.
-
-
-
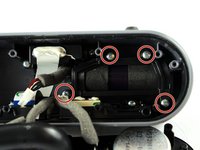
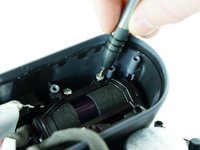
Remove the four, 11 mm, Phillips#1 screws on the battery cover plate.
-
-
-
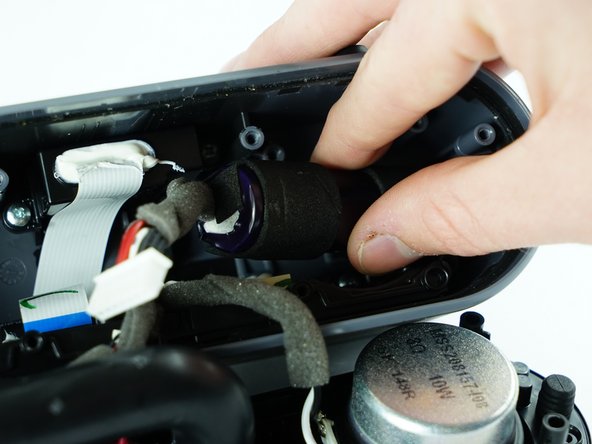
Remove the battery cover plate carefully then proceed to remove the battery.
-
-
-
Use PH1 screwdriver to remove three 11mm Phillips head screws that are holding the motherboard together.
-
-
-
Gently use your fingers to pull out the white ribbon.
-
-
-
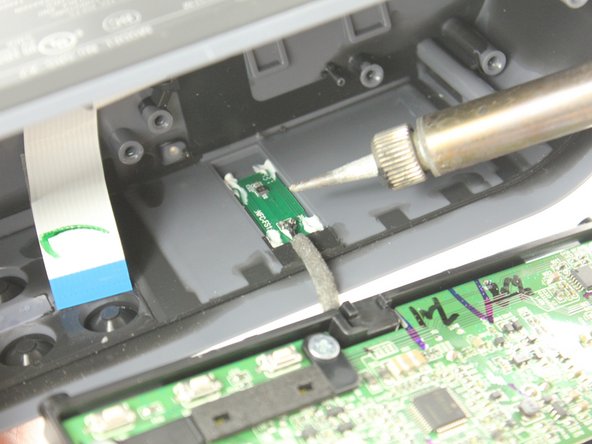
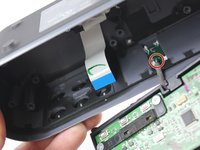
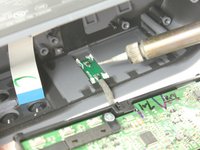
Pull the motherboard out of the speaker slowly, gently flip it upside down to find the wire that soldered to the ceiling of the speaker.
-
Use a hot soldering iron and detach the wire.
-
Once the motherboard is disconnected, it can be removed for replacement.
-
To reassemble your device, follow these instructions in reverse order.


