crwdns2942213:0crwdne2942213:0
-
-
Remove battery and card
-
-
-
Right side, remove 1 M1.4x3.7 screw
-
Left side, remove 3 M1.4x3.7 screws
-
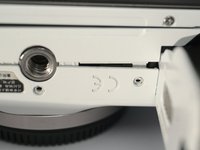
Bottom side, remove 5 M1.4x3.7 screws, including 2 in battery bay. 2 of them out of this photo, you can find them.
-
-
-
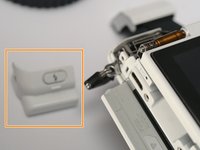
Pop the flash.
-
In flash room, remove 1 (one) M1.4x3.8 black screw.
-
-
-
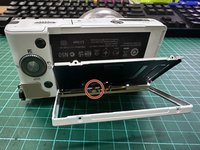
Remove LCD hinge cover, by sliding to the left.
-
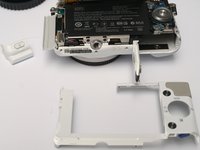
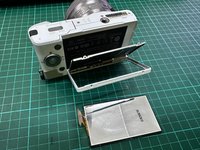
Remove back cover, actually just a plastic frame.
-
-
-
-
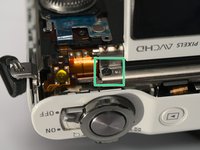
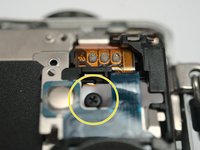
Remove 1 M1.4x2 screw
-
Remove another M1.4x2 screw, sorry for the angle.
-
-
-
Loosen LCD assemble with caution!
-
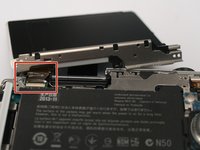
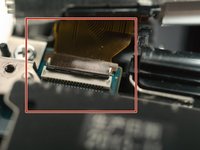
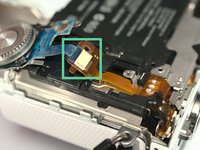
Release FPC cable, the connector is flip type.
-
-
-
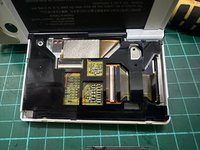
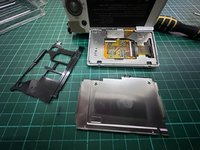
After unscrew 4pcs screw you will remove the steel black plate, then slowly pull the black frame there to see the ribbon stripe.
-
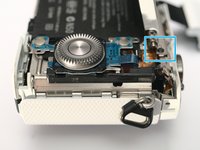
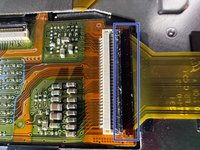
Slowly pull the very fragile ribbon lock which i marking with the blue boxes. around just 1mm to unlock the ribbon.. unlucky i broke mine..
-
-
-
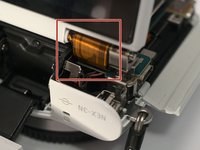
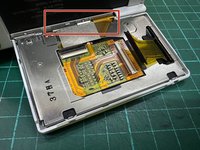
you can see the ribbon already pull out but be carefull with the others 2 ribbon when your try to pull out this ribbon.
-
the the circle marker that show others ribbon you need to be carefull. goodluck!
-
-
-
Remove 1 M1.4x2 screw
-
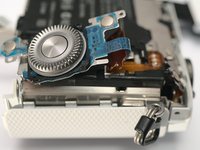
Lift the keypad.
-
Detach FPC
-
To reassemble your device, follow these instructions in reverse order.
To reassemble your device, follow these instructions in reverse order.
crwdns2935221:0crwdne2935221:0
crwdns2935227:0crwdne2935227:0


