crwdns2915892:0crwdne2915892:0
This guide covers the replacement of a motherboard in an SGIN X15S. The motherboard connects all the components of the computer together and allows for them to interact with each other. A bad motherboard would result in the computer failing to turn on, boot up, or perform essential tasks. While working on your device, if you notice that the battery is swollen, stop your replacement and follow the swollen battery disposal guide. Before working on your device, ensure that it is turned off and completely unplugged from any power sources.
crwdns2942213:0crwdne2942213:0
-
-
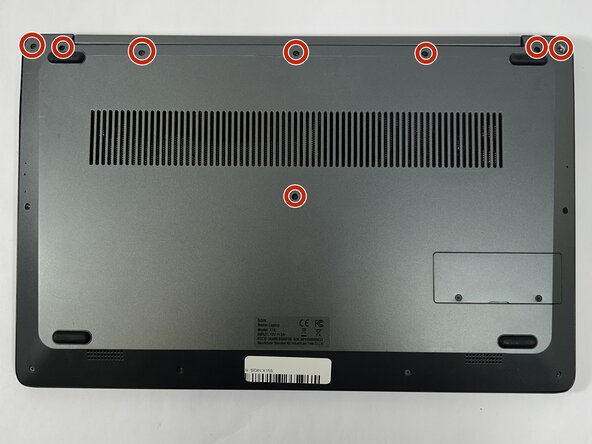
Remove the eight top and middle 7.3 mm screws using the Phillips #0 screwdriver.
-
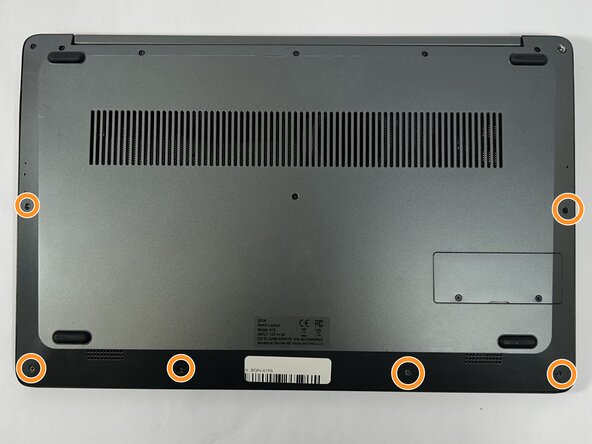
Remove the six bottom and side 4.4 mm screws using the Phillips #0 screwdriver.
-
-
-
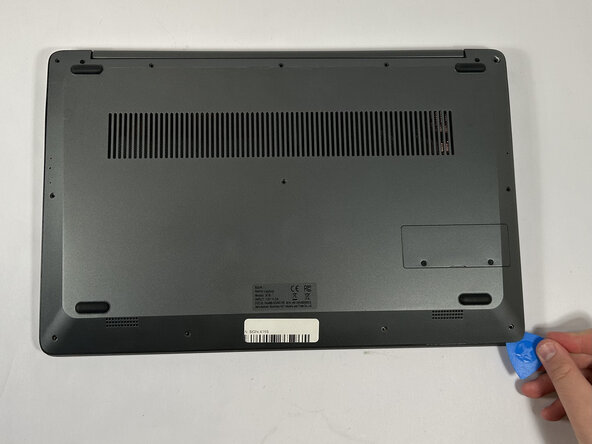
Use the nylon spudger to gently pry a bit of the back panel open. With the opening pick, go all the way around until the back panel is loose.
-
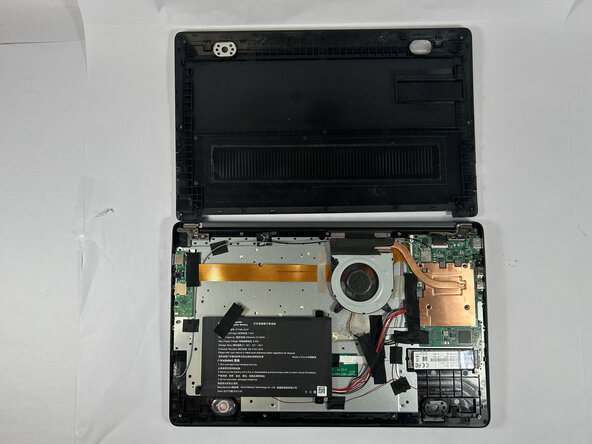
Pull the back panel off the laptop.
-
-
-
Gently remove the tape holding the battery's cord to the motherboard, followed by the tape in the middle of the cord.
-
-
-
Use the nylon spudger to detach the battery from the motherboard.
-
-
-
Using the nylon spudger, unclip the clip holding the touchpad cable down.
-
Disconnect the touchpad cable.
-
-
-
-
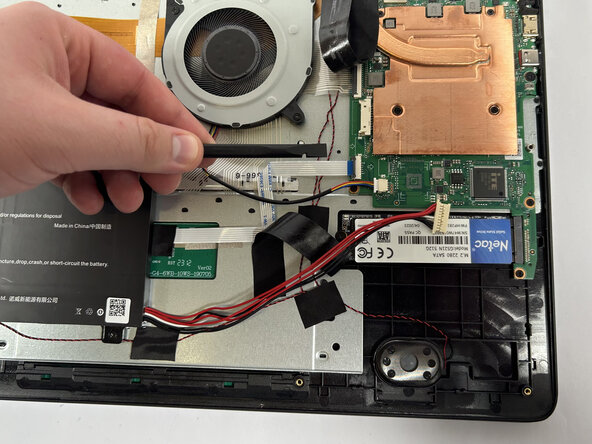
Using the nylon spudger, unclip the clip holding the keyboard ribbon cable in place.
-
Disconnect the keyboard ribbon cable.
-
-
-
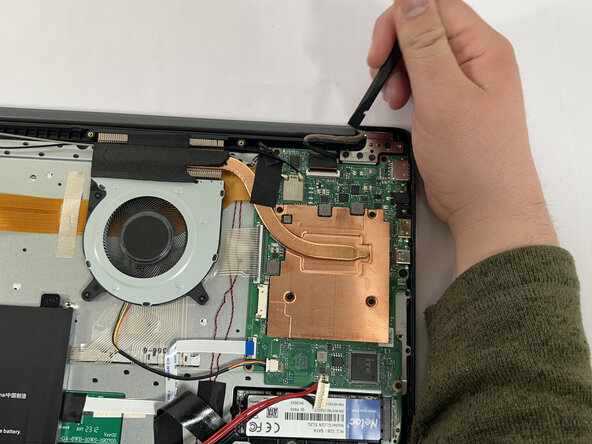
Using the nylon spudger, unclip the clip holding the screen cable in place.
-
Disconnect the screen cable from the motherboard.
-
-
-
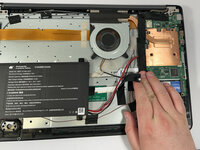
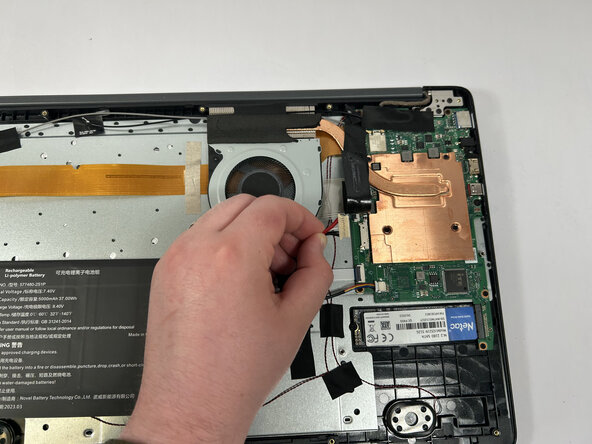
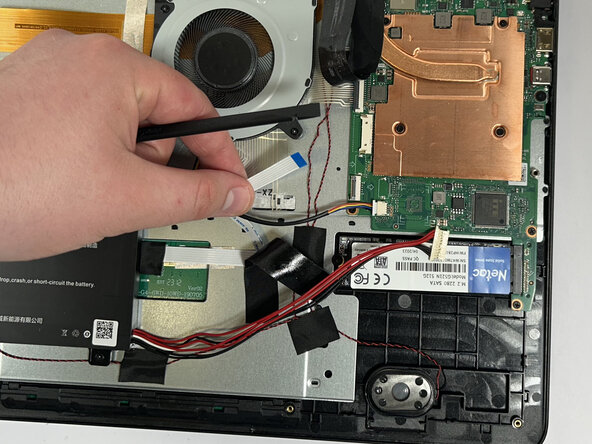
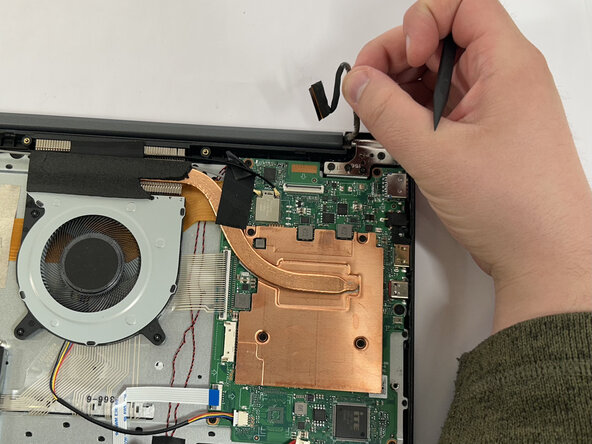
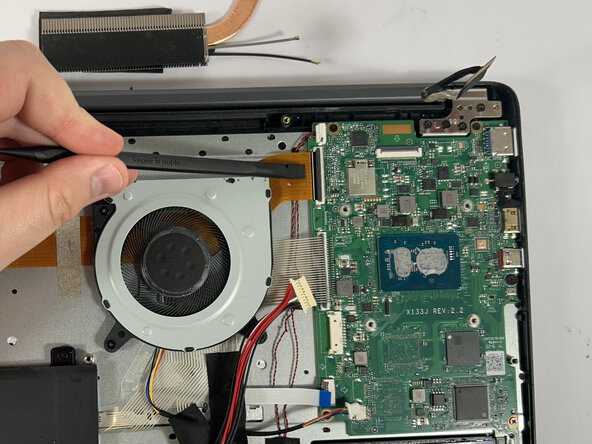
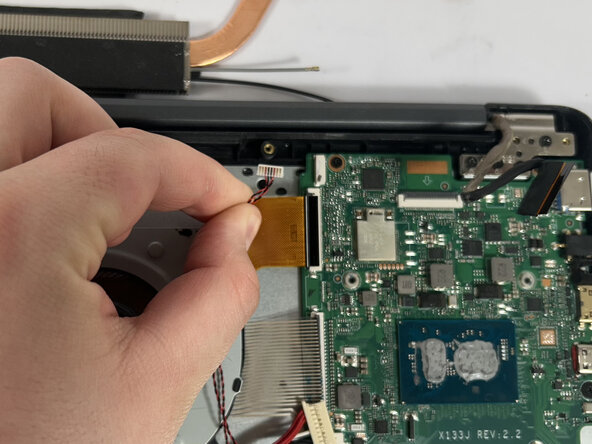
Using the tweezers, grab the wire connector.
-
With the tweezers in place, push away from the motherboard to disconnect the wire.
-
-
-
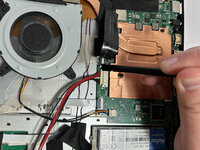
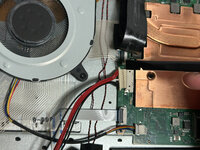
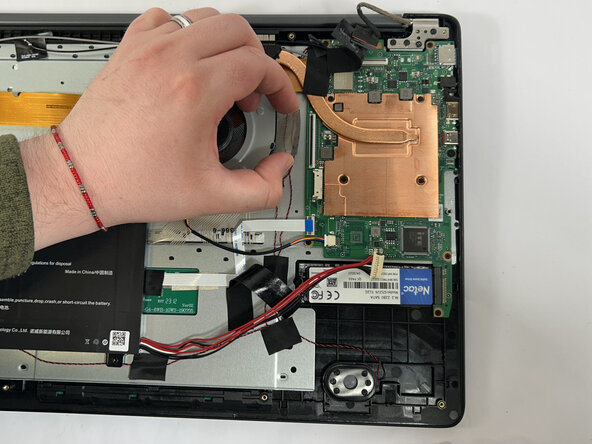
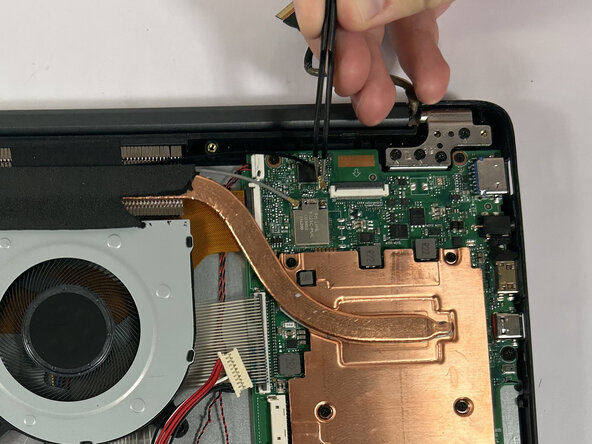
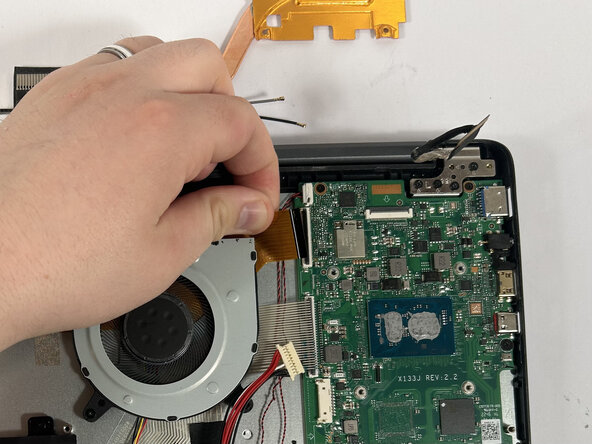
Using the angled tweezers, firmly grip the black Wi-Fi cable.
-
With a firm grip, pull the black Wi-Fi cable off the motherboard.
-
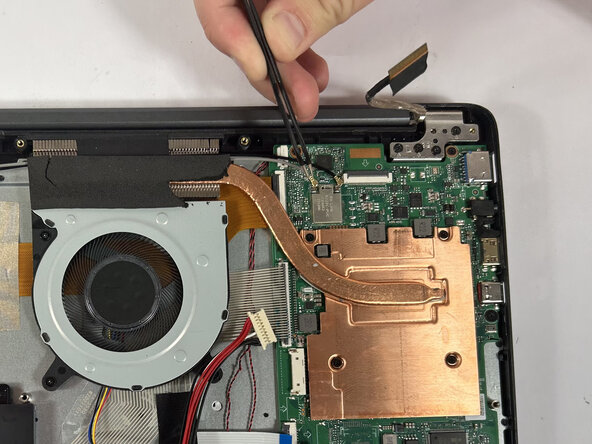
Do the same to the grey cable.
-
-
-
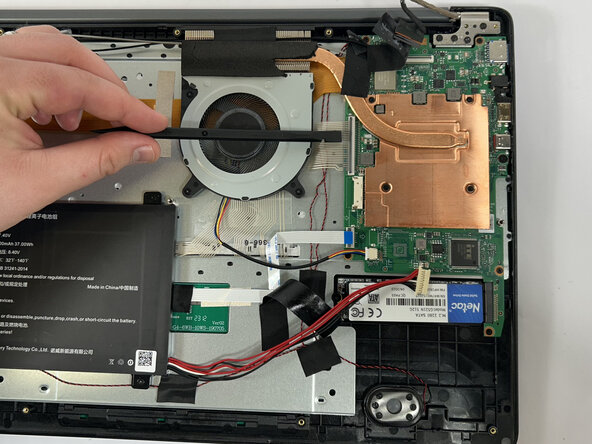
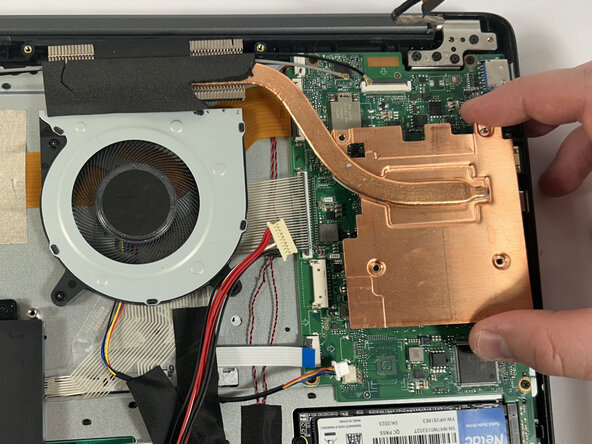
Remove the four 3 mm screws holding the heatsink in place using a Phillips #0 screwdriver.
-
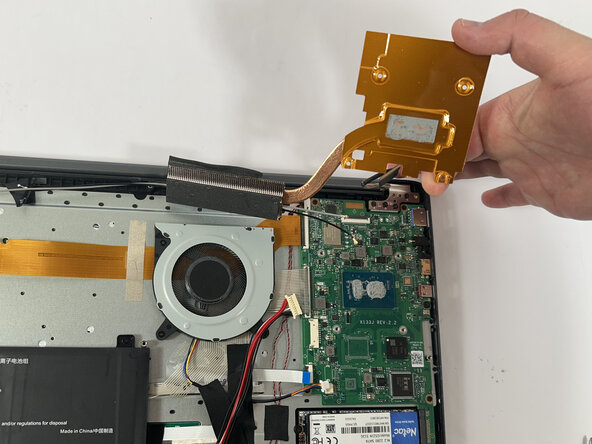
Lift and remove the heatsink.
-
-
-
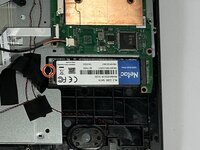
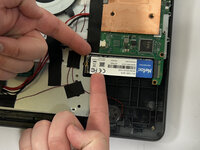
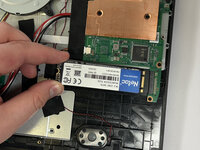
Remove the single 3 mm screw holding the SSD in place using a Phillips #0 screwdriver.
-
-
-
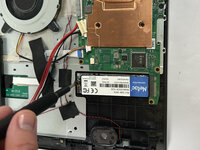
Give the SSD a little upward force near the screw side so that it is bent at an angle.
-
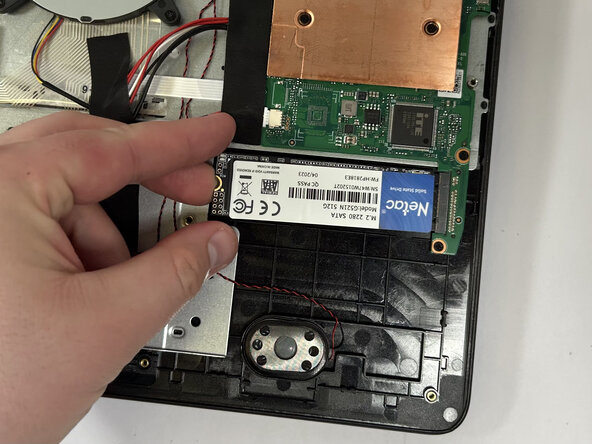
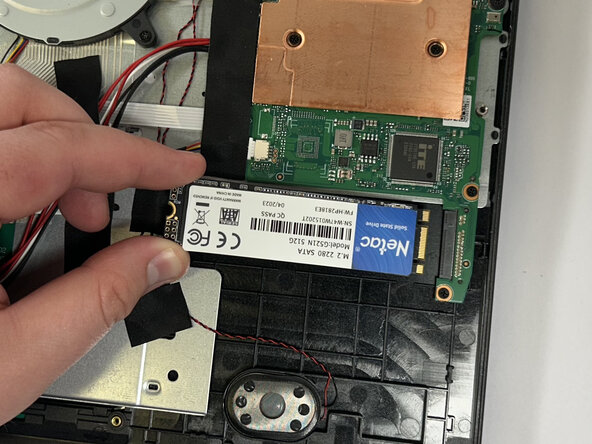
Pull the SSD out of its slot.
-
-
-
Using the nylon spudger, unclip the clip holding down the ribbon cable.
-
Disconnect the ribbon cable.
-
-
-
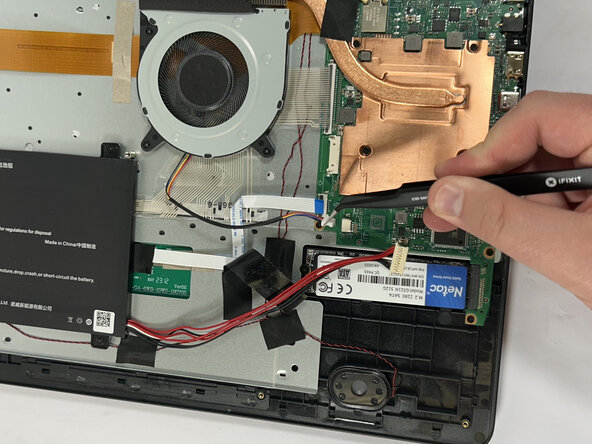
Using the tweezers, grab the wire connector.
-
With the tweezers in place, push away from the motherboard to disconnect the wire.
-
-
-
Using the Phillips #0 screwdriver remove the six 3 mm screws.
-
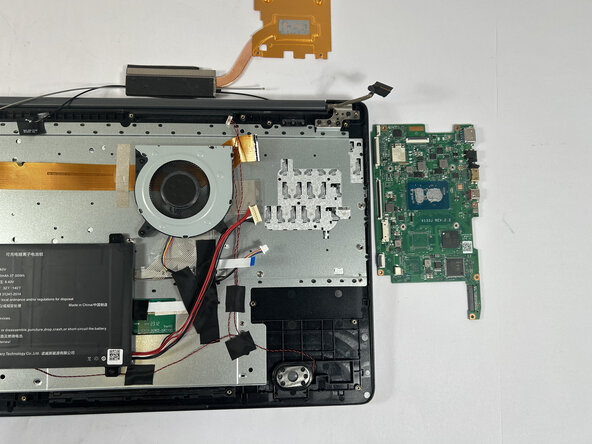
Carefully grab the sides of the motherboard and make sure not to touch any of the components on the top or bottom.
-
Remove the motherboard.
-


To reassemble your device, follow these instructions in reverse order and remember to reapply thermal paste on the heatsink.
To reassemble your device, follow these instructions in reverse order and remember to reapply thermal paste on the heatsink.
crwdns2915084:0crwdne2915084:0

Idaho State University, Team 1-1, Watkins Spring 2025 crwdns2935289:0Idaho State University, Team 1-1, Watkins Spring 2025crwdne2935289:0
ISU-WATKINS-S25S1G1
crwdns2931471:03crwdne2931471:0
crwdns2935297:09crwdne2935297:0