crwdns2915892:0crwdne2915892:0
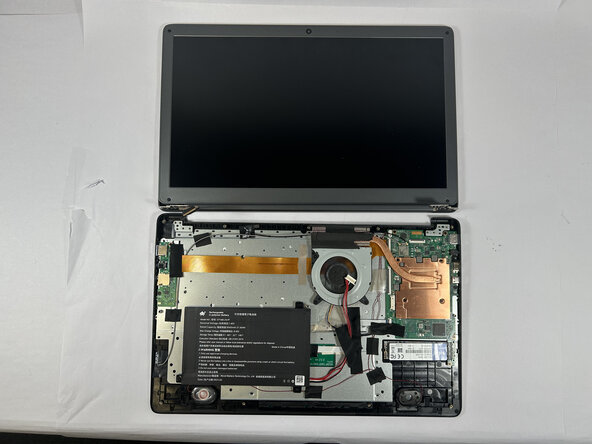
This guide covers the replacement of the display assembly for an SGIN X15S. The display may break or malfunction resulting in a distorted or obscured picture, and replacing the display can solve this problem.
If your display is cracked, keep further breakage contained and prevent bodily harm during your repair by taping over the screen. This can be done by laying overlapping strips of clear packing tape over the computer's display until the whole face is covered. It is advised to use safety glasses to protect your eyes from screen debris during replacement.
While working on your device, if you notice that the battery is swollen, stop your replacement and follow the swollen battery disposal guide. Before working on your device, ensure that it is turned off and completely unplugged from any power sources.
crwdns2942213:0crwdne2942213:0
-
-
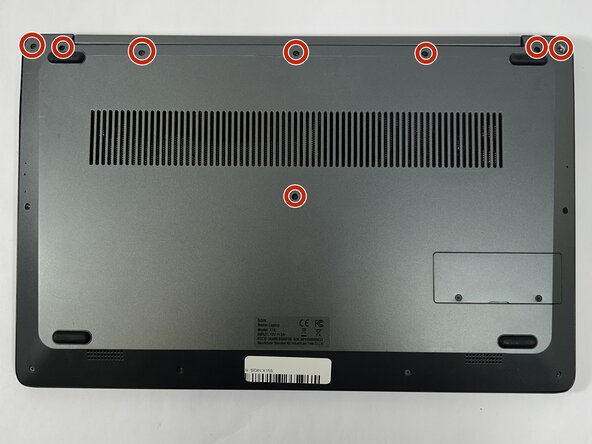
Remove the eight top and middle 7.3 mm screws using the Phillips #0 screwdriver.
-
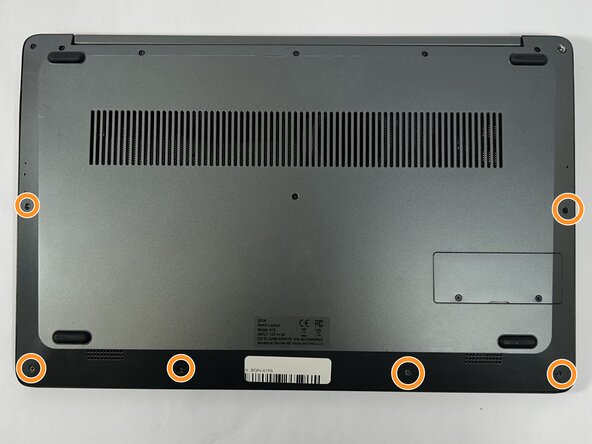
Remove the six bottom and side 4.4 mm screws using the Phillips #0 screwdriver.
-
-
-
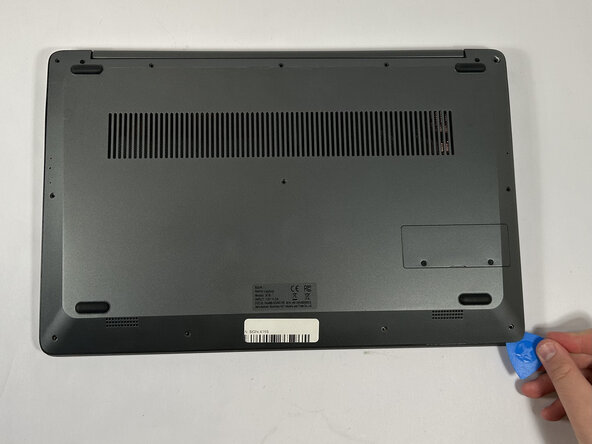
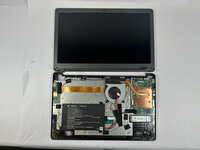
Use the nylon spudger to gently pry a bit of the back panel open. With the opening pick, go all the way around until the back panel is loose.
-
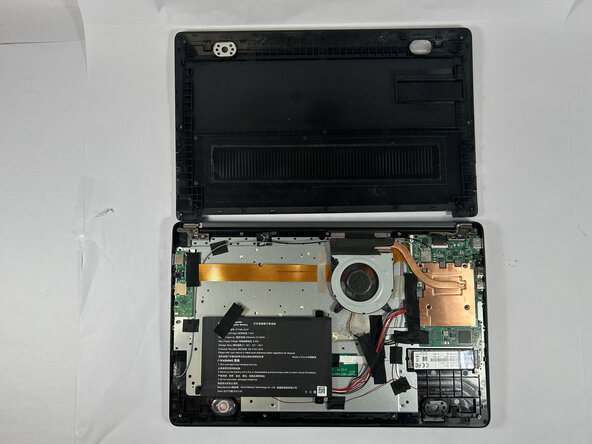
Pull the back panel off the laptop.
-
-
-
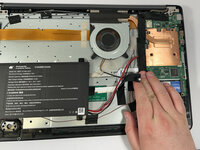
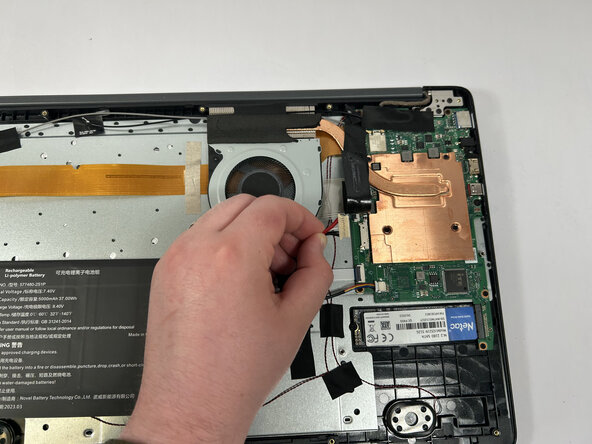
Gently remove the tape holding the battery's cord to the motherboard, followed by the tape in the middle of the cord.
-
-
-
-
Use the nylon spudger to detach the battery from the motherboard.
-
-
-
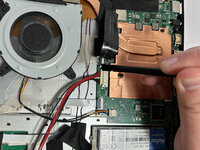
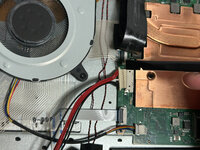
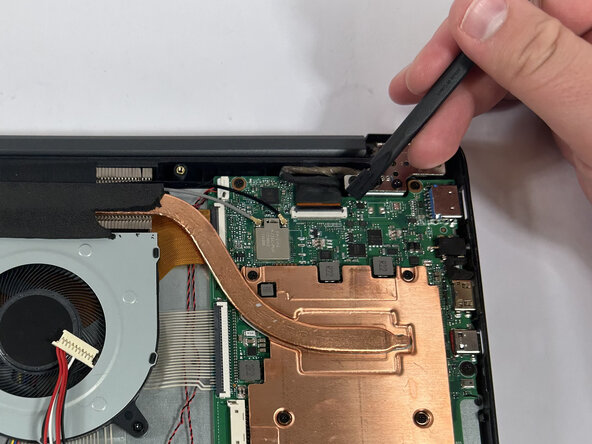
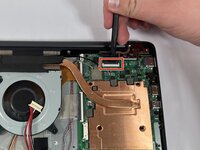
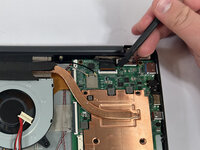
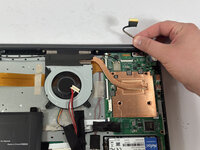
Using a nylon spudger, release the lock on the cable connected to the screen.
-
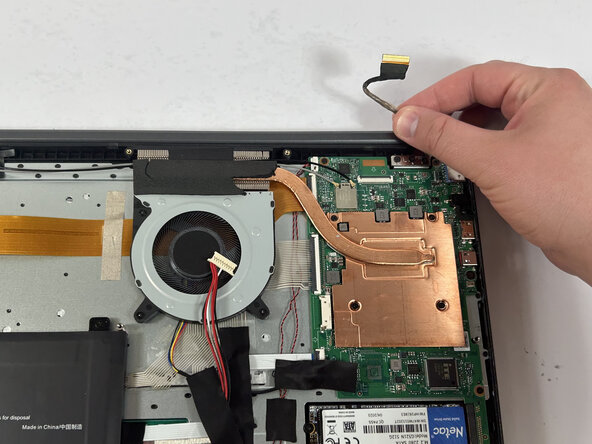
Remove the cable from the lock.
-
-
-
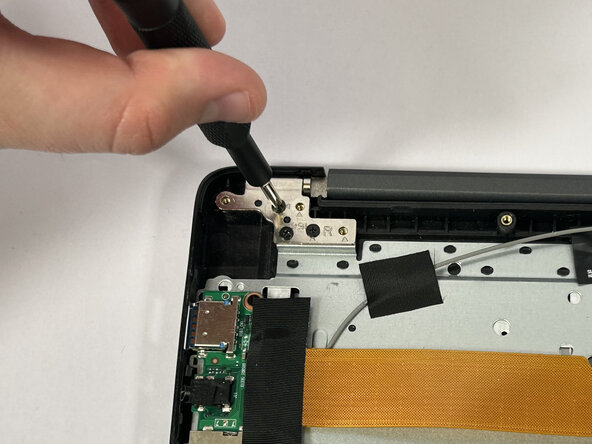
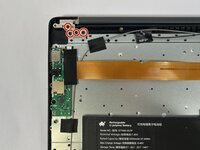
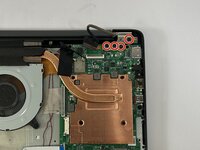
Remove the eight 3.4 mm screws from the metal brackets holding the screen to the rest of the computer using a Phillips #0 screwdriver.
-
-
-
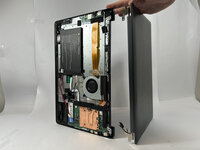
Place the laptop on its side.
-
Gently open the laptop and remove the display assembly.
-


To reassemble your device, follow these instructions in reverse order.
crwdns2935287:0crwdne2935287:0

Idaho State University, Team 1-1, Watkins Spring 2025 crwdns2935289:0Idaho State University, Team 1-1, Watkins Spring 2025crwdne2935289:0
ISU-WATKINS-S25S1G1
crwdns2931471:03crwdne2931471:0
crwdns2935297:09crwdne2935297:0