crwdns2933423:0crwdne2933423:0

Ryobi RS290G Motor Replacement

crwdns2942213:0crwdne2942213:0

  1. Ryobi RS290G Motor Replacement, Top Cap: crwdns2935265:01crwdnd2935265:01crwdnd2935265:01crwdne2935265:0
    • Remove two 20mm and one 16mm Phillips #2 screws from the housing assembly and exhaust port.

  2. Ryobi RS290G Motor Replacement: crwdns2935265:02crwdnd2935265:01crwdnd2935265:01crwdne2935265:0
    • Remove the three 16mm Phillips #2 screws from the top cap/upper grip.

  3. Ryobi RS290G Motor Replacement: crwdns2935265:03crwdnd2935265:01crwdnd2935265:01crwdne2935265:0
    • Remove the top cap.

  4. Ryobi RS290G Motor Replacement, Switch Trigger: crwdns2935265:04crwdnd2935265:01crwdnd2935265:01crwdne2935265:0
    • Remove the switch trigger.

  5. Ryobi RS290G Motor Replacement, Motor: crwdns2935265:05crwdnd2935265:01crwdnd2935265:01crwdne2935265:0
    • Remove the two 16mm Phillips #2 screws from the inner housing assembly.

  6. Ryobi RS290G Motor Replacement: crwdns2935265:06crwdnd2935265:01crwdnd2935265:01crwdne2935265:0
    • Remove the two 14mm Phillips #2 screws from the cord clamp.

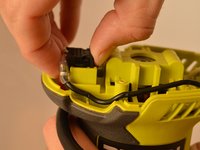
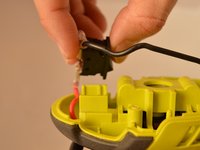
  7. Ryobi RS290G Motor Replacement: crwdns2935265:07crwdnd2935265:01crwdnd2935265:02crwdne2935265:0 Ryobi RS290G Motor Replacement: crwdns2935265:07crwdnd2935265:02crwdnd2935265:02crwdne2935265:0
    • Slide the power switch out of the housing assembly.

  8. Ryobi RS290G Motor Replacement: crwdns2935265:08crwdnd2935265:01crwdnd2935265:01crwdne2935265:0
    • Carefully slide the housing assembly apart, avoiding damage or pulling on wires.

  9. Ryobi RS290G Motor Replacement: crwdns2935265:09crwdnd2935265:01crwdnd2935265:02crwdne2935265:0 Ryobi RS290G Motor Replacement: crwdns2935265:09crwdnd2935265:02crwdnd2935265:02crwdne2935265:0
    • Slide off the disconnect terminal for the switch (red lead) from the power switch using the flat end of a spudger.

  10. Ryobi RS290G Motor Replacement: crwdns2935265:010crwdnd2935265:01crwdnd2935265:02crwdne2935265:0 Ryobi RS290G Motor Replacement: crwdns2935265:010crwdnd2935265:02crwdnd2935265:02crwdne2935265:0
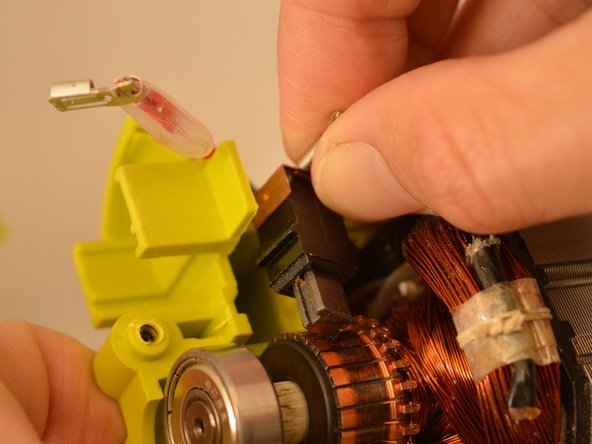
    • Slide out the brush assembly with the black lead from the inner housing assembly.

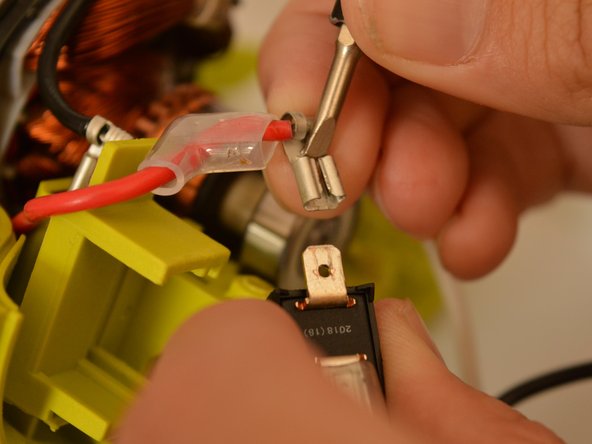
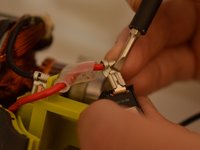
  11. Ryobi RS290G Motor Replacement: crwdns2935265:011crwdnd2935265:01crwdnd2935265:01crwdne2935265:0
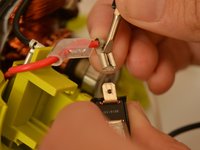
    • Slide off the disconnect terminal for the brush assembly (black lead) from the brush assembly.

    • You may need an ESD-safe flat edge tool, such as a spudger, to help slide off the disconnect terminal. Be careful not to damage the pieces or yourself.

  12. Ryobi RS290G Motor Replacement: crwdns2935265:012crwdnd2935265:01crwdnd2935265:01crwdne2935265:0
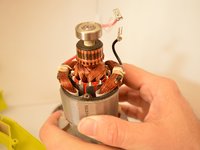
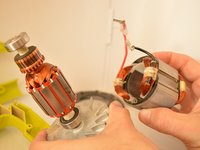
    • Remove the armature assembly, with the motor, out of the inner housing assembly.

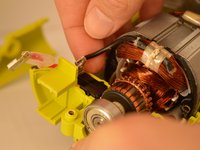
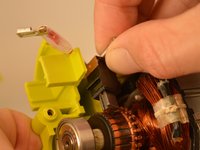
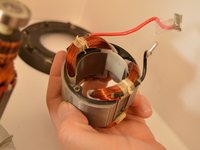
  13. Ryobi RS290G Motor Replacement: crwdns2935265:013crwdnd2935265:01crwdnd2935265:03crwdne2935265:0 Ryobi RS290G Motor Replacement: crwdns2935265:013crwdnd2935265:02crwdnd2935265:03crwdne2935265:0 Ryobi RS290G Motor Replacement: crwdns2935265:013crwdnd2935265:03crwdnd2935265:03crwdne2935265:0
    • Replace the motor (also known as field assembly).

crwdns2915888:0crwdne2915888:0

To reassemble your device, follow these instructions in reverse order.

Daniel

crwdns2935283:009/17/19crwdne2935283:0

639 crwdns2915208:0crwdne2915208:0

crwdns2935297:04crwdne2935297:0

crwdns2915084:0crwdne2915084:0

Embry-Riddle Aeronautical University, Team S22-G5, Branham Fall 2019 crwdns2935289:0Embry-Riddle Aeronautical University, Team S22-G5, Branham Fall 2019crwdne2935289:0

ERAU-BRANHAM-F19S22G5

crwdns2931471:04crwdne2931471:0

crwdns2935297:05crwdne2935297:0

crwdns2944067:00crwdne2944067:0

crwdns2917038:0crwdne2917038:0

crwdns2936625:0crwdne2936625:0:

crwdns2936751:024crwdne2936751:0 0

crwdns2936753:07crwdne2936753:0 2

crwdns2936753:030crwdne2936753:0 7

crwdns2942667:0crwdne2942667:0 903