crwdns2915892:0crwdne2915892:0
If your Ryobi P501G motor is suffering from low power output or is simply not working when turned on, this guide will walk you through the steps to replace it. To complete this task no special skills are required. All you need is a T5 Torx screwdriver. This repair is straightforward and has nothing unusual about it.
crwdns2942213:0crwdne2942213:0
-
-
Locate the screws at the top face of the saw, on the green plastic surface covering.
-
-
-
Locate the eight outer screws of the plastic green encasement. They are marked in red in the picture.
-
Using a T15 torx screwdriver, unscrew all the holes, taking care not to lose any!
It is a T15 screwdriver, NOT T5.
Some of the screws are in deep recesses. A 1/4” bit holder or bit holding screwdriver will not fit down those holes.
SOME “micro” (1/8”/5mm) bit holders will fit.
-
-
-
-
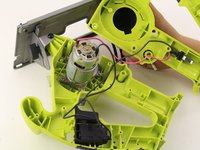
Open up the top side of the encasement to reveal the internal parts of the saw.
-
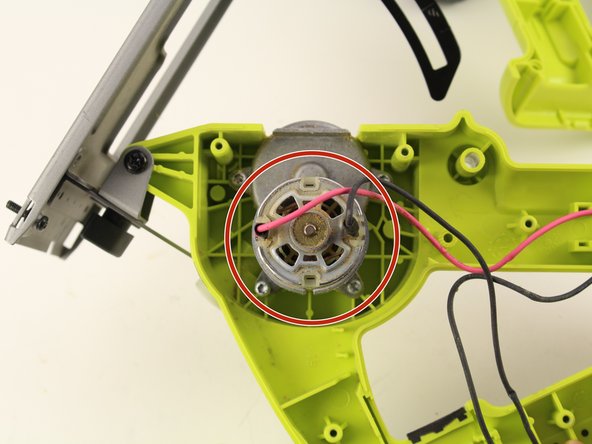
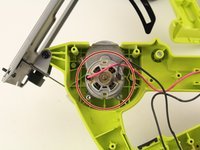
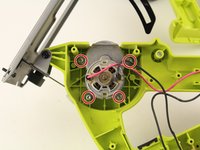
Locate the motor.
-
-
-
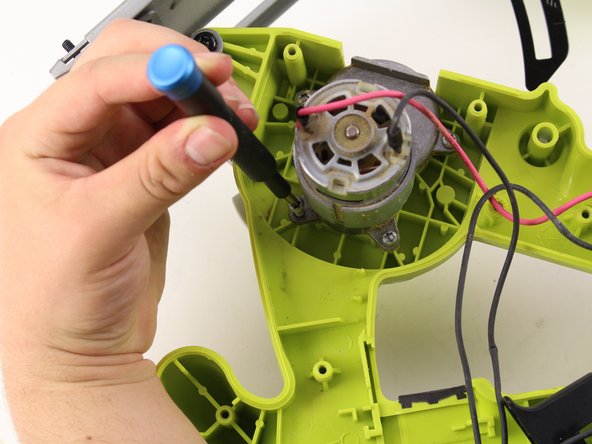
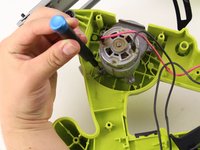
Using the T15 torx screwdriver, unscrew all four of the screws to free the motor from the encasement.
-
-
-
Remove the motor and replace with a new one if needed.
The wires may not be detachable. MOST of the replacement motors have tabs for spade lug connectors, so you can cut the existing wires, strip them and solder or crimp spade lug connectors on. If the replacement motor also has attached wires, you will have to cut them and splice to the old wires.
-
To reassemble your device, follow these instructions in reverse order.
To reassemble your device, follow these instructions in reverse order.
crwdns2947410:01crwdne2947410:0
Where can I find Ryobi circular saw motor Part #206216001? Thanks.


