crwdns2915892:0crwdne2915892:0
This is a step-by-step guide on replacing the motherboard in the Roconia Q6 Projector. Whether you're upgrading or troubleshooting, follow these instructions to navigate through the process smoothly.
crwdns2942213:0crwdne2942213:0
-
-
Flip your device upside down so that the interface is facing downwards.
-
-
-
The device is supported by rubber pieces located at the bottom extremities.
-
There are screws beneath the rubber pieces that can be removed. Remove all four 1.1 mm Phillips #1 screws by using the Phillips #0 screwdriver.
-
-
-
-
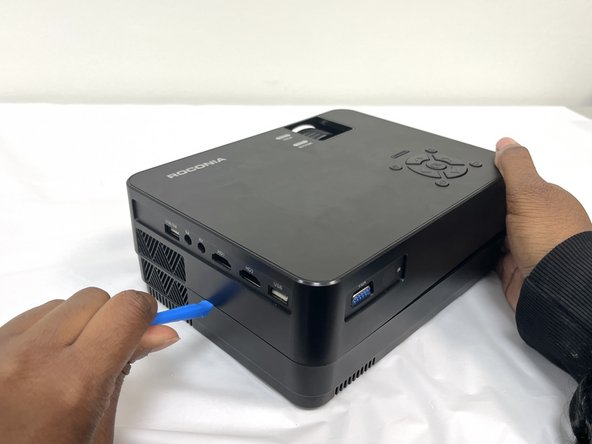
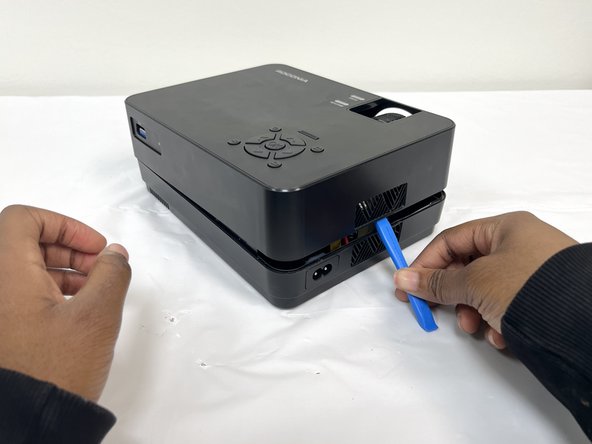
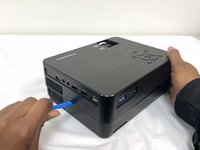
Turn device over again and pry open the device to remove the cover.
-
-
-
Pull out the cable that is connected to the top cover to fully separate.
-
-
-
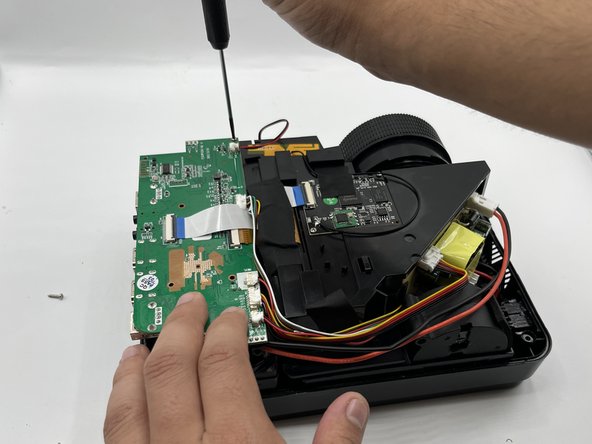
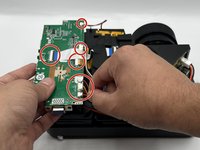
Remove the 8.8mm screws holding the device in place using the Phillips #0 screwdriver.
-
-
-
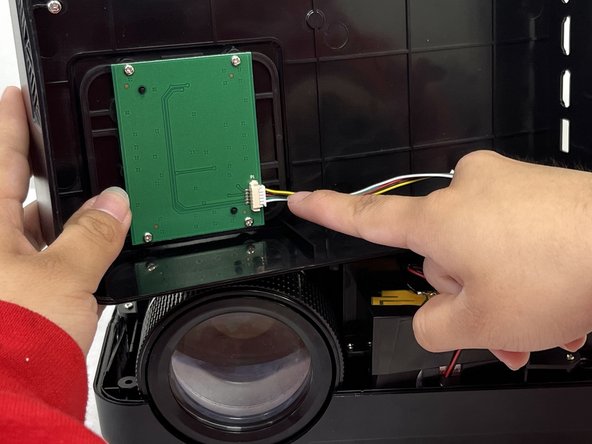
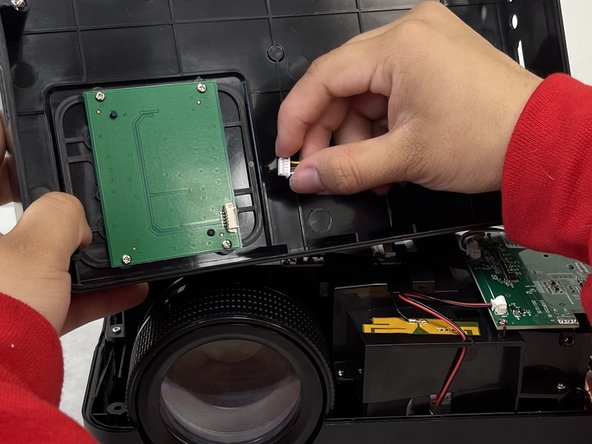
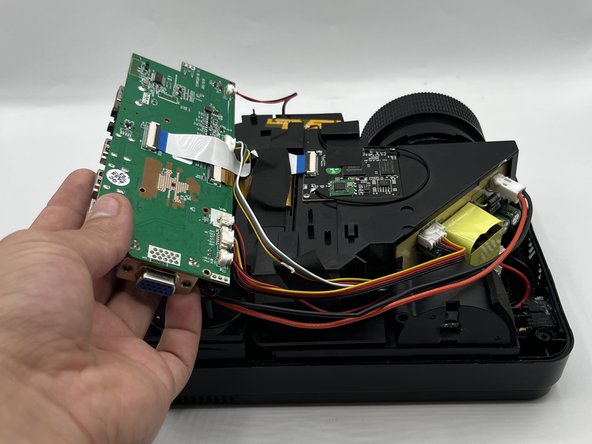
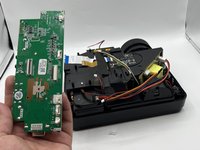
Remove the wires attached to the motherboard by pulling them out gently.
-


To reassemble your device, follow these instructions in reverse order.

crwdns2935287:0crwdne2935287:0

University of North Texas, Team 4-4, Harold Spring 2024 crwdns2935289:0University of North Texas, Team 4-4, Harold Spring 2024crwdne2935289:0
UNT-HAROLD-S24S4G4
crwdns2931471:04crwdne2931471:0
crwdns2935297:06crwdne2935297:0