crwdns2915892:0crwdne2915892:0
An LED light not working on the Rocketfish RF-WHTIB-A receiver does not necessarily mean the entire device is broken. It could indicate a problem with the LED light chip inside the device, which controls the LED light function. This guide will direct users step by step to replacing a faulty LED light chip.
crwdns2942213:0crwdne2942213:0
-
-
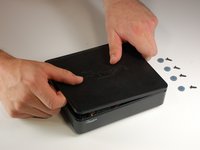
Remove the 4 rubber tabs on the bottom side of the receiver.
 crwdns2952109:0crwdne2952109:0
-
-
-
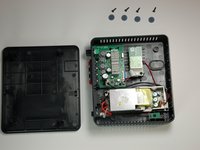
Unscrew the four 12 mm screws on the bottom side of the receiver.
-
-
-
-
Remove top casing from the receiver.
-
-
-
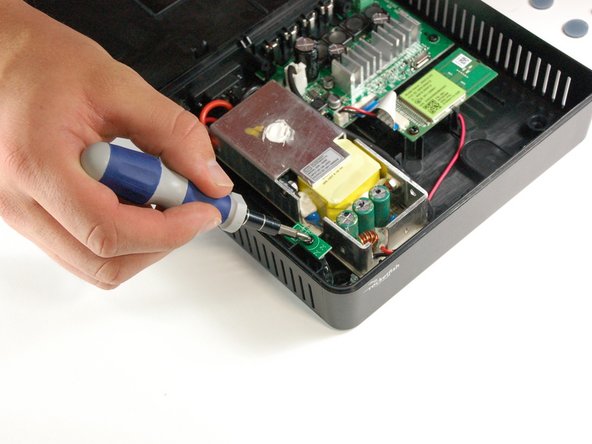
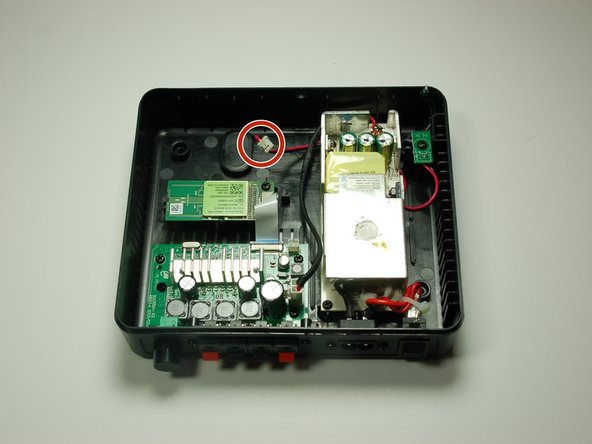
One 10 mm screw is securing the LED 14.14 chip.
-
Unscrew the chip.
-
-
-
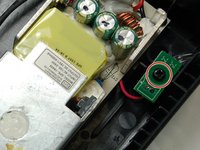
Using your fingers, gently pull the LED plug out of the mother board.
-
-
crwdns2935267:0crwdne2935267:0Tweezers$4.99
-
Gently feed the LED wire under the power supply to completely remove it from the sender.
-
Remove the faulty LED 14.14 chip from the receiver.
-


To reassemble your device with the new LED light chip, follow these instructions in reverse order.
Once the receiver has been put back together, plug in the device and initiate the connection mode between the sender and receiver to ensure the new LED light chip has been properly assembled.
crwdns2935287:0crwdne2935287:0

Baylor, Team 4-2, Williams Spring 2015 crwdns2935289:0Baylor, Team 4-2, Williams Spring 2015crwdne2935289:0
BU-WILLIAMS-S15S4G2
crwdns2931471:03crwdne2931471:0
crwdns2935297:06crwdne2935297:0
crwdns2947412:02crwdne2947412:0
Where do I get the chip???
sean moore - crwdns2934203:0crwdne2934203:0 crwdns2950251:0crwdne2950251:0
where do I get chip?
bugsyc26 - crwdns2934203:0crwdne2934203:0 crwdns2950251:0crwdne2950251:0