crwdns2915892:0crwdne2915892:0
Roccat Kone Pro Air - Scroll wheel bounce issues can be fixed with a cleaning of the scroll wheel mechanism. This will cover the opening of the mouse, cleaning of the mechanism, and reassembly.
crwdns2942213:0crwdne2942213:0
-
-
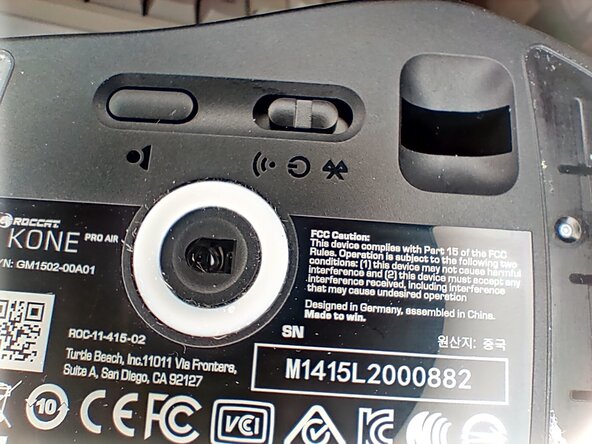
Power off and unplug the mouse.
-
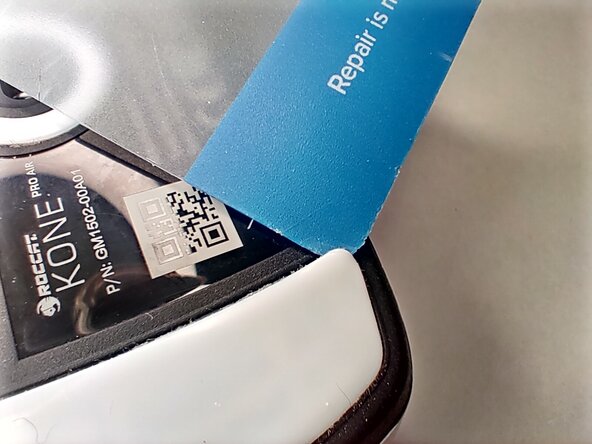
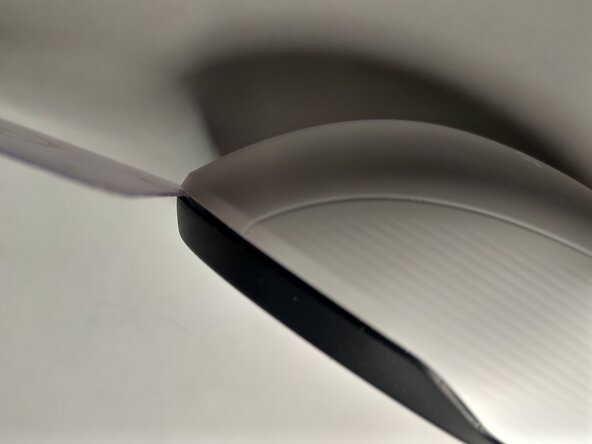
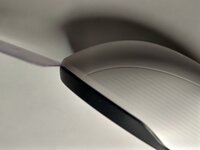
Slide a thin razor or pry underneath the edge of the glide pad and lift gently.
-
If using a razor or other sharp edge, swap to a thicker smooth edge plastic pry or card.
-
Slide the plastic card under the rest of the pad to separate it from the mouse frame. It should remove easy and may leave some residue.
-
Set aside the removed pads, sticky side up.
-
-
-
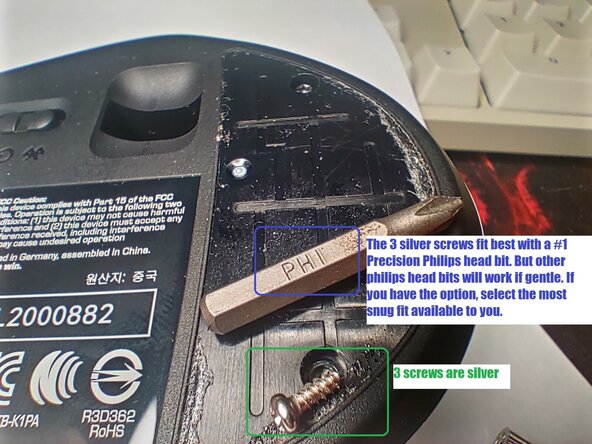
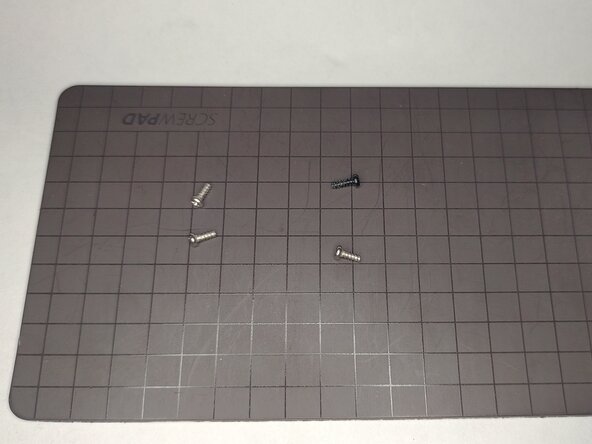
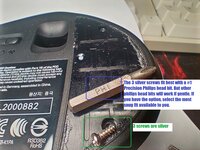
Using a PH1 philips head bit or screwdriver, remove the silver screws.
-
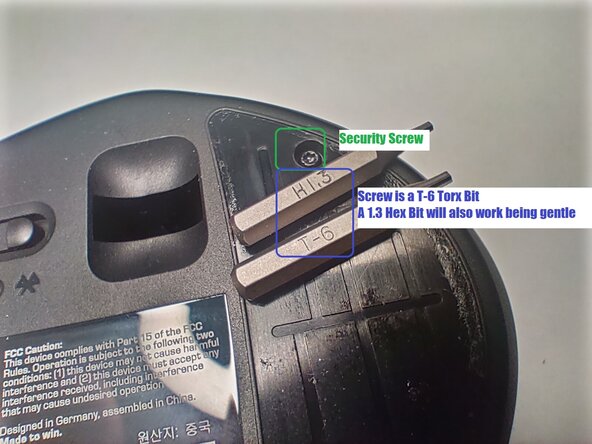
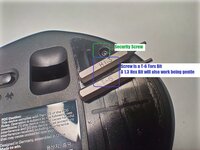
Using a T6 Torx bit or screwdriver, remove the black security screw. (if you do not have a T6 bit, a 1.3 hex bit can also be used if you are gentle.
-
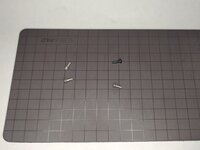
Set aside the screws where they won't be lost or dropped into a carpet. A magnetic screw pad can be helpful in preventing loss and in keeping screw positions ordered.
-
-
-
-
Insert the plastic card in the gap at the rear of the mouse. (You can do the razor swap technique used in the glide pad removal step to make this easier)
-
Gently pry in a twisting motion to encourage the separation of the shell and frame.
-
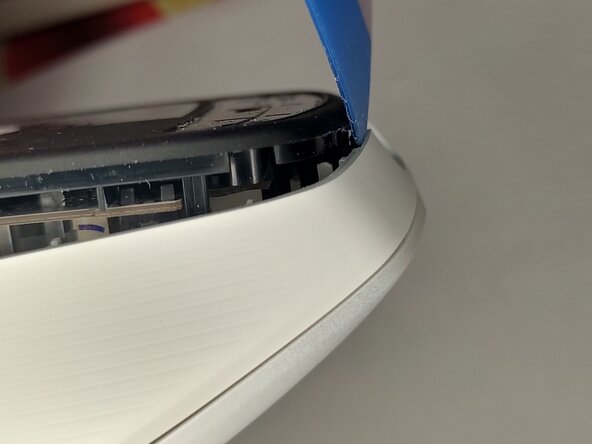
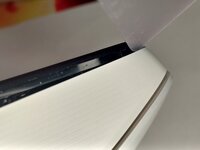
Once most of the shell is separated, the front of the shell will need a slightly different approach to avoid damaging the retaining clips. Insert the plastic card into the corner and gently glide it to the front of the mouse near the buttons.
-
You can apply a light pry here to encourage separation by prying back towards the frame (black portion in picture) pushing the shell forward and away from the frame.
-
-
-
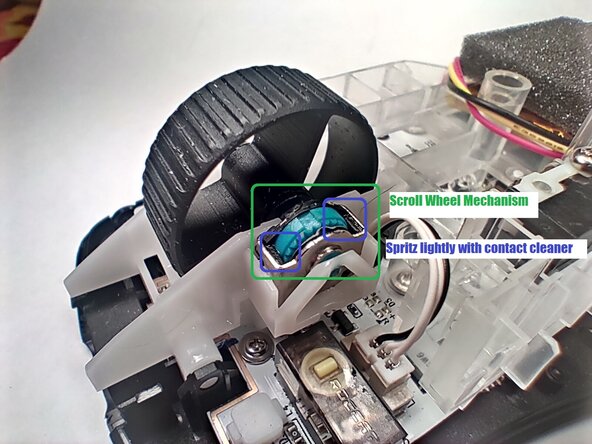
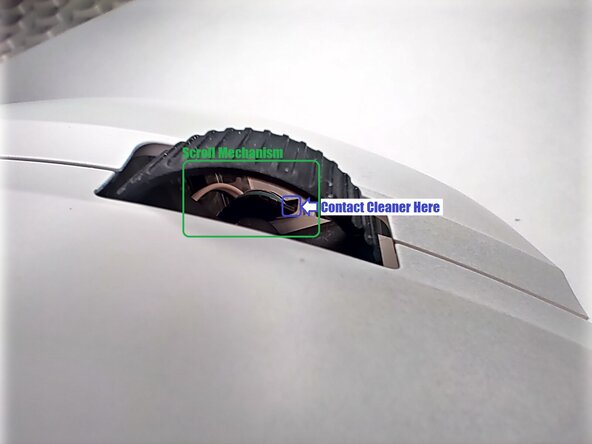
Observe the mechanism and rotate the scroll wheel to ensure there is no damage.
-
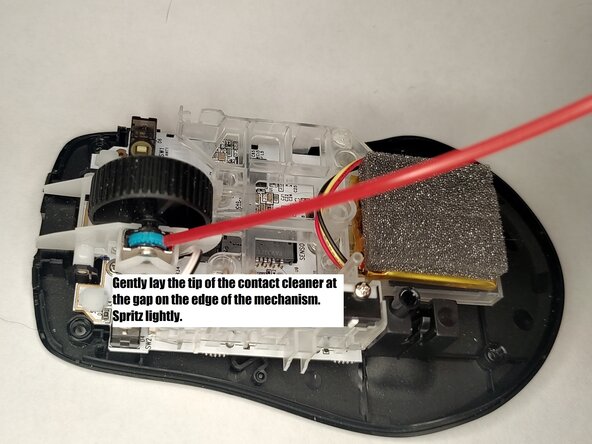
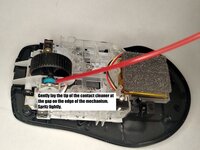
Using a very slight amount of contact cleaner spritz into the mechanism.
-
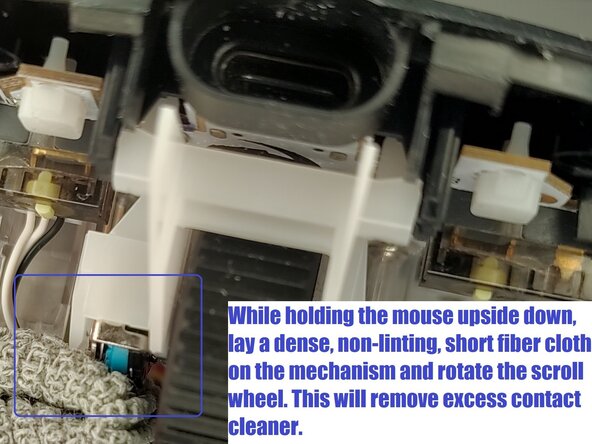
Hold the mouse upside down and press a cloth to the mechanism while rotating the wheel in order to drip out and wipe off the excess contact cleaner.
-
Place the mouse back down and rotate the wheel again to inspect for any fibers or dirt. The mechanism is very sensitive to small amounts of dust and trapped fibers.
-
Side note: Never use a lubricant like WD-40 on your scroll wheel mechanism. This will cause premature wear, collect extra dust, and may damage the sensor.
-
-
-
Lay the shell on the frame and lightly adjust it around until it seats most of the way down and leaves an even gap between the shell and frame.
-
Place a light amount of pressure evenly around the shell with a slight bias towards the front of the buttons (left most side in picture).
-
You should hear the front tabs engage first, then as you continue to press down, the rest of the shell should engage the frame.
-
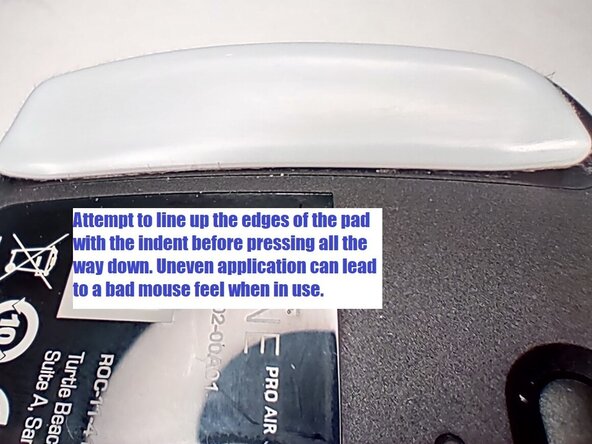
Reinstall the screws, then carefully line the bottom edge of the glide pads with their corresponding indent in the frame before pressing them into place.
-
Once the glide pads are in place, set the mouse on a mouse pad or similar surface and using very firm pressure evenly over the mouse, press it down into the pad and move it around to set the pads and ensure nothing is snagging.
-
-
-
If you have no access to tools but somehow have some contact cleaner, you can do a temporary workaround.
-
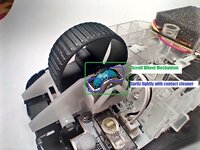
The mechanism is visible and accessible without disassembly. Be sure the mouse is off and unplugged. You can insert a spray tube in through the wheel into this spot notated in blue. Use a very light spritz.
-
After spraying, rotate the wheel back and forth and then lay the mouse on it's back for a few minutes until the cleaner has had time to evaporate before attempting use.
-


Once reassembled, plug in or turn on your mouse and try the scroll wheel. The wheel bounce should be gone.