crwdns2915892:0crwdne2915892:0
Note: This guide requires some knowledge of soldering as well as soldering tools.
A cliff sensor (single, not whole R/L assembly) replacement guide for the robotic vacuum cleaner Roborock S7.
If you already know how to disassemble it or have followed my teardown guide, skip to step 9.
crwdns2942213:0crwdne2942213:0
-
-
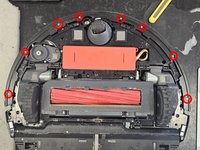
Begin by removing the front half of the top cover.
-
Continue by removing the back half of the top cover.
-
Once removing the screws and the plastic bits, it will just pop out.
-
-
-
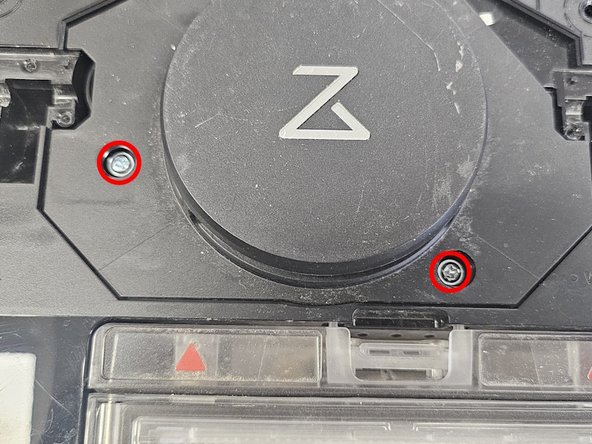
Remove the rubber caps covering the 2 screws.
-
Remove the screws.
-
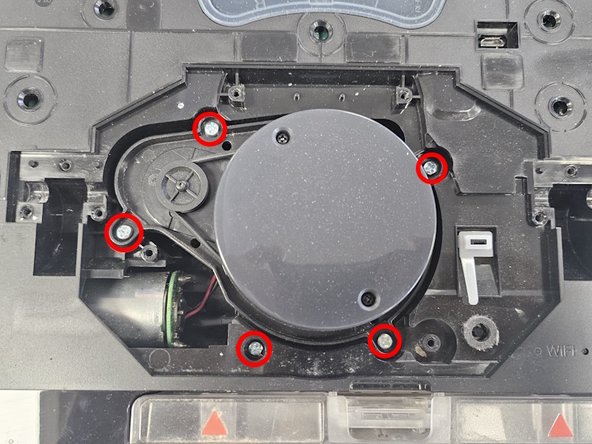
Remove the LiDAR cage.
-
Remove the LiDAR screws, then remove the LiDAR.
-
-
-
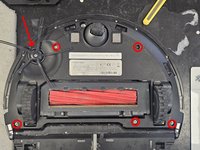
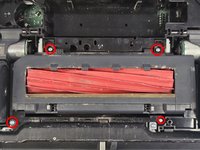
Remove the 5 screws and side brush, then remove the bottom panel.
-
Remove the battery. Pull it up and over from left to right, then disconnect the connector.
-
Remove the marked screws, then remove the top cover of the bumper, then the bumper itself.
-
-
-
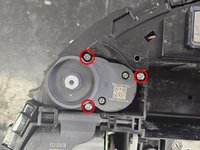
Continue by removing the side brush motor.
-
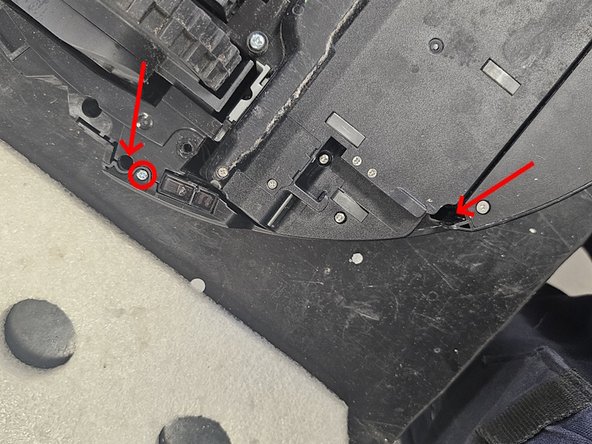
Move further below, then remove the screws. The 2 holes marked by arrows have screws within them. The smaller screws are PH1 and the bigger are PH2. After removing the screws, remove the side panel.
-
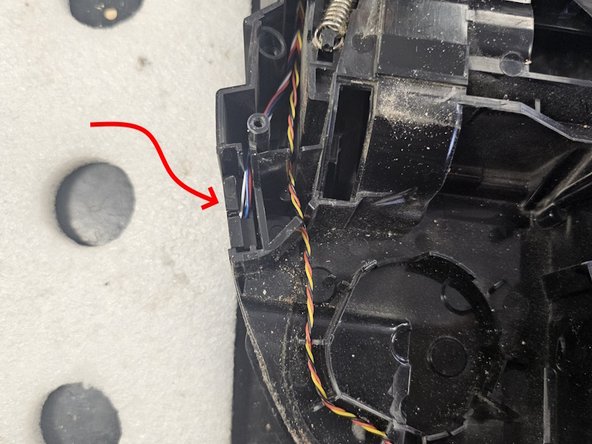
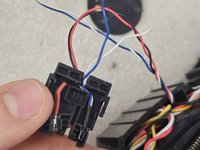
Remove the wire from the plastic housing. Angled tweezers recommended.
-
-
-
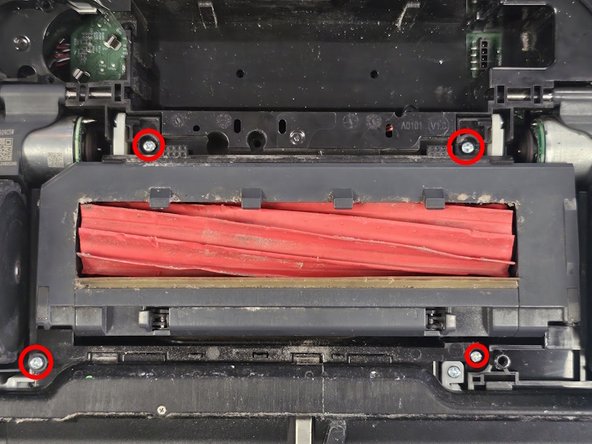
Remove the screws marked in image 1.
-
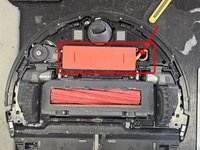
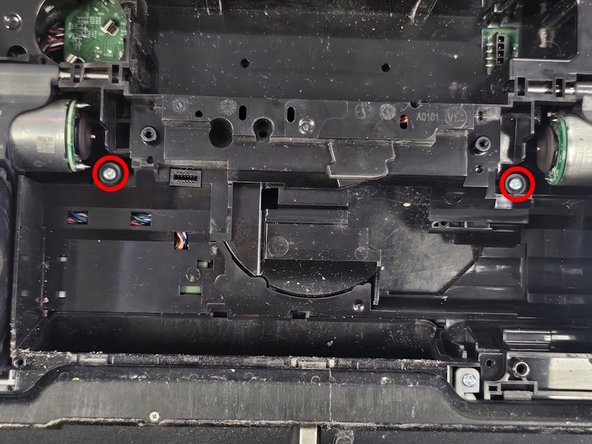
Now remove the screws in image 2, then remove the main brush assembly. There is no need to remove the brush cover or the brush itself. You simply pull it out.
-
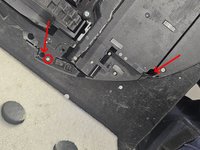
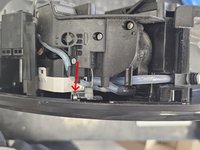
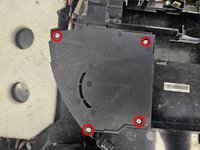
Remove the 2 screws hidden by the main brush assembly.
-
-
-
-
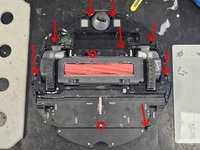
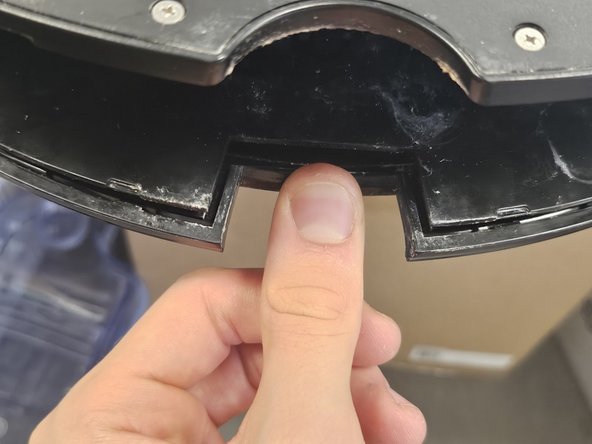
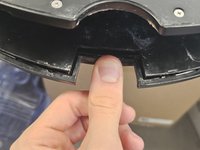
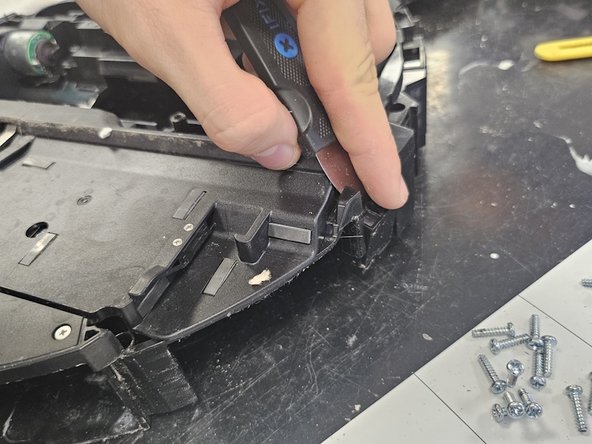
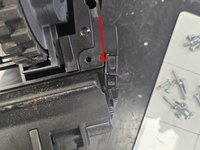
Unlatch these 2 latches.
-
-
-
Begin by finding out which of your cliff sensors is dead. I don't have a scientific method here, but I start by checking the one that is most commonly faulty.
-
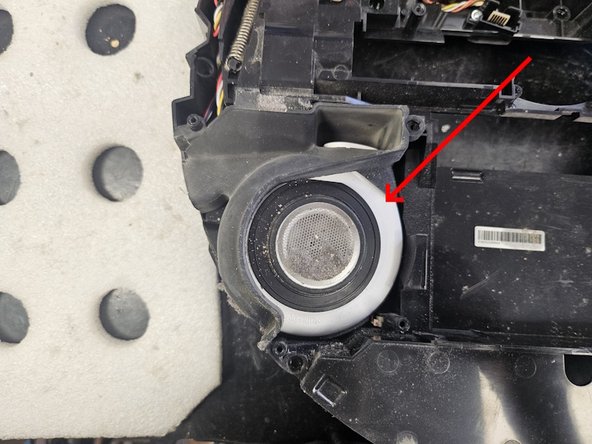
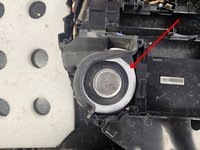
It's the cliff sensor that is next to the suction fan. Remove the suction fan cover, then the suction fan itself.
-
-
-
Slip something thin in the gap. If you own an iFixit Jimmy, this is where it comes in very handy.
-
-
-
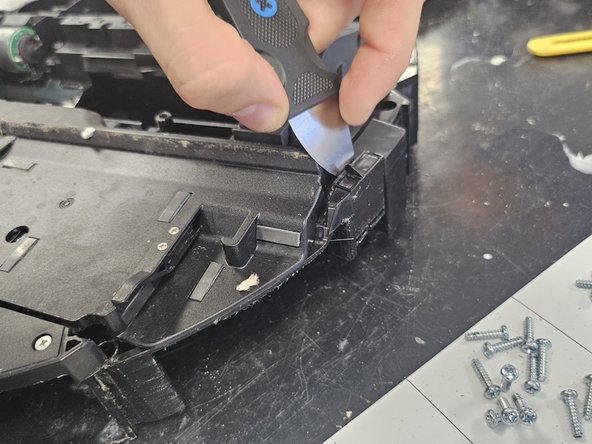
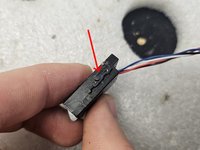
Take the cliff sensor apart. It is held together by 2 latches on both sides. Fold those out, then slide the 2 halves apart.
-
-
-
Prepare a replacement and fit it into the cliff sensor assembly.
-
Once you have it fitted properly, re-assemble the cliff sensor chassis.
-
-
-
Why is she sitting like that, though?
-
-
-
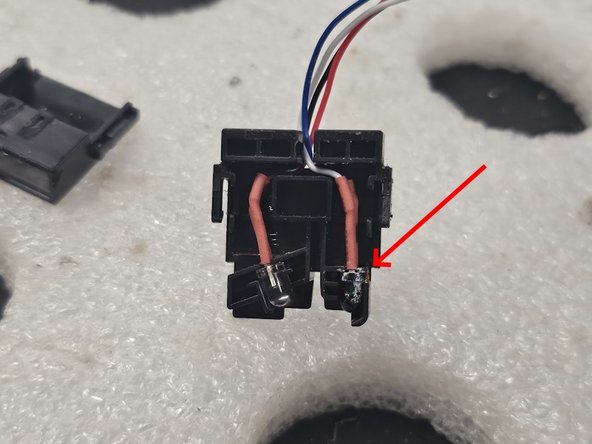
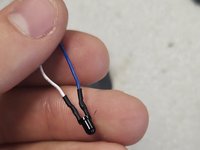
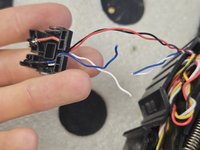
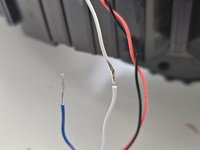
Now the fun part: Soldering!
-
Solder the wires together, in my case it was simple. Blue on blue, white on white.
-
-
-
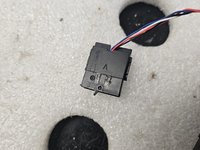
Fit the cliff sensor back where it fits, then test the device to see if the error persists.
-


To reassemble your device, follow instructions from step 8 in reverse order.
To reassemble your device, follow instructions from step 8 in reverse order.
crwdns2935221:0crwdne2935221:0
crwdns2935227:0crwdne2935227:0

crwdns2947412:04crwdne2947412:0
Hi,
An object got lodged in the wheel well of my S7 and now it can't sit and vacuum normally. Could you please tell me which parts I need to remove to get there? Do I need to remove the water tank parts?
Where did you get the actual sensor to replace? I don't know what that part is or where to find it. Thanks!
Look for s7 cliff sensor in google, amazon or alibaba...
You're so lucky... nobody can fix that whithout your feline assistant !
Thanks anyway :)