crwdns2933423:0crwdne2933423:0

Ripped Soccer Cleat Repair Technique

crwdns2942213:0crwdne2942213:0

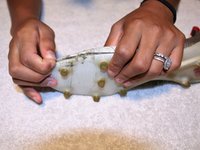
  1. Ripped Soccer Cleat Repair Technique, Ripped Soccer Cleat: crwdns2935265:01crwdnd2935265:01crwdnd2935265:01crwdne2935265:0
    • Using a toothbrush, clean the entire cleat, especially where the shoe is ripped.

    • The toothbrush will help get any excess dirt or turf out from under the ripped area.

  2. Ripped Soccer Cleat Repair Technique: crwdns2935265:02crwdnd2935265:01crwdnd2935265:01crwdne2935265:0
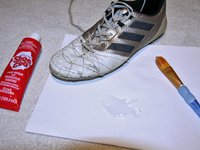
    • Squeeze out a good amount of the Shoe Goo onto the piece of printer paper.

    • Shoe Goo will help adhere the sole of the cleat to the leather.

    • Be sure to have a clean air source in the room, as this glue has strong fumes.

  3. Ripped Soccer Cleat Repair Technique: crwdns2935265:03crwdnd2935265:01crwdnd2935265:02crwdne2935265:0 Ripped Soccer Cleat Repair Technique: crwdns2935265:03crwdnd2935265:02crwdnd2935265:02crwdne2935265:0
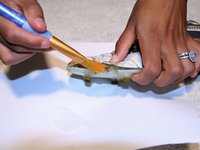
    • Using the paint brush, paint the glue in the opening of the ripped cleat and between the leather and the sole of the cleat.

    • The glue is very sticky and dries fast. Make sure to paint it inside the rip as soon as you squeeze the glue out onto the paper.

    • Let dry for 3 minutes and repeat the step again.

  4. Ripped Soccer Cleat Repair Technique: crwdns2935265:04crwdnd2935265:01crwdnd2935265:02crwdne2935265:0 Ripped Soccer Cleat Repair Technique: crwdns2935265:04crwdnd2935265:02crwdnd2935265:02crwdne2935265:0
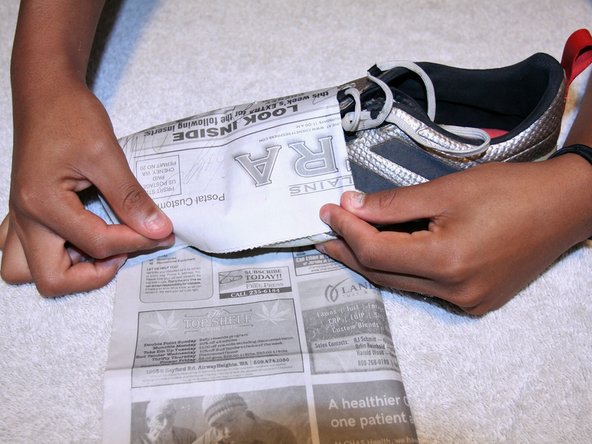
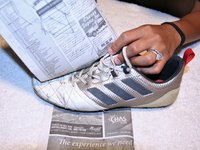
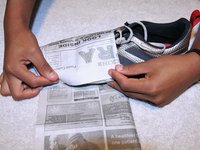
    • Press the cleat together firmly and wrap a few pieces of newspaper around the sole of the shoe.

    • The newspaper helps the glue not get stuck to anything.

  5. Ripped Soccer Cleat Repair Technique: crwdns2935265:05crwdnd2935265:01crwdnd2935265:02crwdne2935265:0 Ripped Soccer Cleat Repair Technique: crwdns2935265:05crwdnd2935265:02crwdnd2935265:02crwdne2935265:0
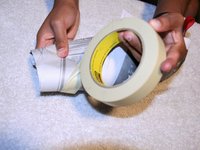
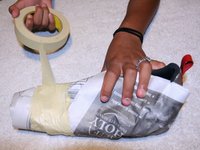
    • Wrap the adhesive tape around the newspaper tightly to keep pressure on the tear until the glue dries.

    • The adhesive tape keeps pressure on the tear while it dries.

  6. Ripped Soccer Cleat Repair Technique: crwdns2935265:06crwdnd2935265:01crwdnd2935265:01crwdne2935265:0
    • Use a hair dryer to slowly warm the newspaper surrounding the tear. Do this for 10 minutes, then let the shoe rest.

    • Make sure to hold the hair dryer 4-6 inches away so the tape and newspaper don't over heat as glue might bubble.

  7. Ripped Soccer Cleat Repair Technique: crwdns2935265:07crwdnd2935265:01crwdnd2935265:02crwdne2935265:0 Ripped Soccer Cleat Repair Technique: crwdns2935265:07crwdnd2935265:02crwdnd2935265:02crwdne2935265:0
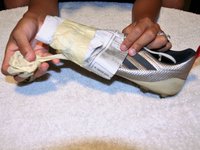
    • After 24 hours, remove the tape and newspaper.

    • Then once the tape and newspaper are removed, peel off any excess glue that is stuck around the area of the rip.

crwdns2915888:0crwdne2915888:0

Once the steps above are completed, your cleats should be repaired and ready for play!

crwdns2935229:02crwdne2935229:0

Devan Talley

crwdns2935283:007/03/18crwdne2935283:0

202 crwdns2915208:0crwdne2915208:0

crwdns2935295:0crwdne2935295:0

crwdns2915084:0crwdne2915084:0

Eastern Washington University, Team S2-G1, Crane Summer 2018 crwdns2935289:0Eastern Washington University, Team S2-G1, Crane Summer 2018crwdne2935289:0

EWU-CRANE-SU18S2G1

crwdns2931471:04crwdne2931471:0

crwdns2935297:04crwdne2935297:0

crwdns2944067:00crwdne2944067:0

crwdns2917038:0crwdne2917038:0

crwdns2936625:0crwdne2936625:0:

crwdns2936751:024crwdne2936751:0 17

crwdns2936753:07crwdne2936753:0 111

crwdns2936753:030crwdne2936753:0 459

crwdns2942667:0crwdne2942667:0 18,109