crwdns2915892:0crwdne2915892:0
This is a step-by-step guide that will walk through the process of replacing the camera sensor on the Ring Doorbell 3. The camera sensor is a component that detects motion in the surroundings, triggering motion alerts and video recordings. Problems with the camera picking up motion could be the result of a camera sensor problem. More information for solutions to these issues can be found on the Ring Doorbell Troubleshooting Page. Since the device needs to be taken apart to access the parts, some users may not know how to dismantle it, which is where this guide can come in handy.
crwdns2942213:0crwdne2942213:0
-
-
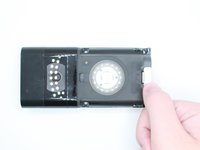
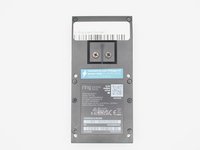
Look at the bottom of the device and locate the arrow.
-
Use your fingers to push the silver faceplate in the direction of the arrow.
-
-
-
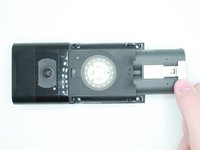
Push in the silver tab and slide the battery out.
-
-
-
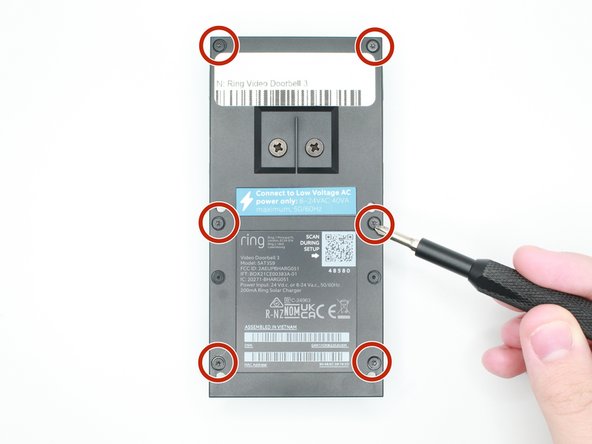
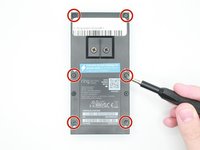
Remove the 6 screws with a Torx T6 screwdriver.
-
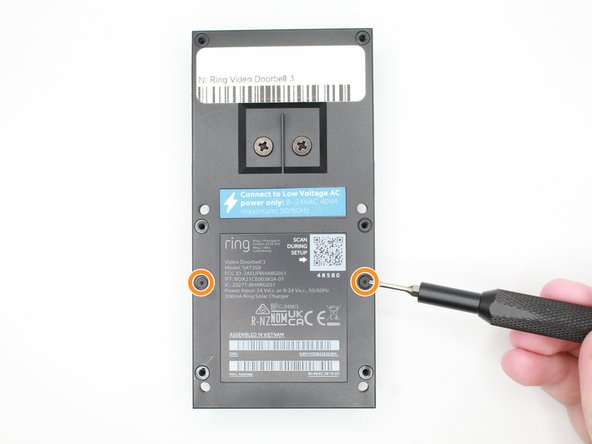
Remove the 2 screws with a Torx T5 screwdriver.
-
-
-
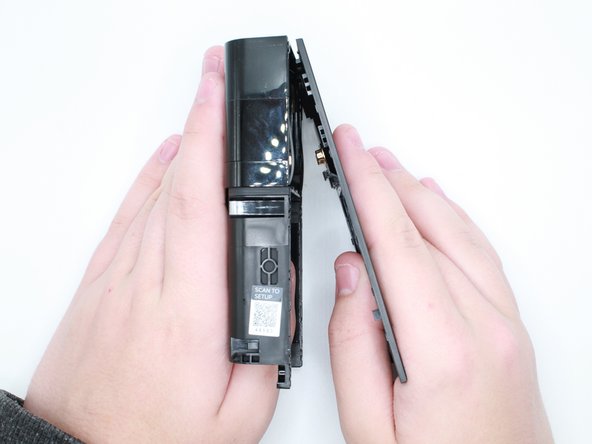
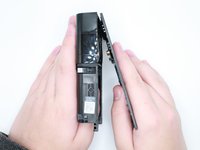
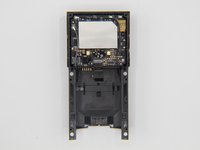
Put your thumb where the battery was and push outwards to remove the back case.
-
-
-
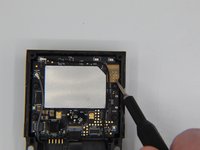
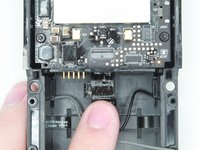
Get a tweezer, and remove the black and grey antenna wires.
-
-
-
crwdns2935267:0crwdne2935267:0Tweezers$4.99
-
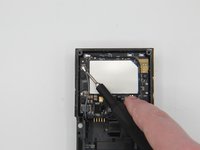
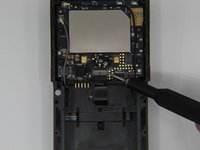
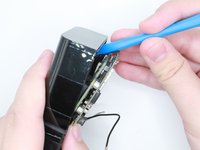
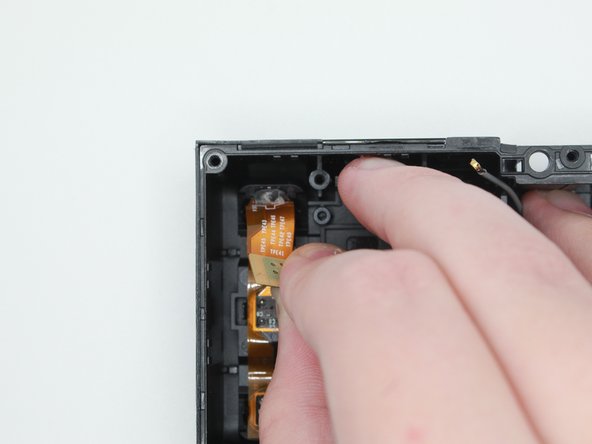
Lift the black tab above the ribbon to unlock it.
-
Use the tweezers to pull out the ribbon.
-
-
-
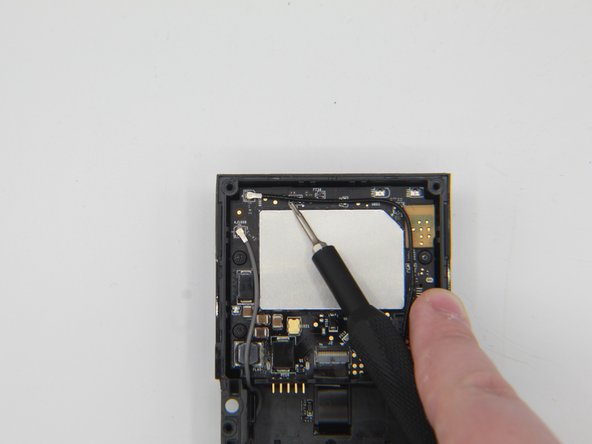
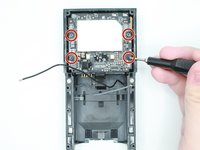
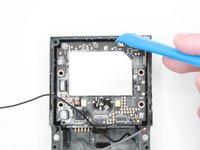
Use a Torx T6 but to take out the four screws on the first motherboard.
-
-
-
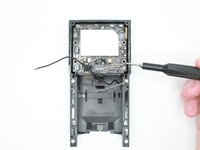
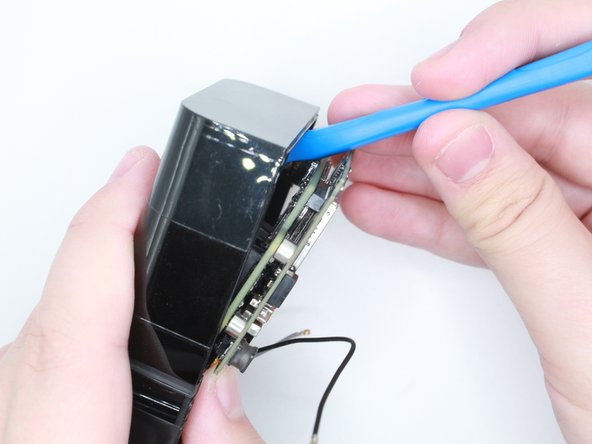
Use an opening tool to take out the motherboard.
-
-
-
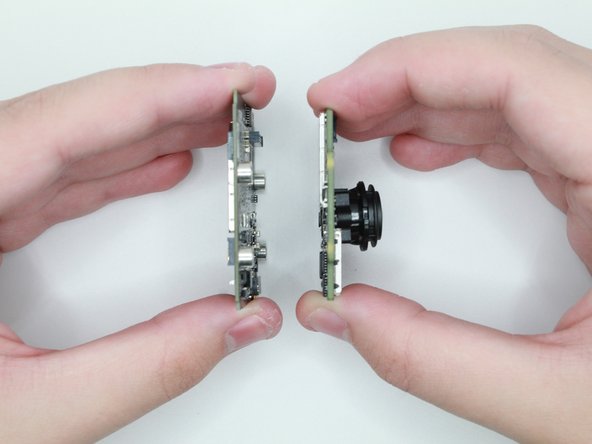
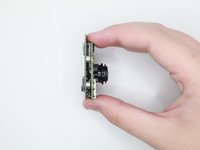
Flip the two boards on the side.
-
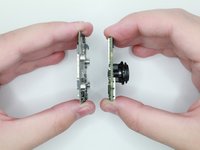
Gently pull the motherboard and the camera board apart.
-
-
-
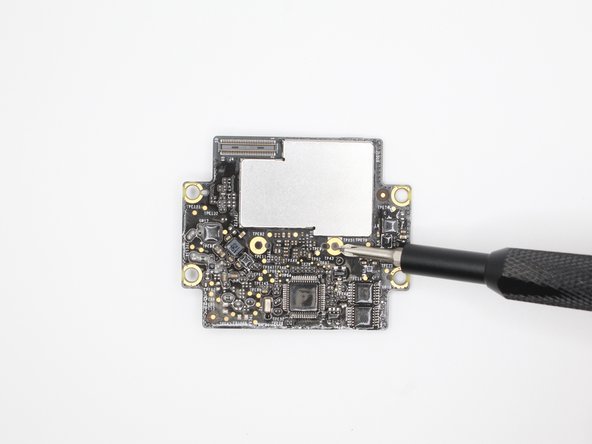
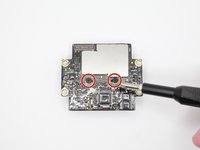
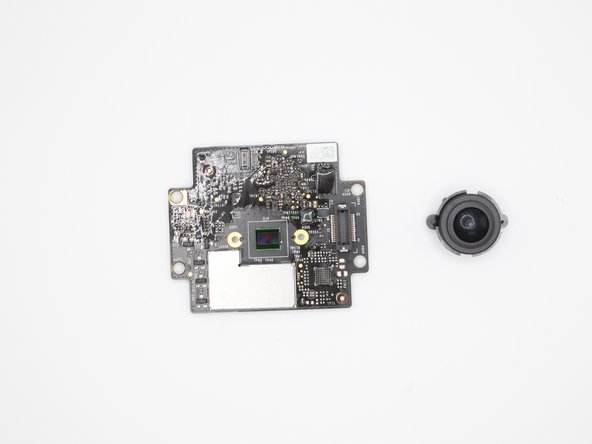
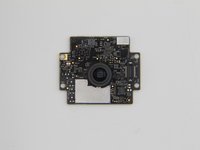
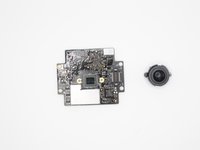
Use the Phillips #00 screwdriver to remove the two screws.
-
-
-
Carefully remove the camera lens from the board.
-
-
-
After setting the motherboard aside, grab the case.
-
-
-
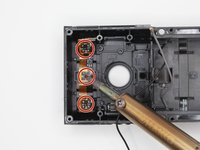
Desolder these three spots with 4 points and remove the solder.
-
Carefully peel off the camera sensor to remove it
-


To reassemble your device, follow these instructions in reverse order.

crwdns2935287:0crwdne2935287:0

University of North Texas, Team 1-5, Kilpatrick Fall 2023 crwdns2935289:0University of North Texas, Team 1-5, Kilpatrick Fall 2023crwdne2935289:0
UNT-KILPATRICK-F23S1G5
crwdns2931471:03crwdne2931471:0
crwdns2935297:05crwdne2935297:0