crwdns2915892:0crwdne2915892:0
Use this guide to replace a damaged or faulty trigger in your Ridgid 860054 Drill.
The drill trigger causes the drill to rotate when pressed. If the trigger is blocked or damaged, it won’t press or it is otherwise faulty, you will be unable to power on and control the drill.
Be sure to cross out all other possibilities on the troubleshooting guide before doing this replacement. It is possible that the drill trigger is still functional. There could be other issues preventing the drill from working instead of the trigger.
Make sure to remove the battery from the drill before beginning the repair.
crwdns2942213:0crwdne2942213:0
-
-
Using a T10 Torx security bit, remove the ten screws from the housing assembly.
-
-
-
Separate one half of the drill casing from the other by gently pulling both halves apart.
-
-
-
Remove the plastic speed switch and forward/reverse switch by softly lifting them from the casing.
-
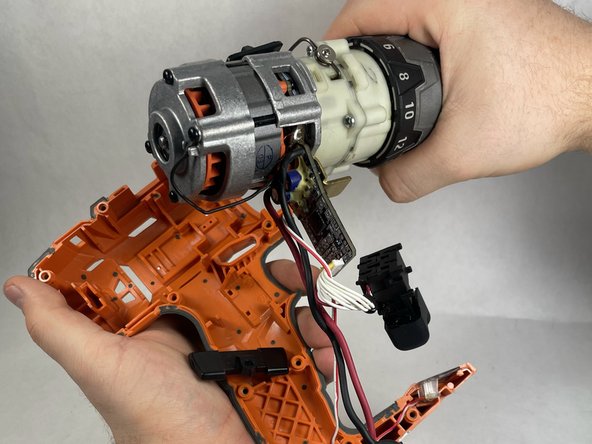
Remove the internal components of the drill by lightly pulling on the drill chuck.
-
-
-
-
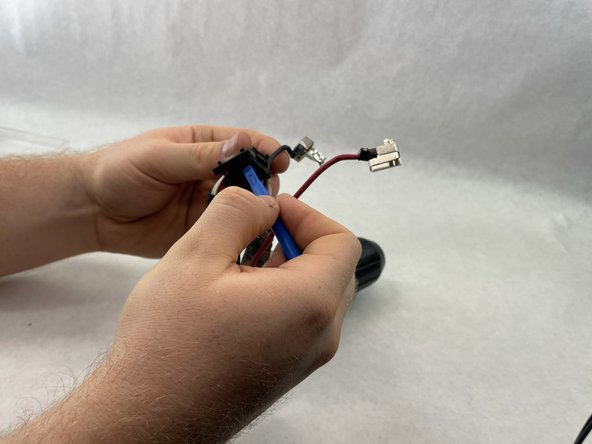
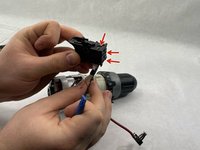
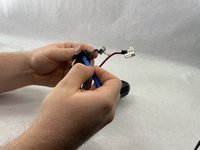
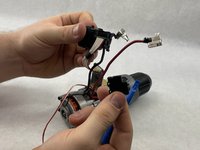
Use a thin tool to disconnect the three prongs.
-
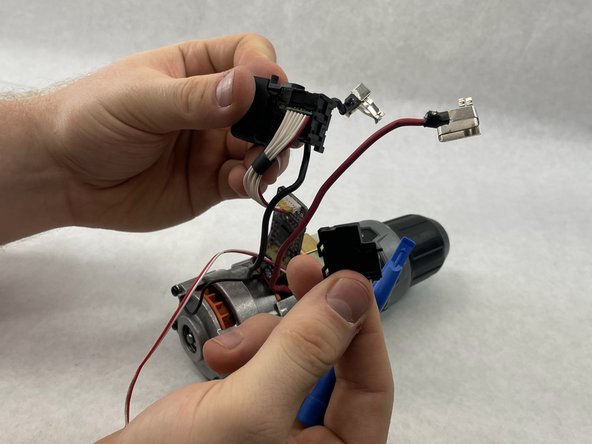
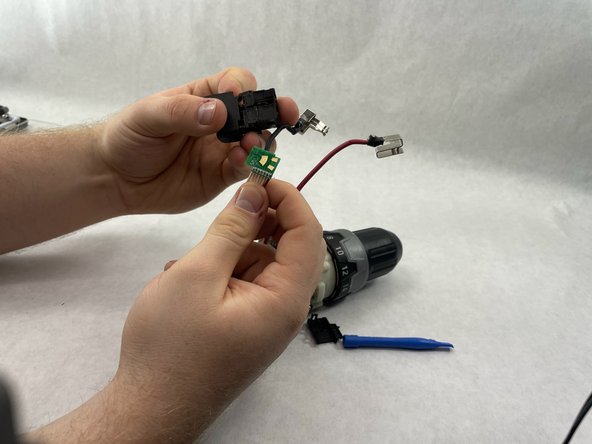
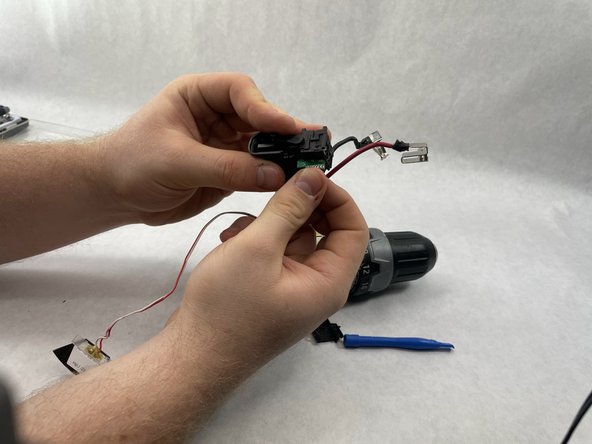
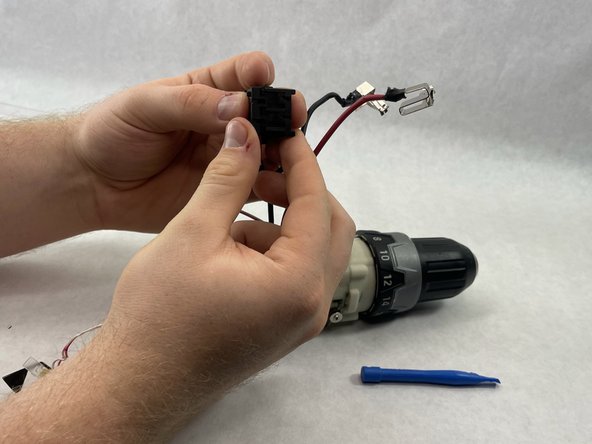
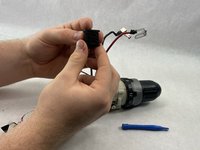
Remove the black plastic piece from the trigger body.
-
-
-
Remove the trigger circuit from the plastic trigger body.
-
To reassemble your device, follow these instructions in reverse order.
crwdns2935221:0crwdne2935221:0
crwdns2935227:0crwdne2935227:0


