crwdns2915892:0crwdne2915892:0
If the selector switch of your drill is stuck or not switching the chuck's direction when pressed, use this guide to remove and replace your selector switch.
crwdns2942213:0crwdne2942213:0
-
-
Orient the drill to have the side with the screws facing up.
-
Using the Torx T10 screwdriver, remove the eight 4.0mm screws from the face of the drill.
-
-
-
Orient the drill to where the back is facing up.
-
Using a Torx T10 screwdriver, remove the four 6.0mm screws that attach the back piece to the drill.
-
Remove the back piece of the drill using the iFixit opening tool.
-
-
-
-
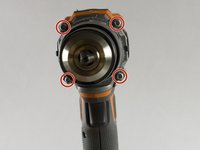
Orient the drill to where the chuck is facing up.
-
Using the Torx T15 screwdriver, remove the four 8.0mm screws from the front of the drill.
-
-
-
Orient the drill so the side with the screw holes is facing up.
-
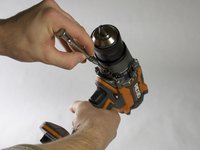
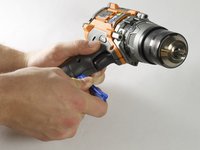
Use a plastic opening tool to gently pry the face off of the drill.
-
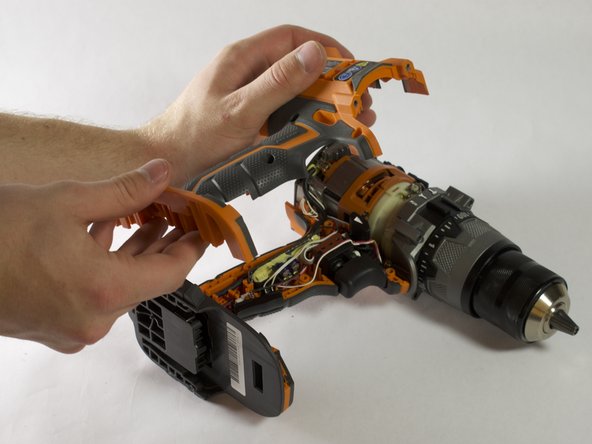
Remove the face completely from the drill.
-
-
-
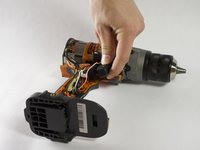
Gently lift the trigger up.
-
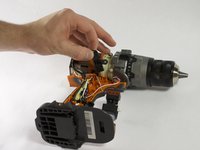
Unhook the selector switch from the trigger.
-
Remove the selector switch.
-


To reassemble your device, follow these instructions in reverse order.
crwdns2935287:0crwdne2935287:0

Appalachian State University, Team S2-G4, Menagarishvili Spring 2019 crwdns2935289:0Appalachian State University, Team S2-G4, Menagarishvili Spring 2019crwdne2935289:0
APSU-MENAGARISHVILI-S19S2G4
crwdns2931471:03crwdne2931471:0
crwdns2935297:012crwdne2935297:0