crwdns2915892:0crwdne2915892:0
If the zooming lens of your Ricoh Shotmaster 130Z camera is broken or malfunctioning, this guide will show you how to replace it step-by-step.
crwdns2942213:0crwdne2942213:0
-
-
Set the dials to "A" (Auto), and Off mode.
-
-
-
Remove the 5 Phillips screws from the sides and the back.
-
-
-
-
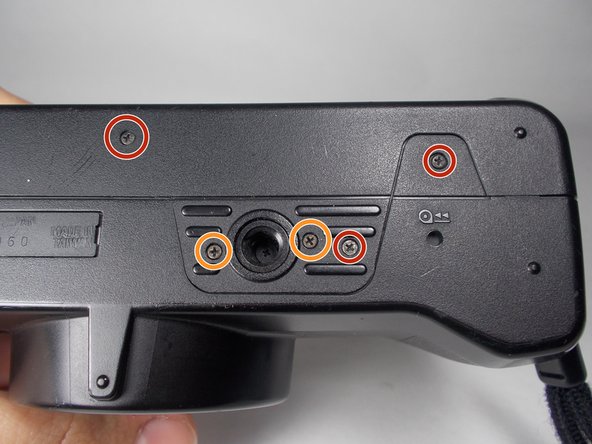
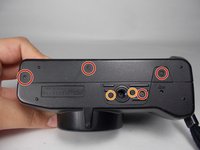
Remove the 5mm JIS #00 screws from the bottom of the camera.
-
Pay attention to the 6mm screws on the sides of the tripod slot, as they are a slightly different size from the rest of the screws. However, you still may use a J00 screwdriver to remove them.
-
-
-
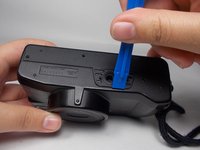
Using an opening tool, lift the case of the tripod slot (on the bottom) until the back portion of the case is released.
-
Continue to use the the opening tool to insert it and lift right next to the strap of the camera.
-
-
-
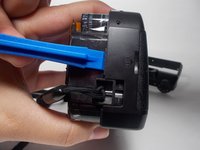
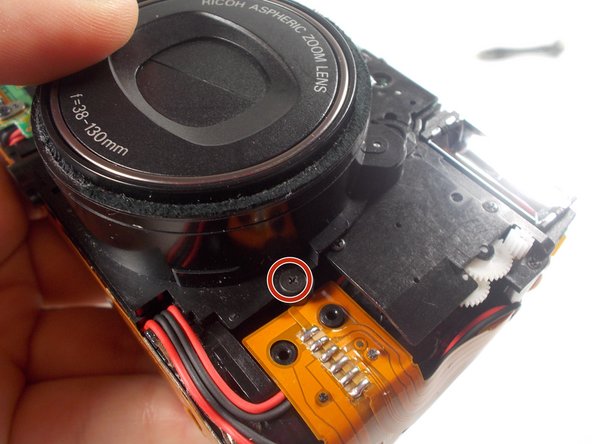
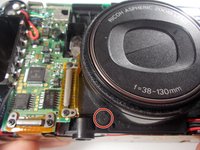
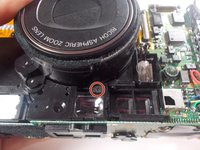
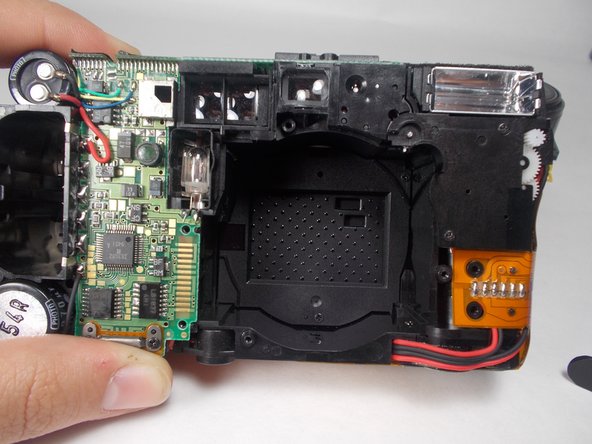
Use a JIS #0 screwdriver to remove the three marked screws found around the perimeter of the lens.
-
-
crwdns2935267:0crwdne2935267:0Tweezers$4.99
-
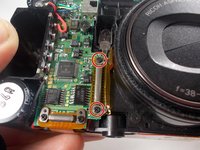
Proceed to remove the two screws using a JIS #00 screwdriver.
-
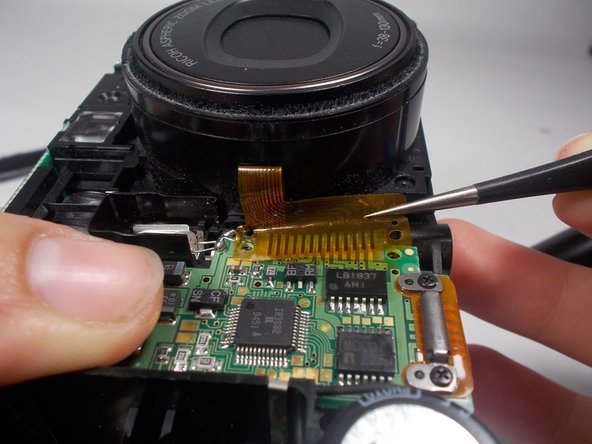
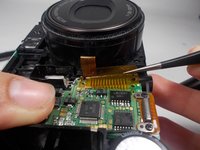
Use tweezers to lift the lens off of the board.
-


To reassemble your device, follow these instructions in reverse order.
To reassemble your device, follow these instructions in reverse order.

crwdns2915084:0crwdne2915084:0

UMass Dartmouth, Team 3-4, Isaacson Fall 2016 crwdns2935289:0UMass Dartmouth, Team 3-4, Isaacson Fall 2016crwdne2935289:0
UMASSD-ISAACSON-F16S3G4
crwdns2931471:03crwdne2931471:0
crwdns2935297:010crwdne2935297:0