crwdns2915892:0crwdne2915892:0
The ResMed S9 VPAP Auto is a medical ventilator, commonly referred to as a VPAP (variable positive airway pressure machine). In this guide you will learn how to replace the control knob with a soldering iron. The knob is how you are able to select information on the main screen of the ResMed S9 VPAP Auto. Remember to be careful when using the soldering iron: it reaches high temperatures. Be careful not to solder any parts of motherboard while working on the control knob. For more information on the device, go to the manufacturer’s home page.
For more information on soldering best practices check out our How To Solder and Desolder Connections guide.
crwdns2942213:0crwdne2942213:0
-
-
Flip the device upside down.
-
Use a T3 Torx screwdriver to remove the screw in the corner.
-
-
-
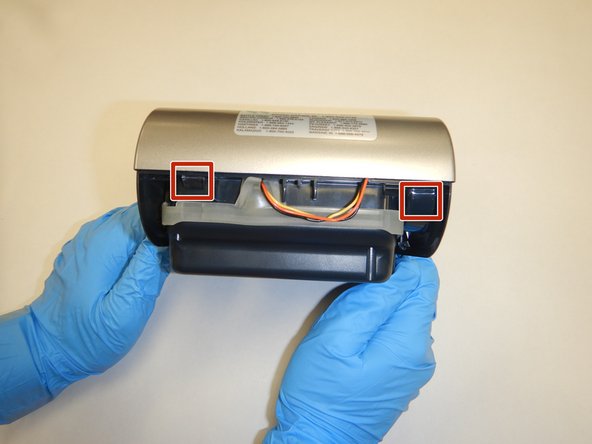
Use a spudger to pry off the back panel.
-
-
-
-
Use the spudger to pry off the front panel.
-
If you are having difficulty, press the two hooks to open that side of the device.
-
Remove the front panel to expose the internal components.
-
-
-
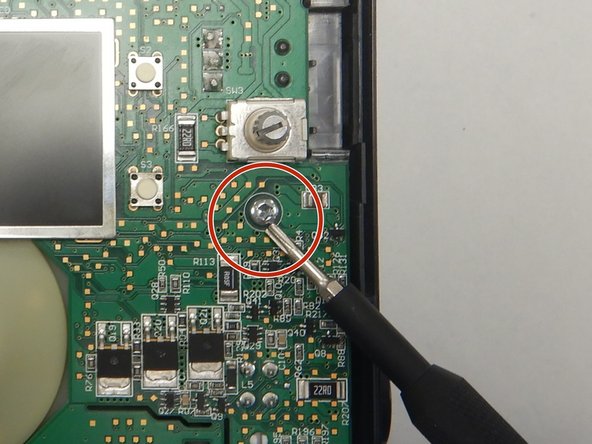
Remove the two screws on the circuit board with a T3 Torx screwdriver.
-
-
-
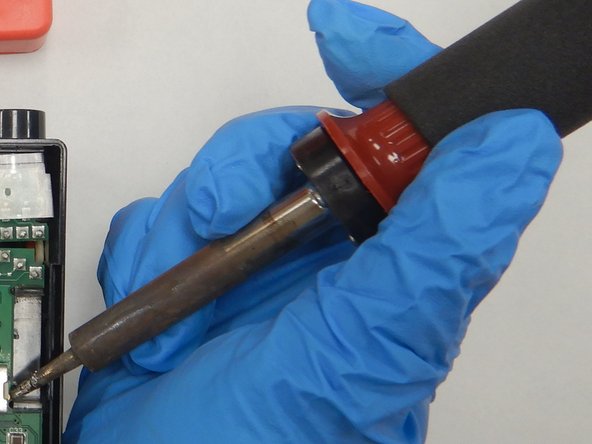
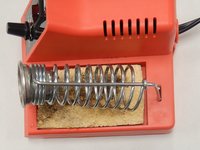
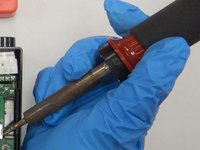
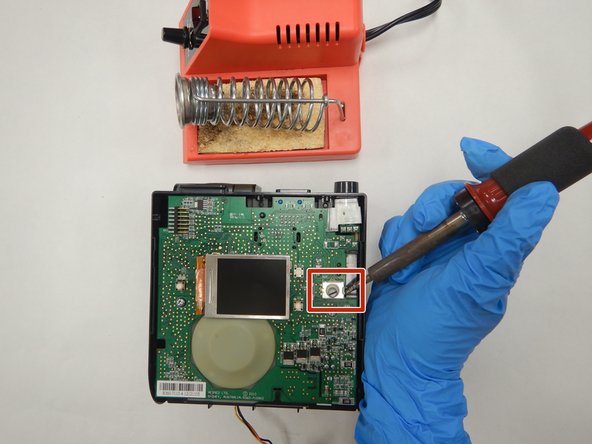
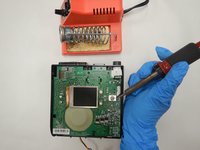
Plug in and heat up the soldering iron.
-
-
-
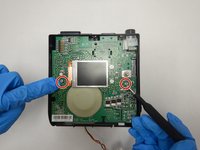
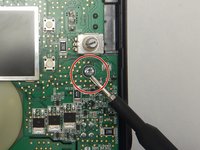
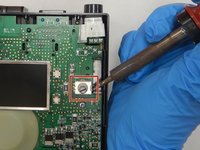
Locate the knob pins.
-
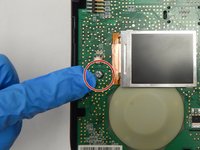
Desolder the solder pins on each side of the knob.
-
Remove the knob and replace it.
-


To reassemble your device, follow these instructions in reverse order.
To reassemble your device, follow these instructions in reverse order.
crwdns2935221:0crwdne2935221:0
crwdns2935229:02crwdne2935229:0

crwdns2915084:0crwdne2915084:0

The Citadel Military College of South Carolina, Team S3-G21, Eggleston Fall 2020 crwdns2935289:0The Citadel Military College of South Carolina, Team S3-G21, Eggleston Fall 2020crwdne2935289:0
CMCSC-EGGLESTON-F20S3G21
crwdns2931471:03crwdne2931471:0
crwdns2935297:03crwdne2935297:0
crwdns2947412:04crwdne2947412:0
Do you have a source for the auto knob or a part number?
Do you have a source for this knob/switch or a part number?
You need a new rotary encoder, however the very popular and cheap EC11 does not work properly, you need a ddm 427 encoder, which is not very easy to find.
NG G. -
I found the right encoder from digikey. It has the wrong type of knob stem, but it works. It is the DDM 427.