crwdns2915892:0crwdne2915892:0
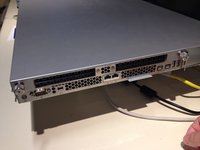
Disassemble Apple xServe 2009 to replace motherboard and fans
crwdns2942213:0crwdne2942213:0
-
-
Notable specs:
-
Dual Xeon Nehalem CPU @ 2.26 GHz
-
No SSD
-
No Hardware RAID
-
-
-
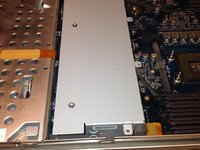
Pull on release lever, and pull power supply out.
-
-
-
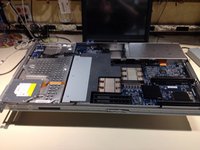
Loosen the 2 thumbscrews on the back of the xserve to release the top.
-
Slide top back, and lift top off.
-
-
-
If the hard drives or blanks are still in the xserve, push the handle in to pop it out.
-
Pull the hard drive and blank sleds out.
-
-
-
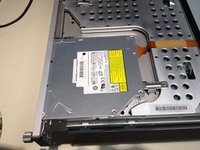
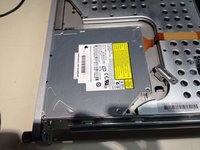
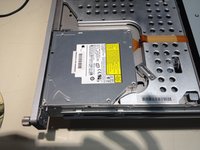
Slide lever lock to release the CD/DVD drive.
-
Slide CD/DVD drive back.
-
Lift drive up and unplug the SATA connector on the back.
-
-
-
-
Using a #1 Phillips screwdriver, unscrew the screws on each side of PCI slot #2 on the back of the computer.
-
Once the screws are loosened, the PCI riser card should lift out of the slot.
-
Repeat for PCI slot #1
-
-
-
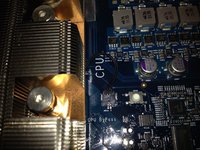
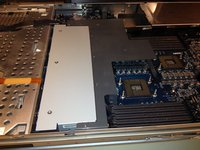
Using a 3.0mm Hex wrench (Allen wrench), loosen the 4 screws that hold the processor and heatsink down.
-
Unplug the sensor cable.
-
Lift the heatsink and processor off the motherboard.
-
Repeat if you have the dual processor model.
-
-
-
Using a #1 phillips screwdriver, loosen the 5 screws that hold the plastic bezel in place.
-
Remove the plastic bezel.
-
Using a #2 phillips screwdriver, loosen the 2 screws that hold the fan array in place
-
Lift the fan array out.
-
-
-
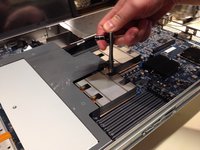
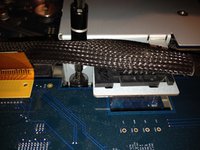
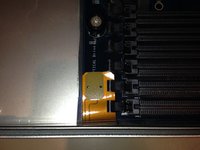
Using the spudger, lift the connector on the right.
-
Carefully squeeze the connector on the left and unplug it.
-
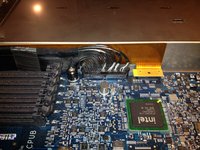
Using the spudger, lift the CD/DVD connector by the CPU A RAM slots.
-
-
-
Using a #2 screwdriver, loosen the 9 screws that hold the motherboard in place.
-
There are 3 rows of 3 screws each. 1 row by the back of the computer, 1 row in the middle and 1 row by the fan array. They are obvious by the black plastic spacer/retainer on them.
-
-
-
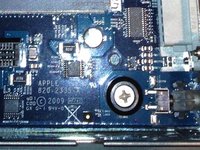
Using a #2 screwdriver, loosen the screw on the power board.
-
Slide it up to disconnect it from the motherboard.
-
-
-
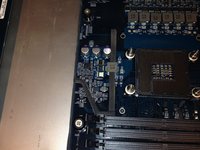
Remove the 2 screws that hold the video card on.
-
Slide the card out of the socket.
-
-
-
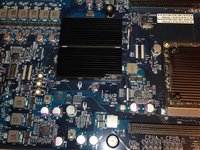
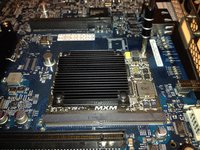
Lift the motherboard and slide it out ofthe connectors on the back of the computer.
-
Then tip the motherboard up and out of the computer.
-


To reassemble your device, follow these instructions in reverse order.
To reassemble your device, follow these instructions in reverse order.
crwdns2935221:0crwdne2935221:0
crwdns2935229:018crwdne2935229:0