crwdns2915892:0crwdne2915892:0
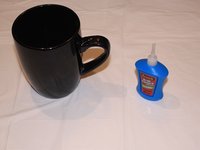
Everyone has broken their favorite mug before. In this tutorial you will learn an easy way to salvage your favorite mug after the handle has been shattered. After completing all steps your mug will be able to be used again. However, the handle is no longer dishwasher or microwave safe.
crwdns2942213:0crwdne2942213:0
-
-
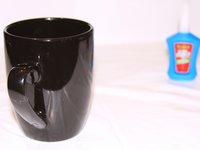
Wash your mug clean and rinse the broken edges. Handle carefully to prevent further damage.
-
-
-
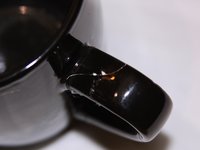
Collect the pieces of the handle and place them on a few paper towels.
-
Piece them back together and make sure all of the parts are there.
what exactly do you mean by "place them back together"?
-
-
-
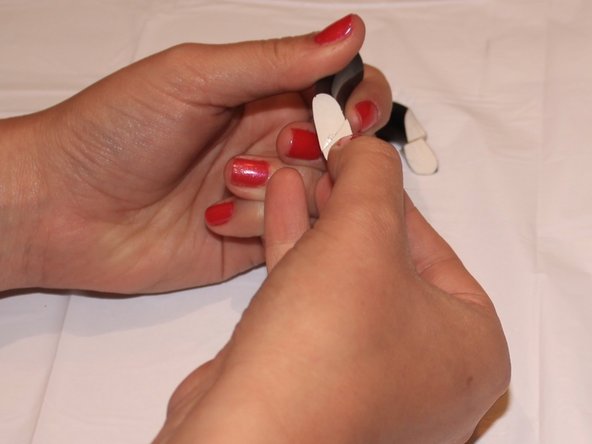
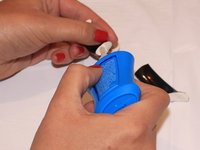
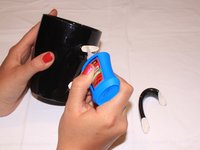
Take two of the broken pieces that fit together and glue them.
-
-
-
-
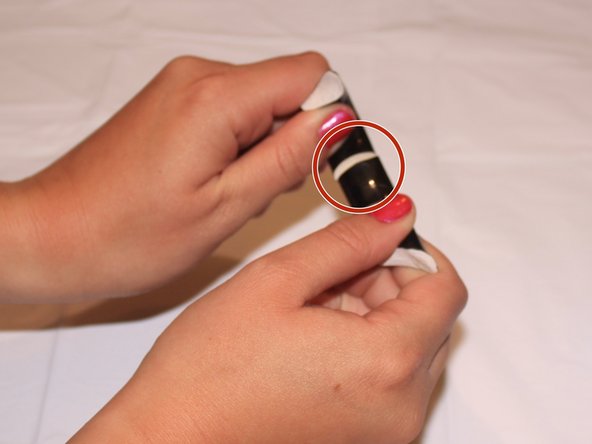
Continue glueing other pieces of the handle in place until all pieces are together.
on average how long do you think the drying will take
also your note in comment four is the same as your step five
-
-
-
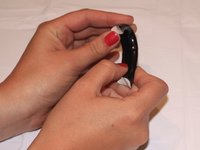
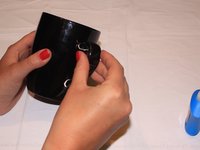
After the handle has dried, test that the glued pieces are sturdy.
-
-
-
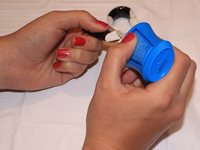
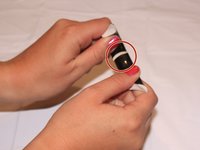
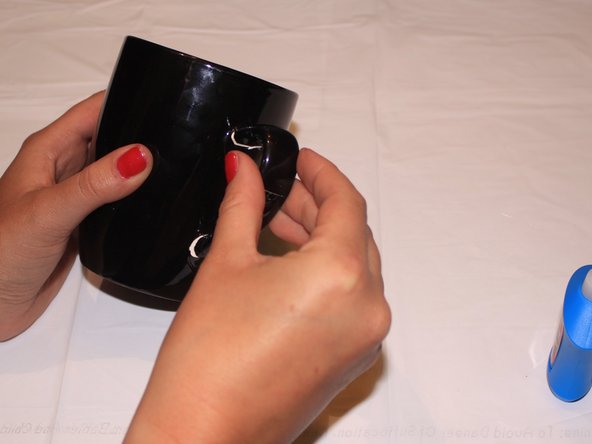
Once the handle is dried and secure. Begin placing glue on the cup where the handle should attach.
-
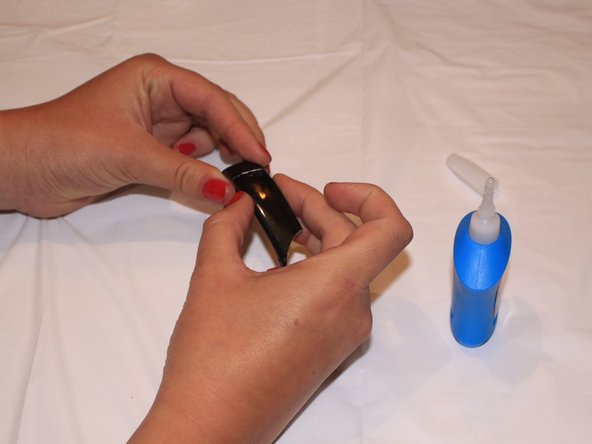
After gluing both places, gently press handle ends into place.
-
-
-
Now let the glue dry, and your mug is usable again.
-


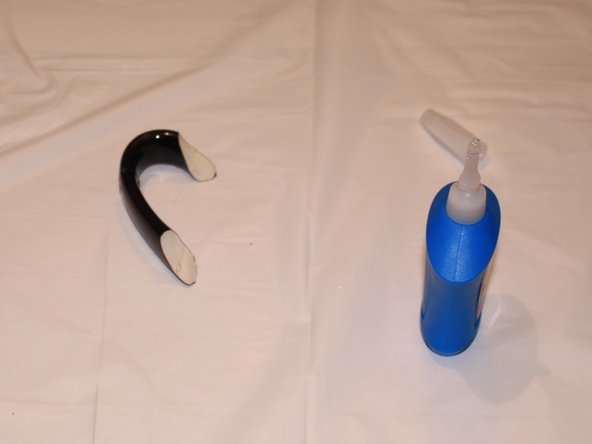


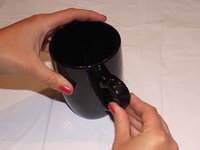


After completing all steps your mug will now be able to be used again. Remember that the handle is no longer dishwasher or microwave safe.
After completing all steps your mug will now be able to be used again. Remember that the handle is no longer dishwasher or microwave safe.
crwdns2935221:0crwdne2935221:0
crwdns2935229:05crwdne2935229:0

crwdns2915084:0crwdne2915084:0

Cal Poly, Team 28-2, Green Spring 2015 crwdns2935289:0Cal Poly, Team 28-2, Green Spring 2015crwdne2935289:0
CPSU-GREEN-S15S28G2
crwdns2931471:04crwdne2931471:0
crwdns2935297:02crwdne2935297:0
crwdns2947412:06crwdne2947412:0
Do introduction
In Step 2, we would advise against handling any of the smallest shards of the mug. For safety reasons, we would just stick to adhering the larger, less sharp pieces of the broken handle.
Do you recommend any specific type of glue? Some glues (such as Gorilla glue) need to be applied in a very small amount, due to expansion. Make sure you give instructions as to how much glue to apply (apply a pea-sized amount, apply enough so that it covers the whole piece, etc.) Does the mug need to be damp before applying glue?
Approximately how long did it take for the glue to dry? Results may vary from person to person, but it's a good idea to give an estimated time frame. "After completing all steps your mug will now be able to be used again. Remember that the handle is no longer dishwasher or microwave safe," should be placed either in the intro or as a special bullet in your guide. The audience should know this before they begin the repair.
Be sure to have all team members proofread the text for spelling, grammar, and punctuation. We have noticed the misspelling of "break" throughout your guide.
Thank God we always have the spelling and grammar police on the internet and I bet she is a Democrat.
Disappointed by the instructions… everyone can guess how to put the pieces together so the right ones are next to each other. But…
you should start with: “it is no longer dishwasher/microwave safe”.
Why? Is it a glue? or just an assumption?
What kind of glue did you use? Does it say the glue will not be safe in the dishwasher?
I would advise against using cyanoacrylate (CA or Superglue) for this kind of repair. CA glue tends to be very thin and wicks into the porous surface of the raw ceramic. While CA glue has good strength under tension (pulling the pieces apart) because of its thin film, it's off-axis or shear strength is pretty low. It's liable to simply break again when you left a full mug. CA glue also doesn't resist heat very well. It's good for lots of things, but this isn't one of them.
If you want a better glue for this application, I'd buy a small tube of 5 minute epoxy. Mix it according to directions, apply to the broken areas, fit them tightly and hold that pressure with tape or rubber bands. Wipe off any excess while it's still wet, or else you'll need to chip it off later. Epoxies set the strongest when clamped. Epoxies are also impervious to moisture and far more heat tolerant. You can usually unclamp (take off tape or rubber bands) after 5 minutes, but let it cure for 24 hours before use.