crwdns2933423:0crwdne2933423:0

Repairing Rattling Sensor in Logitech G303 Computer Mouse

crwdns2942213:0crwdne2942213:0

  1. Repairing Rattling Sensor in Logitech G303 Computer Mouse, Repairing Rattling Sensor in Logitech G303 Computer Mouse: crwdns2935265:01crwdnd2935265:01crwdnd2935265:02crwdne2935265:0 Repairing Rattling Sensor in Logitech G303 Computer Mouse, Repairing Rattling Sensor in Logitech G303 Computer Mouse: crwdns2935265:01crwdnd2935265:02crwdnd2935265:02crwdne2935265:0
    • Pry off the mouse feet located at the front and back of the underside of the mouse by wedging a flat head screw driver into the depressed groove and applying upward force.

    • Ensure that the mouse is not plugged into any power source before starting the repair.

    • Carefully remove the feet and be wary of the adhesive. Careful handling will allow them to be reattached and not require the purchase of a new set of mouse feet

  2. Repairing Rattling Sensor in Logitech G303 Computer Mouse: crwdns2935265:02crwdnd2935265:01crwdnd2935265:03crwdne2935265:0 Repairing Rattling Sensor in Logitech G303 Computer Mouse: crwdns2935265:02crwdnd2935265:02crwdnd2935265:03crwdne2935265:0 Repairing Rattling Sensor in Logitech G303 Computer Mouse: crwdns2935265:02crwdnd2935265:03crwdnd2935265:03crwdne2935265:0
    • Using a Phillips #00 screwdriver, unscrew the three screws that hold the top and bottom halves of the mouse together.

  3. Repairing Rattling Sensor in Logitech G303 Computer Mouse: crwdns2935265:03crwdnd2935265:01crwdnd2935265:02crwdne2935265:0 Repairing Rattling Sensor in Logitech G303 Computer Mouse: crwdns2935265:03crwdnd2935265:02crwdnd2935265:02crwdne2935265:0
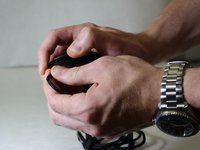
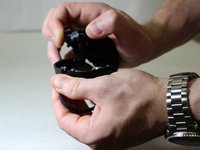
    • Grip the mouse cable with one had and the top buttons with the other and apply force in opposite directions to separate the two halves of the mouse.

    • Try lightly squeezing the top buttons together while separating the two halves of the mouse.

  4. Repairing Rattling Sensor in Logitech G303 Computer Mouse: crwdns2935265:04crwdnd2935265:01crwdnd2935265:02crwdne2935265:0 Repairing Rattling Sensor in Logitech G303 Computer Mouse: crwdns2935265:04crwdnd2935265:02crwdnd2935265:02crwdne2935265:0
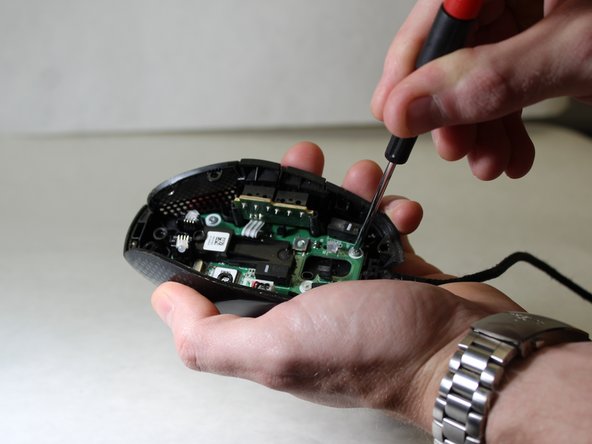
    • Using the Phillips #00 screwdriver, unscrew the three internal screws.

  5. Repairing Rattling Sensor in Logitech G303 Computer Mouse: crwdns2935265:05crwdnd2935265:01crwdnd2935265:01crwdne2935265:0
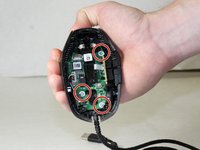
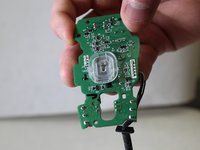
    • Remove the internal operating board by lifting it out of the bottom half of the mouse.

    • Handle the internals carefully to prevent damage from occurring.

  6. Repairing Rattling Sensor in Logitech G303 Computer Mouse: crwdns2935265:06crwdnd2935265:01crwdnd2935265:02crwdne2935265:0 Repairing Rattling Sensor in Logitech G303 Computer Mouse: crwdns2935265:06crwdnd2935265:02crwdnd2935265:02crwdne2935265:0
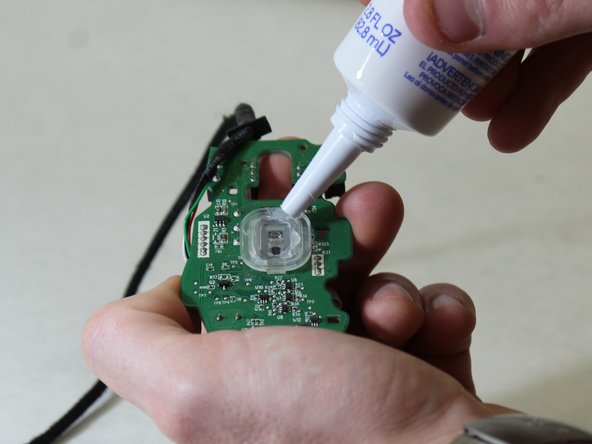
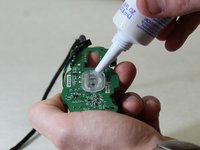
    • First Adhesive Method:

    • Apply a thin bead of the Silicon caulk to the rim of the sensor component.

    • Ensure that no Silicon is covering the center where the sensor is located.

    • The Silicon takes 30 minutes to set. This allows slight adjustments to be made if the Silicon initially covers the sensor.

  7. Repairing Rattling Sensor in Logitech G303 Computer Mouse: crwdns2935265:07crwdnd2935265:01crwdnd2935265:01crwdne2935265:0
    • Second Adhesive Method:

    • Attach the double sided tape to the bottom half of the housing. Place them directly over the central grooves.

    • Ensure that the central hole is not covered so the sensor still functions as designed.

crwdns2915888:0crwdne2915888:0

To reassemble your device, follow these instructions in reverse order. Lastly, ensure that none of the adhesive is blocking the sensor on the bottom of the device.

crwdns2935229:02crwdne2935229:0

Benjamen Zielinski

crwdns2935283:006/20/18crwdne2935283:0

194 crwdns2915208:0crwdne2915208:0

crwdns2935295:0crwdne2935295:0

crwdns2915084:0crwdne2915084:0

Washington State, Team S1-G4, Hope Summer 2018 crwdns2935289:0Washington State, Team S1-G4, Hope Summer 2018crwdne2935289:0

WSU-HOPE-SU18S1G4

crwdns2931471:04crwdne2931471:0

crwdns2935297:02crwdne2935297:0

crwdns2944067:00crwdne2944067:0

crwdns2917038:0crwdne2917038:0

crwdns2936625:0crwdne2936625:0:

crwdns2936751:024crwdne2936751:0 0

crwdns2936753:07crwdne2936753:0 8

crwdns2936753:030crwdne2936753:0 43

crwdns2942667:0crwdne2942667:0 3,298