crwdns2933423:0crwdne2933423:0
crwdns2947577:0crwdnd2947577:0crwdne2947577:0

Repairing Microtek ScanMaker 5900 Dirty Bulb

crwdns2942213:0crwdne2942213:0

    1. Repairing Microtek ScanMaker 5900 Dirty Bulb, Remove serial port connection: crwdns2935265:01crwdnd2935265:01crwdnd2935265:03crwdne2935265:0 Repairing Microtek ScanMaker 5900 Dirty Bulb, Remove serial port connection: crwdns2935265:01crwdnd2935265:02crwdnd2935265:03crwdne2935265:0 Repairing Microtek ScanMaker 5900 Dirty Bulb, Remove serial port connection: crwdns2935265:01crwdnd2935265:03crwdnd2935265:03crwdne2935265:0
      • Loosen the screws on the serial port by turning them counter clockwise by hand.

      • After loosening the screws, pull the serial port out.

      crwdns2952109:0crwdne2952109:0

      crwdns2917038:0crwdne2917038:0

    2. Repairing Microtek ScanMaker 5900 Dirty Bulb, Remove Lid: crwdns2935265:02crwdnd2935265:01crwdnd2935265:03crwdne2935265:0 Repairing Microtek ScanMaker 5900 Dirty Bulb, Remove Lid: crwdns2935265:02crwdnd2935265:02crwdnd2935265:03crwdne2935265:0 Repairing Microtek ScanMaker 5900 Dirty Bulb, Remove Lid: crwdns2935265:02crwdnd2935265:03crwdnd2935265:03crwdne2935265:0
      • Lift lid to its vertical position.

      • Pull lid straight up to remove it from the scanner.

      crwdns2952109:0crwdne2952109:0

      crwdns2917038:0crwdne2917038:0

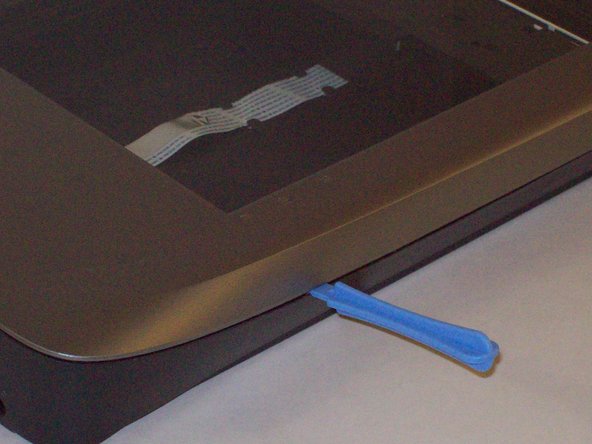
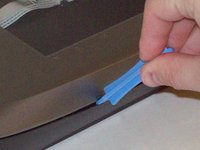
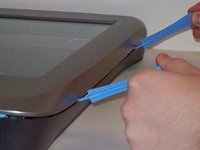
    1. Repairing Microtek ScanMaker 5900 Dirty Bulb, Detach plastic latches: crwdns2935265:03crwdnd2935265:01crwdnd2935265:03crwdne2935265:0 Repairing Microtek ScanMaker 5900 Dirty Bulb, Detach plastic latches: crwdns2935265:03crwdnd2935265:02crwdnd2935265:03crwdne2935265:0 Repairing Microtek ScanMaker 5900 Dirty Bulb, Detach plastic latches: crwdns2935265:03crwdnd2935265:03crwdnd2935265:03crwdne2935265:0
      • Push the plastic opening tools into the crack between the top and the bottom of the chassis.

      crwdns2952109:0crwdne2952109:0

      crwdns2917038:0crwdne2917038:0

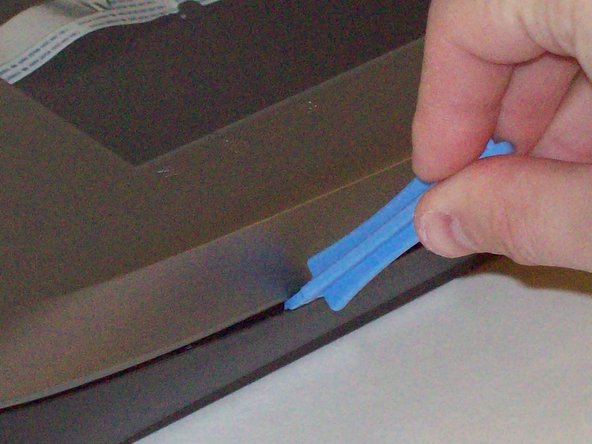
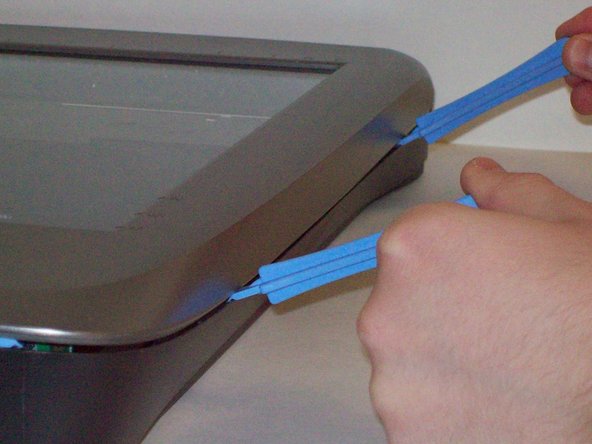
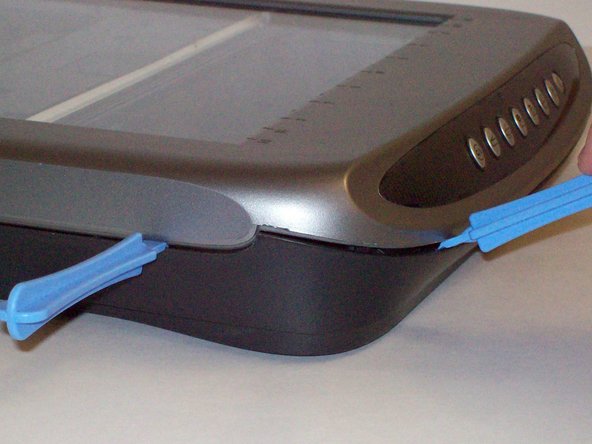
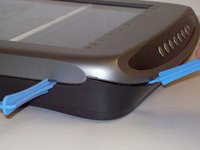
    2. Repairing Microtek ScanMaker 5900 Dirty Bulb, Continue latch detachment: crwdns2935265:04crwdnd2935265:01crwdnd2935265:03crwdne2935265:0 Repairing Microtek ScanMaker 5900 Dirty Bulb, Continue latch detachment: crwdns2935265:04crwdnd2935265:02crwdnd2935265:03crwdne2935265:0 Repairing Microtek ScanMaker 5900 Dirty Bulb, Continue latch detachment: crwdns2935265:04crwdnd2935265:03crwdnd2935265:03crwdne2935265:0
      • After placing one plastic opening tool into the slit, slide other plastic opening tools along the slit to detach the top from the bottom of the chassis.

      • Go all the way along the chassis until you can lift the upper lid.

      crwdns2952109:0crwdne2952109:0

      crwdns2917038:0crwdne2917038:0

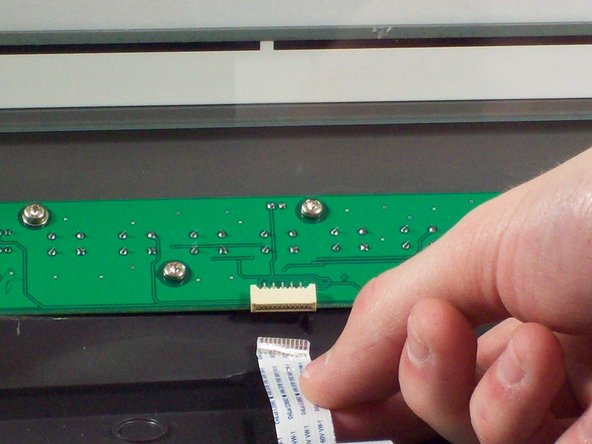
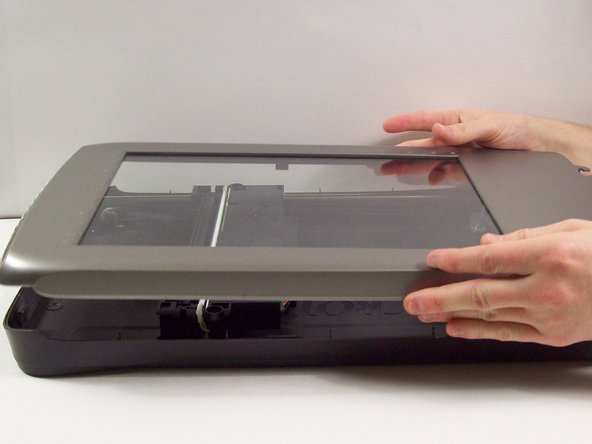
    3. Repairing Microtek ScanMaker 5900 Dirty Bulb, Fully remove the upper lid: crwdns2935265:05crwdnd2935265:01crwdnd2935265:03crwdne2935265:0 Repairing Microtek ScanMaker 5900 Dirty Bulb, Fully remove the upper lid: crwdns2935265:05crwdnd2935265:02crwdnd2935265:03crwdne2935265:0 Repairing Microtek ScanMaker 5900 Dirty Bulb, Fully remove the upper lid: crwdns2935265:05crwdnd2935265:03crwdnd2935265:03crwdne2935265:0
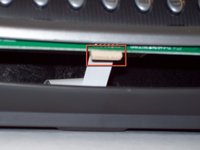
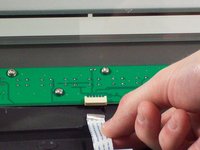
      • Do not fully remove the lid until you remove the ribbon cable attached to the front of the upper lid.

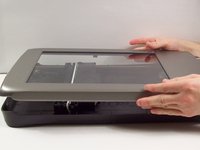
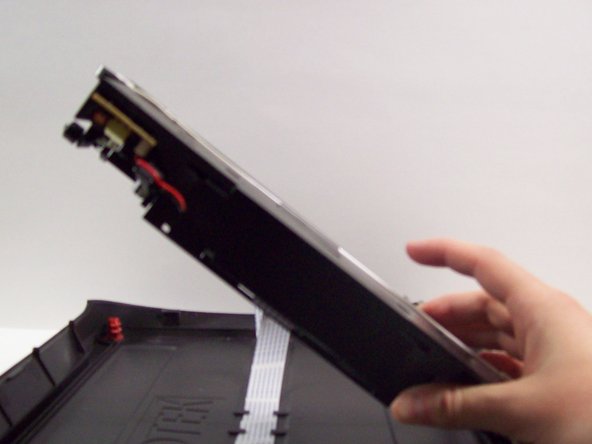
      • Do this by grabbing the upper lid from the sides and rotating it ninety degrees so it is perpendicular to the bottom lid.

      • Grab the ribbon cable and gently pull it out of its slot with your fingers.

      • The upper lid can now safely be removed from the bottom lid.

      crwdns2952109:0crwdne2952109:0

      crwdns2917038:0crwdne2917038:0

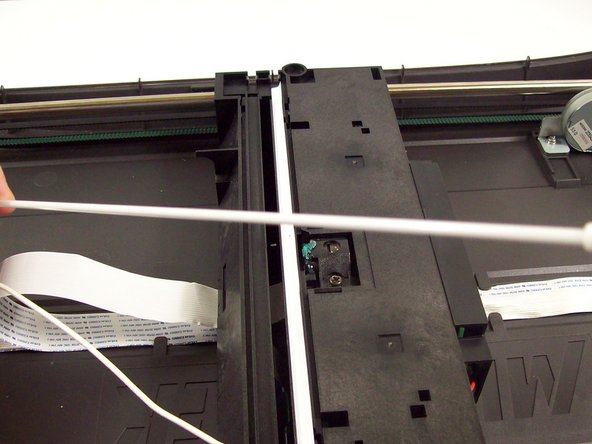
    1. Repairing Microtek ScanMaker 5900 Dirty Bulb, Locate the bulb: crwdns2935265:06crwdnd2935265:01crwdnd2935265:02crwdne2935265:0 Repairing Microtek ScanMaker 5900 Dirty Bulb, Locate the bulb: crwdns2935265:06crwdnd2935265:02crwdnd2935265:02crwdne2935265:0
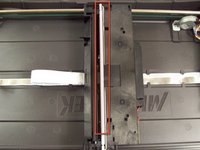
      • After opening the chassis, you will see a white bulb spanning the width of the scanner.

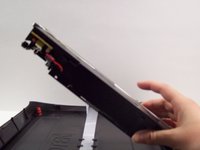
      • Lift up the black piece of plastic the bulb is attached to from the left hand side until it is perpendicular with the bottom lid of the scanner.

      crwdns2952109:0crwdne2952109:0

      crwdns2917038:0crwdne2917038:0

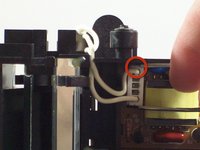
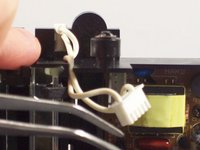
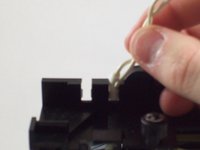
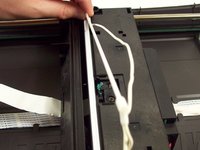
    2. Repairing Microtek ScanMaker 5900 Dirty Bulb, Detach the bulb electrical connection: crwdns2935265:07crwdnd2935265:01crwdnd2935265:03crwdne2935265:0 Repairing Microtek ScanMaker 5900 Dirty Bulb, Detach the bulb electrical connection: crwdns2935265:07crwdnd2935265:02crwdnd2935265:03crwdne2935265:0 Repairing Microtek ScanMaker 5900 Dirty Bulb, Detach the bulb electrical connection: crwdns2935265:07crwdnd2935265:03crwdnd2935265:03crwdne2935265:0
      crwdns2935267:0crwdne2935267:0
      Tweezers
      $4.99
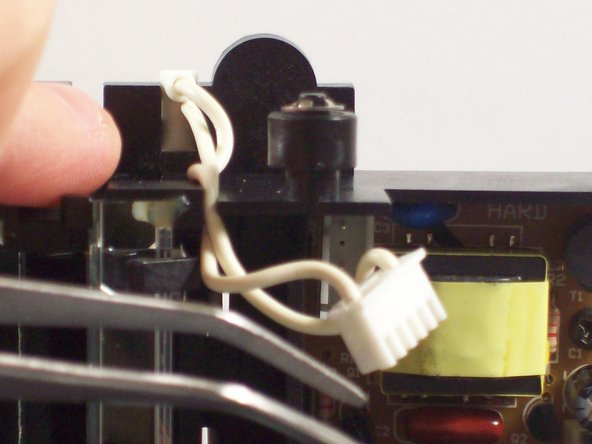
      • Use tweezers to grab the plastic casing the wires are housed in.

      • Gently jiggle the plastic back and forth until it can be pulled from its connection.

      • Pull the wires out of the circuit board.

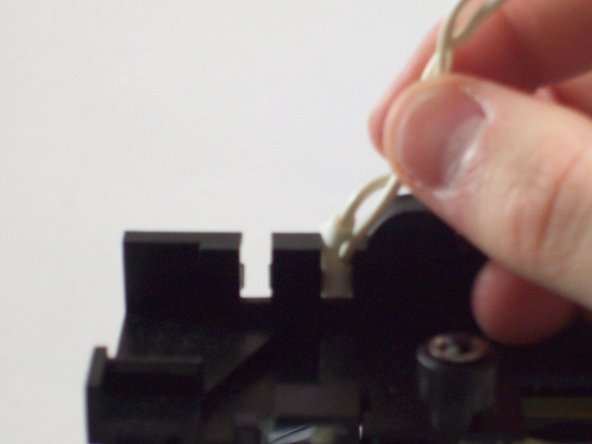
      • Pull the wires up and out over the top of the plastic housing.

      crwdns2952109:0crwdne2952109:0

      crwdns2917038:0crwdne2917038:0

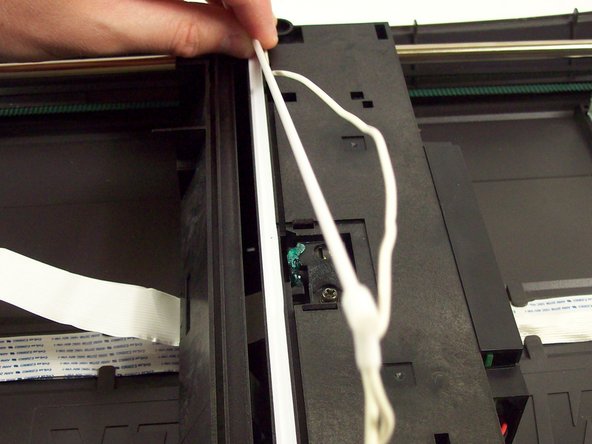
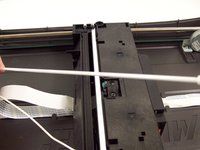
    3. Repairing Microtek ScanMaker 5900 Dirty Bulb, Remove the bulb: crwdns2935265:08crwdnd2935265:01crwdnd2935265:03crwdne2935265:0 Repairing Microtek ScanMaker 5900 Dirty Bulb, Remove the bulb: crwdns2935265:08crwdnd2935265:02crwdnd2935265:03crwdne2935265:0 Repairing Microtek ScanMaker 5900 Dirty Bulb, Remove the bulb: crwdns2935265:08crwdnd2935265:03crwdnd2935265:03crwdne2935265:0
      • Place the plastic housing back into the bottom lid of the scanner.

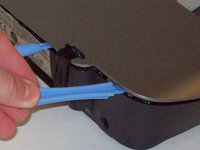
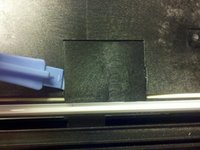
      • Remove the plastic panel by gently pushing on the plastic latches with a plastic opening tool.

      • Pull the bulb and wire out of its plastic casing.

      • The bulb is now free to be replaced.

      crwdns2952109:0crwdne2952109:0

      crwdns2917038:0crwdne2917038:0

    1. Repairing Microtek ScanMaker 5900 Dirty Bulb, Clean bulb: crwdns2935265:09crwdnd2935265:01crwdnd2935265:01crwdne2935265:0
      • After opening the chassis and removing the bulb, simply take a cloth and wipe down the bulb.

      crwdns2952109:0crwdne2952109:0

      crwdns2917038:0crwdne2917038:0

crwdns2915888:0crwdne2915888:0

To reassemble your device, follow these instructions in reverse order.

crwdns2935221:0crwdne2935221:0

Taylor Nesheim

crwdns2935283:010/11/11crwdne2935283:0

59 crwdns2915208:0crwdne2915208:0

crwdns2935297:07crwdne2935297:0

crwdns2935287:0crwdne2935287:0

Cal Poly, Team 6-9, Regan Fall 2011 crwdns2935289:0Cal Poly, Team 6-9, Regan Fall 2011crwdne2935289:0

CPSU-REGAN-F11S6G9

crwdns2931471:02crwdne2931471:0

crwdns2935297:0132crwdne2935297:0

crwdns2947412:00crwdne2947412:0

crwdns2917038:0crwdne2917038:0

crwdns2936625:0crwdne2936625:0:

crwdns2936751:024crwdne2936751:0 0

crwdns2936753:07crwdne2936753:0 1

crwdns2936753:030crwdne2936753:0 28

crwdns2942667:0crwdne2942667:0 2,023