crwdns2933423:0crwdne2933423:0

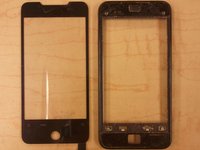
Repairing HTC Droid Incredible Digitizer

crwdns2862587:0crwdne2862587:0
crwdns2862588:0crwdne2862588:0

crwdns2942213:0crwdne2942213:0

  1. Repairing HTC Droid Incredible Digitizer, Battery: crwdns2935265:01crwdnd2935265:01crwdnd2935265:03crwdne2935265:0 Repairing HTC Droid Incredible Digitizer, Battery: crwdns2935265:01crwdnd2935265:02crwdnd2935265:03crwdne2935265:0 Repairing HTC Droid Incredible Digitizer, Battery: crwdns2935265:01crwdnd2935265:03crwdnd2935265:03crwdne2935265:0
    • Pry off back plastic, starting at the gap provided at the bottom of the phone. A spudger can be used to make this easier.

  2. Repairing HTC Droid Incredible Digitizer: crwdns2935265:02crwdnd2935265:01crwdnd2935265:02crwdne2935265:0 Repairing HTC Droid Incredible Digitizer: crwdns2935265:02crwdnd2935265:02crwdnd2935265:02crwdne2935265:0
    • Remove battery, prying from the provided gap at the upper-right corner of the battery

  3. Repairing HTC Droid Incredible Digitizer, Back Panel: crwdns2935265:03crwdnd2935265:01crwdnd2935265:02crwdne2935265:0 Repairing HTC Droid Incredible Digitizer, Back Panel: crwdns2935265:03crwdnd2935265:02crwdnd2935265:02crwdne2935265:0
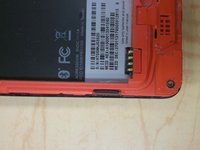
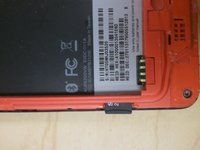
    • Depress MicroSD to eject it from the side of the case.

  4. Repairing HTC Droid Incredible Digitizer: crwdns2935265:04crwdnd2935265:01crwdnd2935265:03crwdne2935265:0 Repairing HTC Droid Incredible Digitizer: crwdns2935265:04crwdnd2935265:02crwdnd2935265:03crwdne2935265:0 Repairing HTC Droid Incredible Digitizer: crwdns2935265:04crwdnd2935265:03crwdnd2935265:03crwdne2935265:0
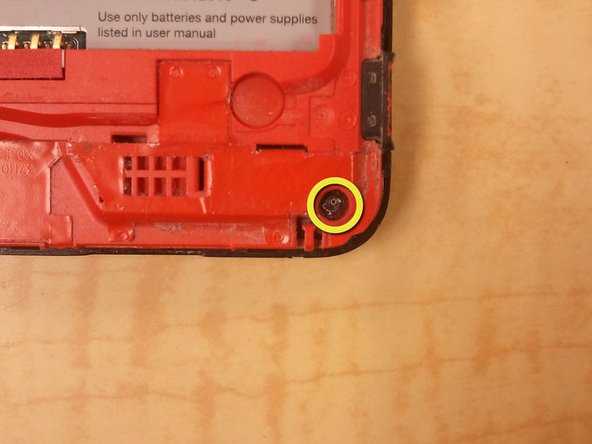
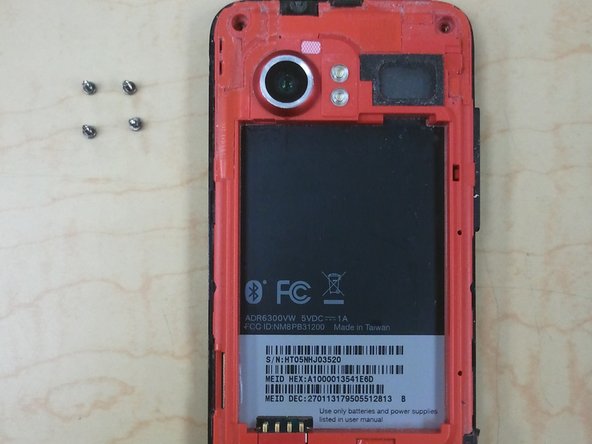
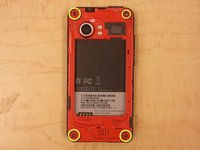
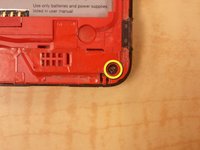
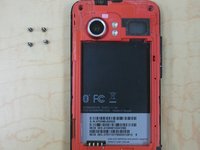
    • Remove 4 corner screws, you may have to remove a "VOID" sticker from one of the screw heads.

  5. Repairing HTC Droid Incredible Digitizer: crwdns2935265:05crwdnd2935265:01crwdnd2935265:03crwdne2935265:0 Repairing HTC Droid Incredible Digitizer: crwdns2935265:05crwdnd2935265:02crwdnd2935265:03crwdne2935265:0 Repairing HTC Droid Incredible Digitizer: crwdns2935265:05crwdnd2935265:03crwdnd2935265:03crwdne2935265:0
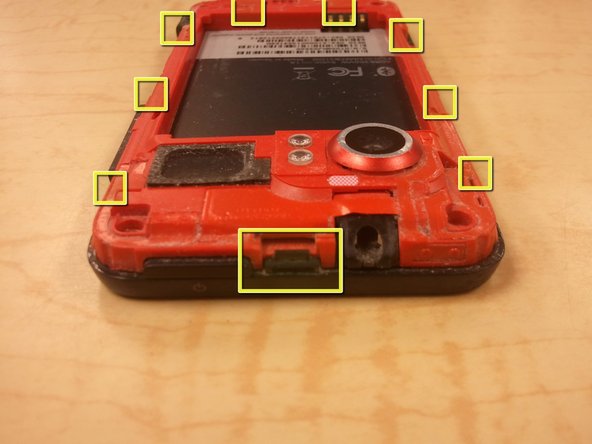
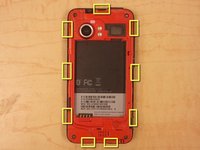
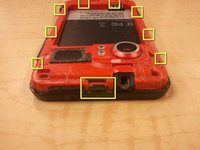
    • Using a spudger, unclip the nine clips holding the back panel to the front panel, highlighted in included pictures.

    • Start at the top, and work clockwise, being careful not to break the clips.

    • There are, 1, 3, 2, and 3 clips on each side, respectively.

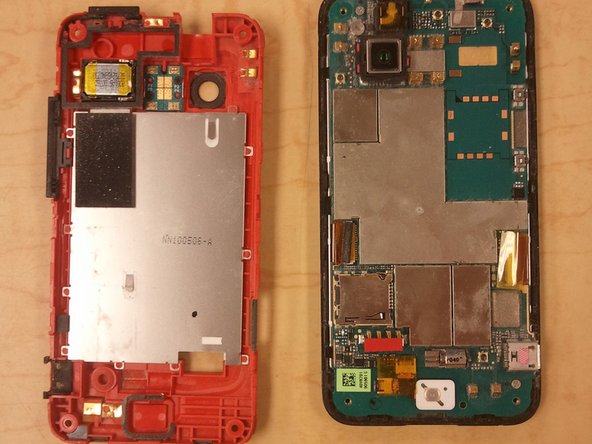
    • After the clips are disengaged, there are no cables holding the back panel in place.

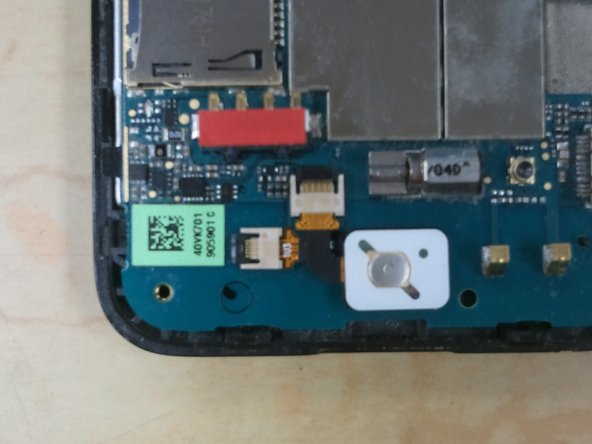
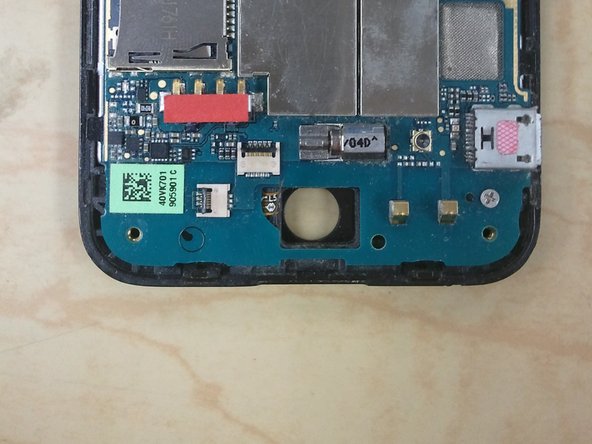
  6. Repairing HTC Droid Incredible Digitizer, Optical Track Pad: crwdns2935265:06crwdnd2935265:01crwdnd2935265:03crwdne2935265:0 Repairing HTC Droid Incredible Digitizer, Optical Track Pad: crwdns2935265:06crwdnd2935265:02crwdnd2935265:03crwdne2935265:0 Repairing HTC Droid Incredible Digitizer, Optical Track Pad: crwdns2935265:06crwdnd2935265:03crwdnd2935265:03crwdne2935265:0
    • Use your spudger to release the jaw clip holding the Optical Track Pad cable to the logic board.

    • Remove Optical Track Pad from logic board.

  7. Repairing HTC Droid Incredible Digitizer, Logic Board: crwdns2935265:07crwdnd2935265:01crwdnd2935265:01crwdne2935265:0
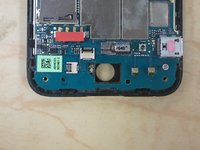
    • Use your spudger to release the remaining clips, disconnecting the ribbon cables from the logic board.

  8. Repairing HTC Droid Incredible Digitizer: crwdns2935265:08crwdnd2935265:01crwdnd2935265:02crwdne2935265:0 Repairing HTC Droid Incredible Digitizer: crwdns2935265:08crwdnd2935265:02crwdnd2935265:02crwdne2935265:0
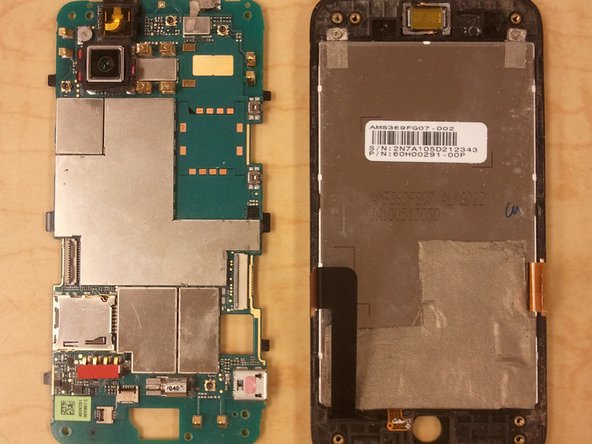
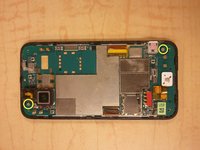
    • Remove 2 Phillips Screws holding the logic board to the front panel.

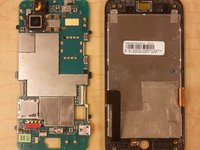
    • Gently lift the logic board off the front panel.

  9. Repairing HTC Droid Incredible Digitizer, LCD: crwdns2935265:09crwdnd2935265:01crwdnd2935265:02crwdne2935265:0 Repairing HTC Droid Incredible Digitizer, LCD: crwdns2935265:09crwdnd2935265:02crwdnd2935265:02crwdne2935265:0
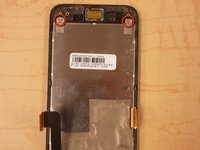
    • Remove the two phillips screws from the top of the LCD frame.

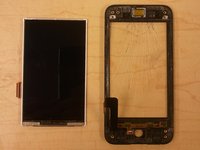
    • Use your spudger to pry the LCD out of the frame.

  10. Repairing HTC Droid Incredible Digitizer, Digitizer Assembly: crwdns2935265:010crwdnd2935265:01crwdnd2935265:02crwdne2935265:0 Repairing HTC Droid Incredible Digitizer, Digitizer Assembly: crwdns2935265:010crwdnd2935265:02crwdnd2935265:02crwdne2935265:0
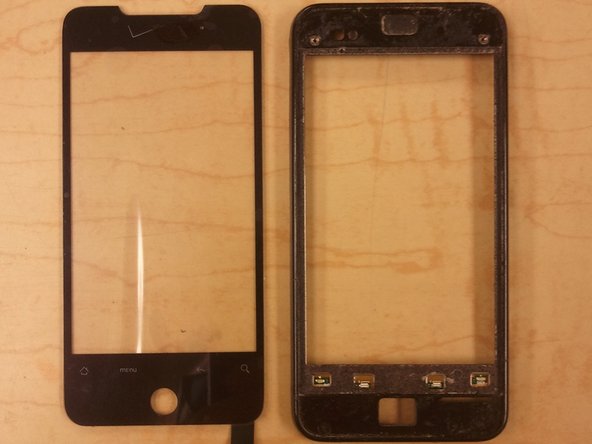
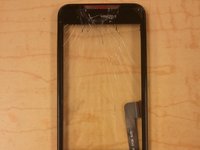
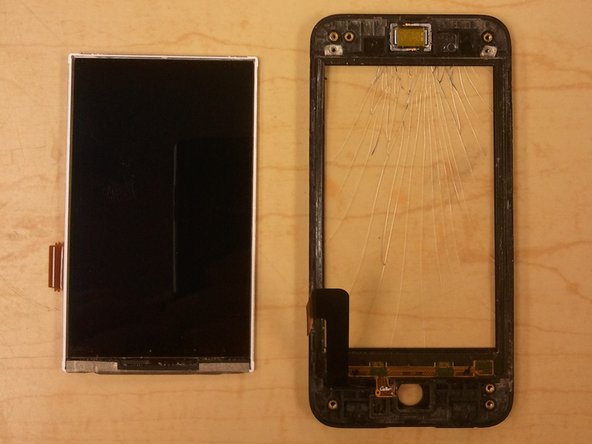
    • Once the LCD has been removed from the frame, the Digitizer can be gently pushed out from the back.

    • Be sure to catch the speaker cover as it is released from the digitizer, you will need to replace it when reinstalling the digitizer.

    • There is adhesive tape holding the Digitizer to the front panel, heating around the edges of the digitizer will help to loosen it, if it sticks.

    • After the digitizer is removed, you may wish to remove the adhesive tape and reapply before replacing the digitizer.

crwdns2915888:0crwdne2915888:0

To reassemble your device, follow these instructions in reverse order.

crwdns2935229:011crwdne2935229:0

Mobile Rapid Response Unit

crwdns2935283:005/07/12crwdne2935283:0

1.941 crwdns2915208:0crwdne2915208:0
crwdns2935297:06crwdne2935297:0

crwdns2944067:00crwdne2944067:0

crwdns2917038:0crwdne2917038:0

crwdns2936625:0crwdne2936625:0:

crwdns2936751:024crwdne2936751:0 0

crwdns2936753:07crwdne2936753:0 0

crwdns2936753:030crwdne2936753:0 0

crwdns2942667:0crwdne2942667:0 6,042