crwdns2942213:0crwdne2942213:0
-
crwdns2935201:0crwdne2935201:0 crwdns2935203:0crwdne2935203:0
-
Pop the center cover open on the bottom cover.
-
Remove the center screw with a #00 Phillips screwdriver.
-
Use a T5 Torx screwdriver for the remaining screws around the edge of the bottom cover.
-
-
crwdns2935201:0crwdne2935201:0 crwdns2935203:0crwdne2935203:0
-
Carefully remove back panel after all screws have been removed.
-
-
crwdns2935201:0crwdne2935201:0 crwdns2935203:0crwdne2935203:0
-
After the back panel has been removed, disconnect the battery to prevent electrical shock
-
-
crwdns2935201:0crwdne2935201:0 crwdns2935203:0crwdne2935203:0
-
Use a Phillips #00 screwdriver to remove the 8 screws that secure the battery.
-
-
crwdns2935201:0crwdne2935201:0 crwdns2935203:0crwdne2935203:0
-
Once all the screws have been removed the battery is now safe to extract
-
-
crwdns2935201:0crwdne2935201:0 crwdns2935203:0crwdne2935203:0
-
Close the laptop, flip the laptop over, and pop off the back small panel with a flathead screwdriver. The panel will be hanging by the hinges once open.
-
-
crwdns2935201:0crwdne2935201:0 crwdns2935203:0crwdne2935203:0
-
Use a T5 Torx screwdriver to remove the screws along the edge of the bottom cover.
-
Open the center cover and use a Phillips #00 screwdriver to remove single screw.
-
-
-
crwdns2935201:0crwdne2935201:0 crwdns2935203:0crwdne2935203:0
crwdns2935267:0crwdne2935267:0Anti-Static Wrist Strap$7.16-
Disconnect the battery to prevent electrical shock.
-
-
crwdns2935201:0crwdne2935201:0 crwdns2935203:0crwdne2935203:0
-
Disconnect yellow-colored ribbon cable from its port which sits at the bottom left of the fan housing.
-
-
crwdns2935201:0crwdne2935201:0 crwdns2935203:0crwdne2935203:0
-
Dislodge the CMOS battery.
-
Unplug CMOS cable.
-
-
crwdns2935201:0crwdne2935201:0 crwdns2935203:0crwdne2935203:0
-
Use a Phillips #00 screwdriver to loosen the screws that secure the heat sink's heat spreader.
-
-
crwdns2935201:0crwdne2935201:0 crwdns2935203:0crwdne2935203:0
-
Grip the heat sink from the sides and carefully lift it up to remove it.
-
-
crwdns2935201:0crwdne2935201:0 crwdns2935203:0crwdne2935203:0
-
Use a Phillips screwdriver to remove the two cooling fan screws.
-
-
crwdns2935201:0crwdne2935201:0 crwdns2935203:0crwdne2935203:0
-
The cooling fan can now be removed and a new one can be installed.
-
-
crwdns2935201:0crwdne2935201:0 crwdns2935203:0crwdne2935203:0
-
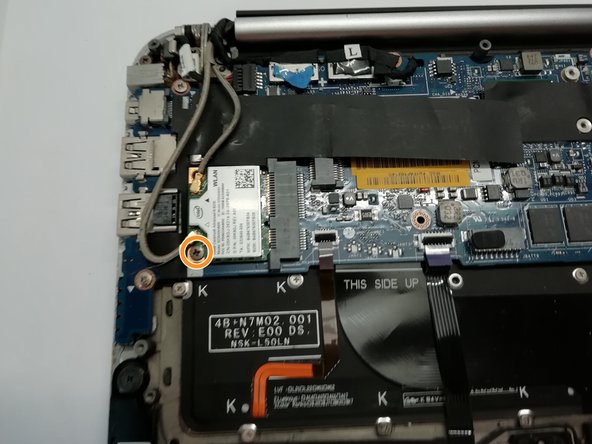
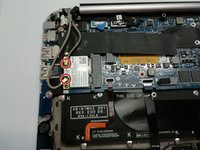
Déconnecter les deux fils de la carte WiFi. Vous pouvez le faire à l'aide d'une pince ou de votre ongle.
-
Retirer la vis à l'aide d'un tournevis cruciforme #00.
-
Retirer à présent votre carte WiFi pour en faire le remplacement.
-
-
crwdns2935201:0crwdne2935201:0 crwdns2935203:0crwdne2935203:0
-
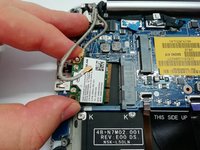
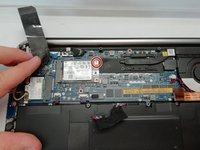
Retirer la vis à l'aide d'un tournevis cruciforme #00.
-
Retirer le disque dur de son emplacement.
-
-
crwdns2935201:0crwdne2935201:0 crwdns2935203:0crwdne2935203:0
-
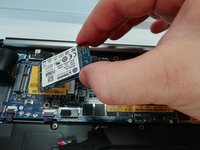
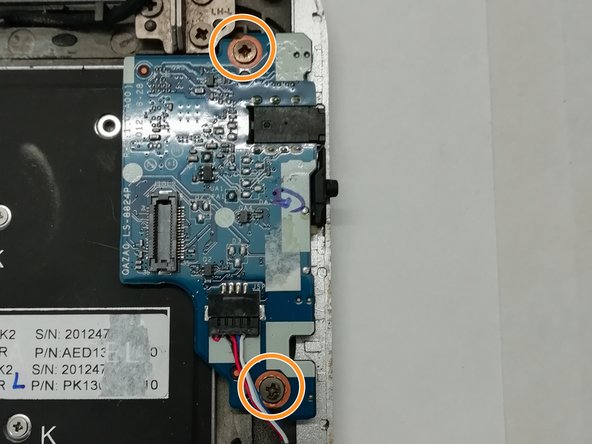
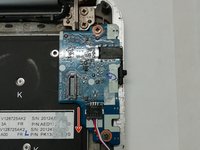
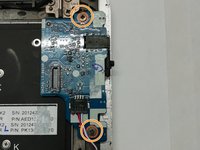
Retirer la connectique avec l'aide d'une pince ou de votre ongle.
-
Retirer les vis à l'aide d'un tournevis cruciforme #00.
-
Retirer la carte par la suite.
-
-
crwdns2935201:0crwdne2935201:0 crwdns2935203:0crwdne2935203:0
-
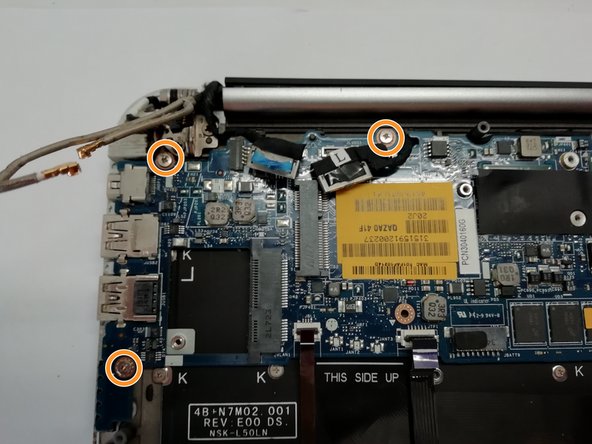
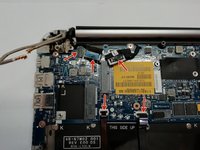
Déconnecter les différentes connectiques de la carte-mère.
-
Retirer les vis à l'aide d'un tournevis cruciforme #00.
-
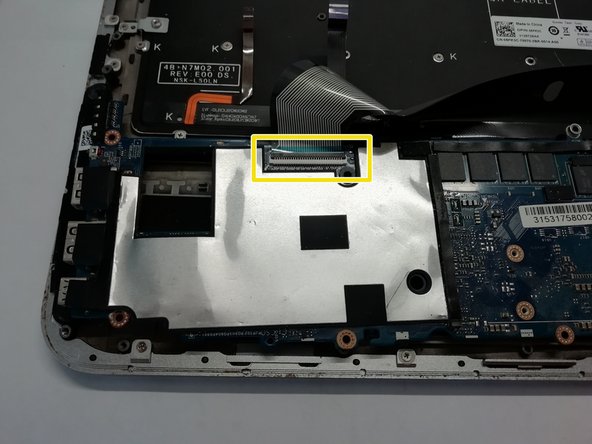
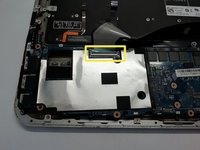
Retourner délicatement la carte-mère afin de déconnecter la nappe du clavier.
-
Vous pouvez à présent faire le remplacement de la carte-mère.
-


crwdns2935221:0crwdne2935221:0
crwdns2935227:0crwdne2935227:0
